
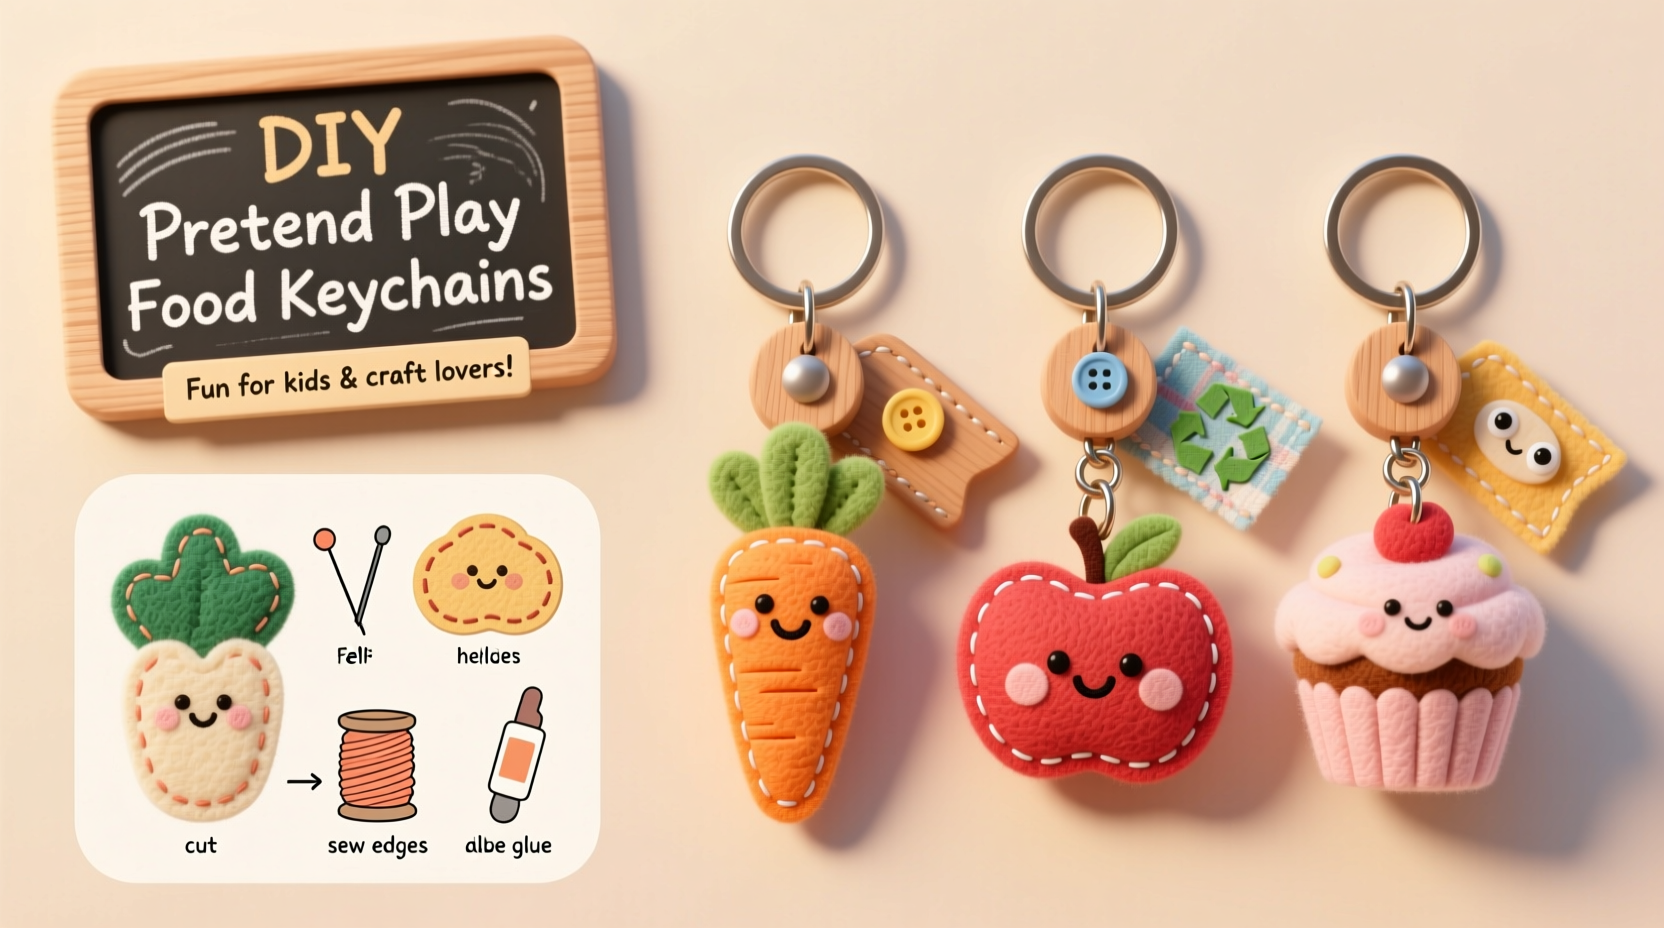
Creating pretend play food keychains is more than just a whimsical craft—it’s a way to blend creativity, fine motor development, and personal expression into one tiny, wearable accessory. These miniature food replicas serve as playful charms that can dangle from backpacks, zippers, or keyrings, bringing joy and imagination into everyday moments. Whether you're making them for children’s imaginative play, as unique gifts, or simply for your own enjoyment, the process is accessible, affordable, and deeply satisfying.
With basic supplies like polymer clay, keychain rings, and a few sculpting tools, anyone can craft realistic-looking sushi rolls, cupcakes, pizza slices, and more. This guide walks through every step of the process, from selecting materials to sealing your final pieces, while offering practical tips and insights to ensure success.
Why Pretend Play Food Keychains Matter
Pretend play isn’t just child’s play—it’s a powerful tool for cognitive and emotional development. According to early childhood educators, imaginative scenarios help children explore roles, practice language, and develop problem-solving skills. When children interact with handmade items like food keychains, they form deeper connections to their play narratives.
“Children assign meaning to objects they help create. A hand-sculpted donut isn’t just a toy—it becomes part of their story.” — Dr. Lena Reyes, Child Development Specialist
For adults, these crafts offer a meditative, screen-free outlet for creativity. The tactile nature of shaping small details in clay provides a calming sensory experience, similar to other mindful hobbies like knitting or drawing. Plus, completed keychains make charming keepsakes or thoughtful handmade gifts for friends and family.
Essential Materials and Tools
Before diving into creation, gather the right supplies. Most can be found at craft stores or online retailers. Here’s what you’ll need to get started:
- Polymer clay (in various colors—white, brown, red, yellow, green, etc.)
- Acrylic rolling pin or smooth bottle
- Clay sculpting tools (or toothpicks, needles, and butter knives)
- Aluminum foil (for lightweight cores)
- Oven-safe baking sheet
- Keychain rings (split rings or lobster clasps)
- Clear glaze or varnish (water-based polyurethane or liquid polymer)
- Sandpaper (fine grit: 400–600)
Choosing the Right Polymer Clay
Not all polymer clays are created equal. For small, detailed items like food keychains, use a brand known for fine detail retention and durability after baking. Sculpey III, Fimo Professional, and Premo! are top choices among crafters.
| Clay Type | Best For | Drying Method | Notes |
|---|---|---|---|
| Sculpey III | Beginners, soft textures | Oven-baked (275°F / 135°C) | Easier to shape but slightly brittle when cooled |
| Fimo Professional | Fine details, layered effects | Oven-baked (230°F / 110°C) | Firmer texture; holds sharp edges well |
| Premo! | Durability, strength | Oven-baked (275°F / 135°C) | Resistant to cracking; ideal for long-term wear |
Step-by-Step Guide to Crafting Your First Keychain
Follow this clear sequence to transform raw clay into a polished, wearable food charm.
- Choose your food item – Start simple: a donut, lemon slice, or taco. Avoid overly complex shapes at first.
- Prepare the base color – Roll a small ball or flat piece depending on the food. Use aluminum foil inside larger shapes to save clay and prevent cracking.
- Add layers and textures – For a donut, flatten the base, add a pink icing layer, then sprinkle colored clay bits. Use a toothpick to create sprinkles or score lines for burger buns.
- Bake according to instructions – Place on an oven-safe tray covered with parchment paper. Bake at the temperature specified by the clay brand for 15–30 minutes, depending on thickness.
- Cool completely – Never rush this step. Sudden temperature changes can cause cracks.
- Sand lightly – Smooth any rough edges with fine-grit sandpaper.
- Apply a protective glaze – Brush on 1–2 coats of clear varnish to enhance shine and protect details. Let dry fully between coats.
- Attach the keychain ring – Before baking, insert a small loop of wire or a metal jump ring into the clay so it bakes in place. Alternatively, glue a ring on after with strong adhesive.
Design Ideas and Creative Variations
Once you’ve mastered the basics, experiment with themed sets. Miniature food trends have taken social media by storm, with creators designing entire sushi trains or bakery displays in dollhouse scale.
Popular options include:
- Bento box items: rice balls, tamagoyaki, edamame
- Desserts: macarons, ice cream cones, chocolate bars
- Street food: hot dogs, pretzels, tacos
- Fruits: watermelon slices, cherries, bananas
Consider making matching sets for siblings or friends. A “breakfast trio” keychain set with toast, eggs, and bacon adds personality to lunchboxes. For adults, subtle designs like a coffee cup or avocado toast charm bring humor to work bags.
Mini Case Study: Emma’s Birthday Surprise Project
Emma, a kindergarten teacher from Portland, wanted a meaningful gift for her students’ end-of-year party. Instead of store-bought trinkets, she spent two weekends crafting 18 mini food keychains—one for each child. She made favorites based on what each student loved: dinosaur chicken nuggets, rainbow cupcakes, and even a tiny broccoli stalk for the pickiest eater.
The results were unforgettable. Children proudly clipped their keychains to backpacks and referred to them during dramatic play. One parent later shared a photo of their child using the keychain in a pretend restaurant setup at home. Emma noted, “It wasn’t about perfection—it was about connection. Each piece reminded them someone paid attention.”
Common Mistakes and How to Avoid Them
Even experienced crafters encounter issues. Being aware of common pitfalls helps you refine your technique faster.
| Problem | Causes | Solution |
|---|---|---|
| Cracked clay after baking | Uneven thickness, no core support, rapid cooling | Use foil centers, bake on low heat, let cool slowly in oven |
| Colors bleeding together | Overhandling mixed clays, oily hands | Wash hands between colors, use separate tools |
| Glaze appears cloudy | Applying too thickly, dust on surface | Light coats only; clean piece before glazing |
| Ring detaches easily | Weak attachment point, poor glue choice | Bake ring into clay or use epoxy glue post-bake |
Frequently Asked Questions
Can I use air-dry clay instead of polymer clay?
Air-dry clay is an option, but it’s generally less durable and more prone to cracking. It also requires longer drying times and may not hold fine details as well. If you choose air-dry clay, seal it thoroughly with multiple varnish layers to protect against moisture and breakage.
Are these safe for young children to handle?
Once baked and sealed, polymer clay keychains are non-toxic and safe for handling. However, they are not edible and should not go in mouths. Supervise children under age 3 during play, especially if small parts could detach.
How long do homemade keychains last?
With proper care, they can last years. Avoid prolonged sun exposure, extreme temperatures, and submersion in water. Store them in a dry pouch when not in use to preserve the finish.
Final Checklist Before You Begin
- Preparation
- ☐ Gather all materials
- ☐ Preheat oven (if using polymer clay)
- ☐ Clean workspace and tools
- During Crafting
- ☐ Condition clay thoroughly
- ☐ Work in stages for multi-color pieces
- ☐ Insert keyring before baking
- After Baking
- ☐ Cool completely
- ☐ Sand gently if needed
- ☐ Apply 1–2 coats of clear glaze
- ☐ Allow 24 hours for full curing
Start Creating Today
There’s something uniquely rewarding about holding a tiny object you shaped entirely by hand. DIY pretend play food keychains combine artistry, functionality, and storytelling in one compact form. They invite conversation, spark nostalgia, and celebrate the joy of making.
No special talent is required—just curiosity and a willingness to try. Start with one simple piece. Then another. Soon, you might find yourself building a whole menu of miniature meals, each with its own personality.


 浙公网安备
33010002000092号
浙公网安备
33010002000092号 浙B2-20120091-4
Comments
No comments yet. Why don't you start the discussion?