
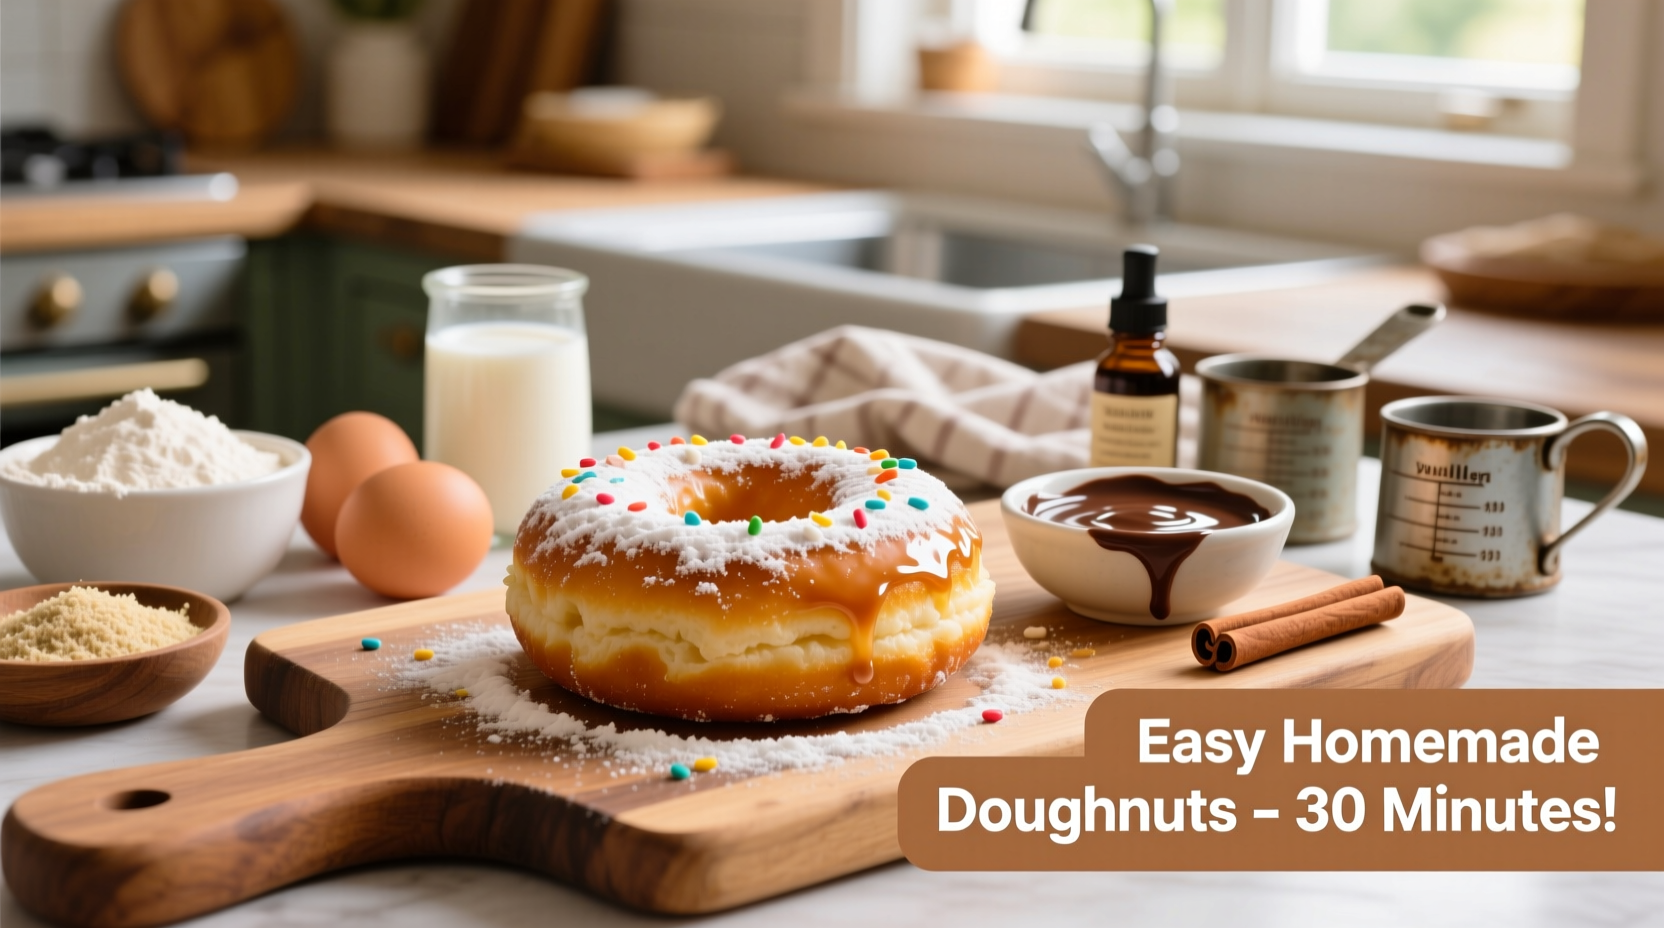
There’s something deeply satisfying about biting into a warm, pillowy homemade doughnut—freshly fried, lightly sweetened, and glazed to perfection. Unlike store-bought versions that often contain preservatives and artificial flavors, making doughnuts at home allows you to control every ingredient, ensuring a richer taste and better texture. The good news? You don’t need a bakery setup or years of experience. With this foolproof recipe and practical tips, you can create soft, golden doughnuts in your own kitchen using basic pantry staples.
The Secret to Perfect Homemade Doughnuts
The key to great doughnuts lies in the balance of ingredients and technique. Too much flour, and they turn out dense. Too little rise, and they lack that airy fluffiness. The ideal dough is slightly sticky but manageable—a sign it has enough moisture to stay tender after frying.
This recipe uses active dry yeast for natural leavening, which gives the doughnuts a subtle tang and authentic brioche-like richness. While some recipes call for baking powder (for cake-style doughnuts), yeast-raised doughnuts have a superior texture: light, slightly chewy, and capable of absorbing glaze without becoming soggy.
Easy Yeast-Raised Doughnut Recipe
This tried-and-tested recipe yields about 12–14 soft, golden doughnuts. It's beginner-friendly and requires only one rising cycle, so you can go from mixing bowl to frying pan in under two hours.
Ingredients
- ¾ cup (180ml) warm whole milk
- 2 ¼ teaspoons (1 packet) active dry yeast
- ⅓ cup granulated sugar
- 1 large egg, room temperature
- 1 egg yolk (reserve white for glaze)
- ¼ cup (57g) unsalted butter, melted and cooled slightly
- ½ teaspoon salt
- 2 ½ cups (300g) all-purpose flour (plus extra for dusting)
- Vegetable oil, for frying (about 1–2 quarts)
Glaze Options
- Classic Vanilla Glaze: 1 cup powdered sugar, 2 tbsp milk, ½ tsp vanilla extract
- Chocolate Dip: ½ cup melted chocolate chips + 1 tsp coconut oil
- Cinnamon Sugar Coating: ½ cup sugar + 1 tbsp ground cinnamon (toss warm doughnuts in mixture)
Step-by-Step Instructions
- Bloom the yeast: In a large mixing bowl, combine warm milk and sugar. Sprinkle yeast on top and let sit for 5–10 minutes until foamy.
- Mix wet ingredients: Stir in the egg, egg yolk, melted butter, and salt until well blended.
- Add flour: Gradually mix in the flour until a soft dough forms. Turn onto a floured surface and knead for 3–4 minutes until smooth and elastic.
- First rise: Place dough in a greased bowl, cover with a damp cloth, and let rise in a warm place for 1 hour or until doubled in size.
- Roll and cut: Punch down the dough and roll it out to ½-inch thickness. Use a round biscuit cutter (3–4 inches) and a smaller one in the center for the classic ring shape.
- Fry to golden perfection: Heat oil to 350°F (175°C) in a deep pot. Fry doughnuts 2 at a time for 1–2 minutes per side until golden brown. Drain on paper towels.
- Glaze while warm: Dip tops into prepared glaze or roll in cinnamon sugar. Let set before serving.
Do’s and Don’ts When Making Homemade Doughnuts
| Do’s | Don’ts |
|---|---|
| Use a candy/oil thermometer for precise frying temps | Overcrowd the pot when frying |
| Let dough rest after cutting for 5 minutes before frying | Use cold eggs or milk—they inhibit yeast activation |
| Glaze immediately after cooling slightly | Store glazed doughnuts in sealed containers (they get soggy) |
| Knead just until smooth—overworking develops gluten and toughens texture | Throw away scraps—re-roll once for consistent texture |
Real Home Baker Experience: How Sarah Nailed Her First Batch
Sarah, a home cook from Portland, had always avoided yeast recipes, fearing they’d fail. But after watching her kids devour stale grocery-store doughnuts, she decided to try this recipe on a rainy Sunday. She followed each step closely, even setting her oven to “warm” with the door cracked to create a proofing environment. To her surprise, the dough rose beautifully. She used a mason jar lid and a shot glass to cut the rings since she didn’t have proper cutters. After frying in vegetable oil, she dipped them in a simple vanilla glaze. “They tasted like a bakery,” she said. “My son asked if we could make them every weekend.” Now, she keeps the recipe printed on her fridge and rotates flavors—maple glaze on Mondays, chocolate on Fridays.
“The difference between average and amazing homemade doughnuts is patience. Let the dough rise fully, fry at the right temp, and glaze while warm—it makes all the difference.” — Chef Marcus Reed, Pastry Instructor at Pacific Culinary Institute
Variations and Creative Twists
Once you’ve mastered the base recipe, experiment with flavors and fillings to elevate your doughnuts:
- Lemon Poppy Seed: Add 1 tbsp lemon zest and 1 tsp poppy seeds to the dough. Glaze with lemon icing (powdered sugar + lemon juice).
- Maple Bacon: Top with maple glaze and crumbled cooked bacon for a sweet-savory favorite.
- Strawberry-Filled: Pipe homemade strawberry jam into cooled doughnuts using a piping bag with a narrow tip.
- Gluten-Free Option: Substitute all-purpose flour with a 1:1 gluten-free blend and add ½ tsp xanthan gum for structure.
- Baked Alternative: For a lighter version, bake doughnut shapes at 375°F for 10–12 minutes, then brush with butter and coat in sugar.
Frequently Asked Questions
Can I make the dough the night before?
Yes. After the first rise, punch down the dough, place it in an oiled container, cover, and refrigerate overnight. Let it come to room temperature for 30 minutes before rolling and frying the next day.
Why are my doughnuts oily?
This usually happens when the oil isn’t hot enough. Always preheat oil to 350°F and maintain the temperature. Fry in small batches to prevent drastic drops in heat.
How long do homemade doughnuts last?
Best eaten within 24 hours. Store unglazed doughnuts in an airtight container at room temperature for up to 2 days. Reheat briefly in a toaster oven to restore softness. Avoid refrigerating, as it accelerates staling.
Essential Checklist for Success
- ✔️ Check yeast freshness (expired yeast won’t rise)
- ✔️ Use room-temperature dairy and eggs
- ✔️ Measure flour correctly (spoon and level; don’t scoop)
- ✔️ Monitor oil temperature with a thermometer
- ✔️ Work in small frying batches
- ✔️ Glaze while doughnuts are still warm (but not hot)
- ✔️ Clean oil residue immediately after frying (cooled oil traps odors)
Conclusion: Start Your Doughnut Journey Today
Homemade doughnuts aren’t just a treat—they’re an experience. From the comforting aroma of rising dough to the sizzle of golden rings hitting hot oil, every step connects you to the joy of scratch cooking. This recipe proves that exceptional results don’t require professional gear or advanced skills. Whether you're surprising your family with breakfast delights or crafting a dessert for guests, these doughnuts deliver flavor, warmth, and pride in every bite.


 浙公网安备
33010002000092号
浙公网安备
33010002000092号 浙B2-20120091-4
Comments
No comments yet. Why don't you start the discussion?