
Removing vinyl from clothing can be a delicate task. Whether it’s peeling heat-transfer vinyl (HTV) from a faded design or correcting a misapplied decal, doing it incorrectly can lead to fabric tears, color loss, or permanent adhesive residue. Many people resort to aggressive scraping or harsh chemicals, only to ruin their favorite garments in the process. Fortunately, with the right tools and techniques, vinyl can be removed cleanly and safely—preserving both the integrity and appearance of the fabric.
This guide outlines proven, non-destructive approaches to vinyl removal, backed by textile care professionals and tested across multiple fabric types. From cotton tees to polyester blends, these strategies prioritize fabric safety while maximizing effectiveness.
Understanding Vinyl on Fabric
Vinyl applied to clothing—most commonly in the form of heat-transfer vinyl—is bonded using high temperature and pressure. This creates a strong adhesion between the vinyl layer and the fabric fibers. Unlike screen printing ink, which soaks into the material, HTV sits on top, forming a plastic-like film. Over time, exposure to washing, sunlight, and wear causes this bond to weaken, making removal more feasible.
The key challenge lies in breaking the adhesive bond without compromising the underlying textile. Different fabrics react differently to heat, solvents, and mechanical stress. For example, synthetic materials like polyester are sensitive to high heat and may melt, while cotton tolerates moderate heat but can stain if exposed to certain chemicals.
“Attempting to peel vinyl off cold is like tearing tape off a sweater—it pulls fibers and leaves jagged edges. You need controlled heat and patience.” — Dr. Lena Patel, Textile Restoration Specialist
Step-by-Step Guide: Safe Vinyl Removal Process
Follow this structured approach to minimize risk and maximize success when removing vinyl from clothing.
- Assess the garment: Check the fabric type, care label, and current condition of the vinyl. Is it cracked? Lifting at the edges? This helps determine the best starting point.
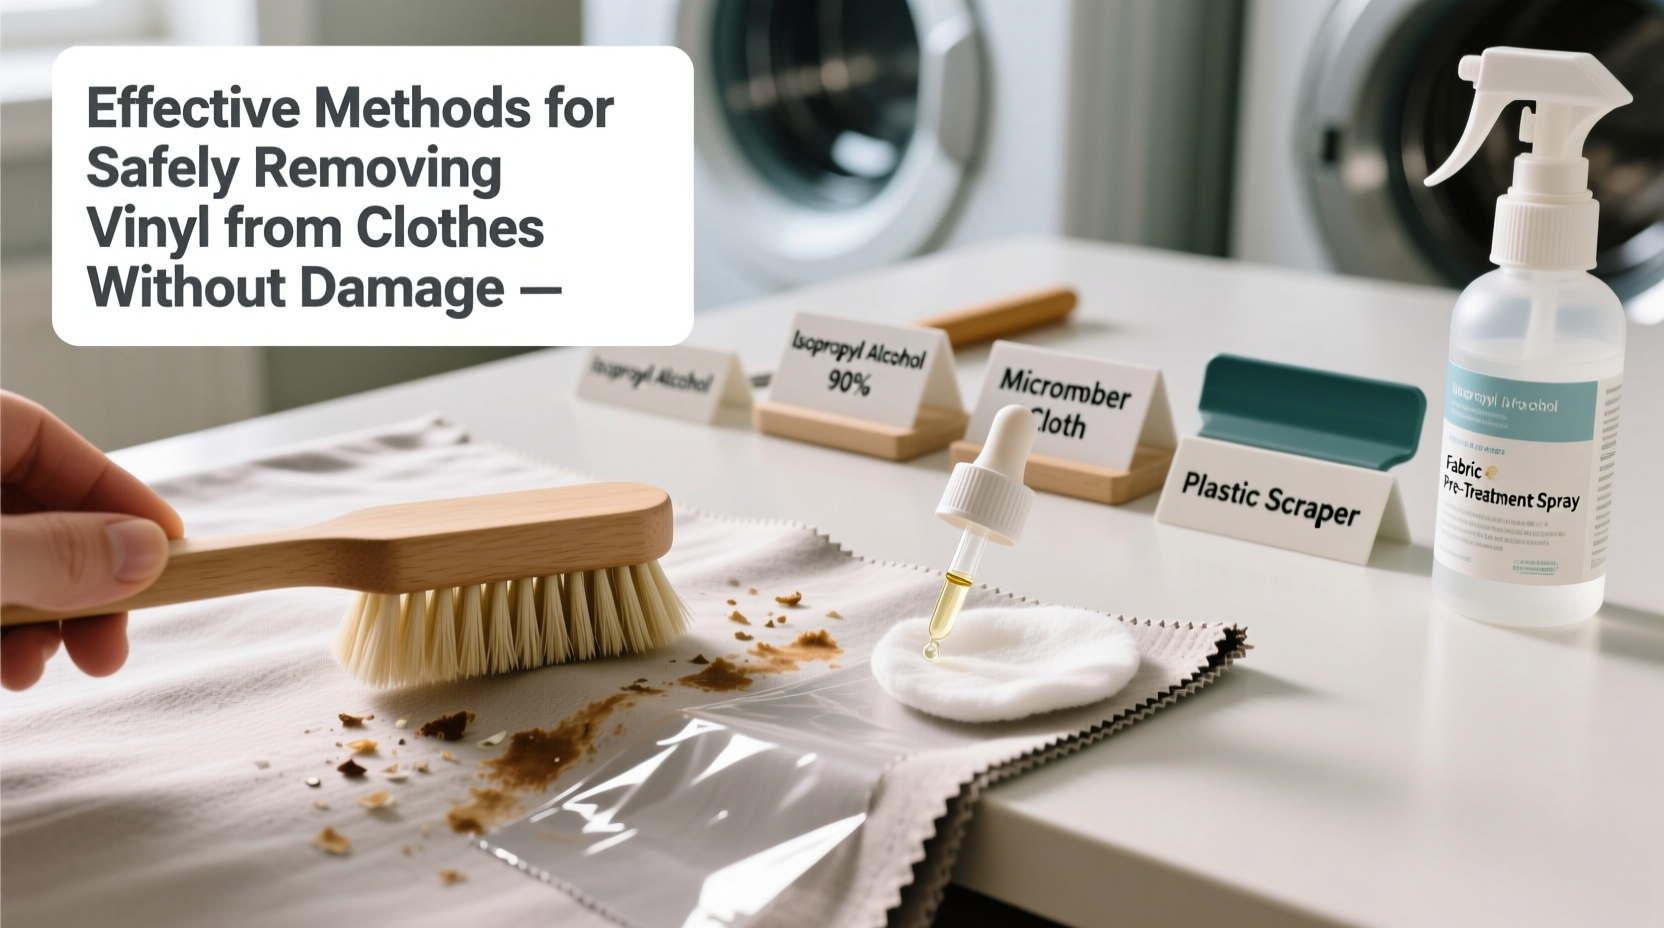
- Gather supplies: Iron, parchment paper or Teflon sheet, tweezers, cotton swabs, rubbing alcohol (70% isopropyl), hairdryer (optional), mild dish soap.
- Apply gentle heat: Set your iron to low or medium heat (no steam). Place a parchment paper over the vinyl and press for 10–15 seconds. This softens the adhesive.
- Lift an edge carefully: Use tweezers or a fingernail to gently lift one corner. If it resists, reapply heat. Never force it.
- Peel slowly at a 45-degree angle: Slow, steady pulling reduces strain on fabric fibers.
- Treat residual adhesive: Dab a cotton swab with rubbing alcohol and gently rub the sticky areas. Avoid soaking the fabric.
- Clean and rinse: Wash the garment according to its care instructions to remove any remaining residue.
Alternative Methods for Sensitive Fabrics
Not all garments can withstand direct ironing. Delicate materials such as silk, rayon, or moisture-wicking athletic wear require gentler treatment.
- Hairdryer method: Use a hairdryer on medium heat, held 3–4 inches from the vinyl, to warm the adhesive gradually. Then attempt lifting with tweezers.
- Frozen removal: For stiffened vinyl, place the garment in the freezer for 30 minutes. The cold makes the vinyl brittle, allowing careful flaking with a plastic card (like a gift card).
- Steam application: Hold the garment over a pot of boiling water (not touching the water) to apply indirect steam. This softens adhesive without direct contact.
These alternatives reduce thermal stress on fragile textiles while still enabling effective vinyl release.
Do’s and Don’ts of Vinyl Removal
| Do’s | Don’ts |
|---|---|
| Use parchment paper or Teflon sheet when applying heat | Use sharp blades or scissors near fabric surface |
| Work in a well-ventilated area when using solvents | Soak the fabric in acetone or nail polish remover |
| Peel slowly and consistently | Yank or pull rapidly |
| Test solvents on hidden seams first | Apply undiluted chemicals directly to colored fabric |
| Wash afterward to remove residue | Leave adhesive behind—it attracts dirt over time |
Real Example: Removing a Faded Logo from a Work Shirt
Jamie, a nurse, wanted to repurpose an old uniform shirt with a worn-out department logo made of vinyl. She didn’t want to discard it due to sentimental value but found the peeling design unprofessional. Using the iron-and-parchment method, she applied heat in 10-second intervals, lifting the edge with tweezers after each pass. The vinyl came off cleanly within five minutes. A quick swipe with an alcohol-dampened cotton pad removed minor stickiness. After laundering, the shirt looked nearly new and was later donated to a medical outreach program.
This case illustrates how even heavily adhered vinyl can be removed without harming durable cotton-polyester blends—provided patience and proper technique are used.
Checklist: Preparing for Vinyl Removal
- Identify fabric type and check care label
- Inspect vinyl for cracks or lifting edges
- Gather tools: iron, parchment paper, tweezers, rubbing alcohol, cotton swabs
- Choose a well-lit, ventilated workspace
- Perform a spot test for solvents on an inside seam
- Set iron to appropriate heat setting (low for synthetics, medium for cotton)
- Plan for post-removal washing
FAQ
Can I use vinegar instead of rubbing alcohol?
Vinegar is less effective at dissolving vinyl adhesive. While it’s safe for most fabrics, it lacks the solvent strength needed to break down stubborn glue. Rubbing alcohol is preferred for better results with minimal risk.
What if the vinyl breaks during removal?
If pieces break off, reapply heat to the remaining section and continue peeling. For tiny fragments, use a cotton swab dipped in alcohol to lift them gently. Avoid scrubbing, which can abrade the fabric.
Will removing vinyl leave a mark on the fabric?
In most cases, no visible mark remains if done correctly. However, prolonged exposure to heat or adhesive may cause slight discoloration on dark fabrics. Washing usually minimizes this effect.
Expert Tips for Long-Term Fabric Care After Vinyl Removal
Once the vinyl is gone, maintaining the garment’s quality matters. Residual adhesive can attract lint and dirt over time, so thorough cleaning is essential. For best results:
- Wash the item separately the first time after removal to prevent transferred residue.
- Avoid high-heat drying until you’re sure no adhesive remains.
- Store the garment flat or hung properly to prevent creasing in the treated area.
Conclusion
Removing vinyl from clothing doesn’t have to mean sacrificing the garment. With controlled heat, the right tools, and a methodical approach, even tightly bonded designs can be lifted safely—leaving your fabric intact and ready for reuse, donation, or redesign. The techniques outlined here protect both natural and synthetic textiles, ensuring longevity and versatility in your wardrobe.


 浙公网安备
33010002000092号
浙公网安备
33010002000092号 浙B2-20120091-4
Comments
No comments yet. Why don't you start the discussion?