
Removing adhesive residue left behind by 3M tapes—whether from Scotch tape, mounting strips, or industrial-grade products—can be frustrating if done incorrectly. Many people resort to scraping or harsh chemicals, only to damage paint, finishes, or delicate materials. The good news is that with the right approach, you can eliminate stubborn residue safely and effectively across a wide range of surfaces, from glass and metal to painted walls and wood.
Understanding how adhesives bond and what breaks them down is key to choosing the correct removal method. This guide provides practical, tested techniques backed by material science and real-world application, ensuring your surfaces remain unharmed while achieving a clean finish.
Understanding 3M Tape Residue
3M tapes use pressure-sensitive adhesives (PSAs), which form a temporary bond when pressed against a surface. These adhesives are designed to be strong yet removable under controlled conditions. However, over time or in extreme temperatures, they can degrade and leave behind a sticky, sometimes discolored film.
The composition varies by product line. For example:
- Scotch Magic Tape: Water-based adhesive, generally easier to remove.
- 3M VHB Tapes: Acrylic-based, extremely durable, and more resistant to solvents.
- Command Strips: Use a foam backing with a specialty adhesive designed for clean removal—but not always perfect.
Residue becomes problematic when it oxidizes or is exposed to heat, making it harder and stickier. Immediate action after tape removal increases the chances of a spotless result.
“Adhesive residues are often misunderstood. Most can be dissolved using low-risk solvents if applied correctly and patiently.” — Dr. Alan Reyes, Materials Scientist at the Institute for Surface Innovation
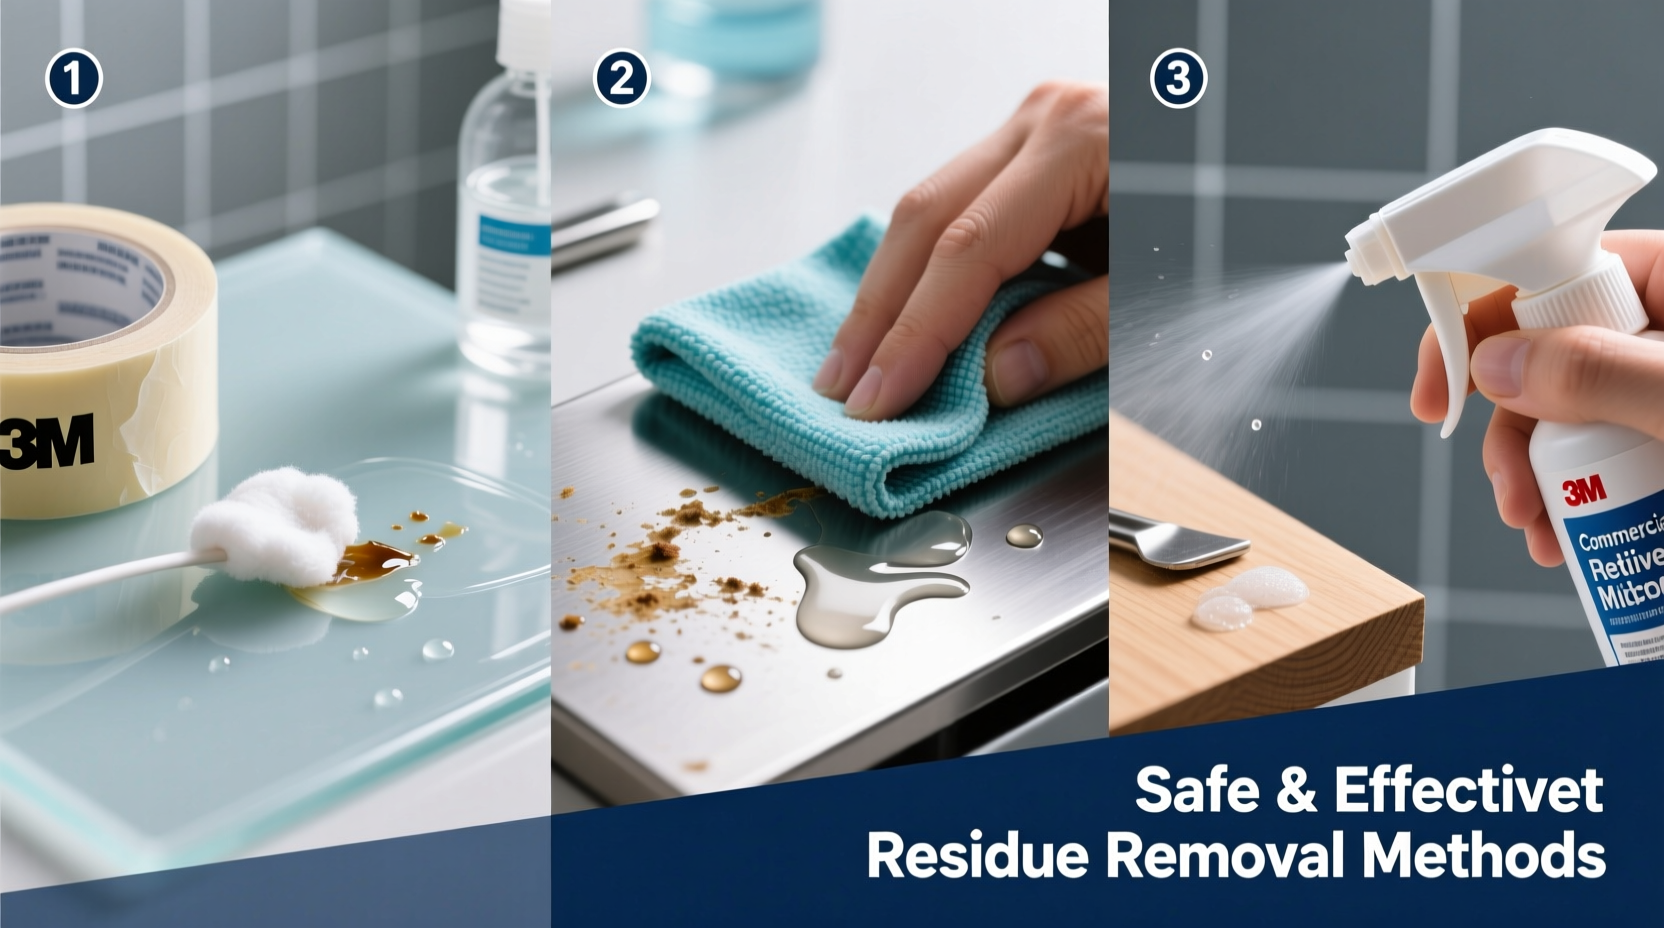
Step-by-Step Guide to Safe Residue Removal
Follow this structured process to remove 3M tape residue efficiently and safely on most household surfaces.
- Assess the Surface: Determine if it’s glass, painted drywall, plastic, wood, or metal. Each reacts differently to cleaning agents.
- Test in an Inconspicuous Area: Always test your chosen method on a small, hidden section first.
- Softening the Adhesive: Apply heat using a hairdryer for 30–60 seconds to soften the residue. This reduces the need for aggressive scrubbing.
- Choose a Solvent: Select one based on surface compatibility (see table below).
- Apply Gently: Dampen a microfiber cloth—never pour directly—and rub in circular motions.
- Wipe Clean: Use a separate damp cloth to remove any solvent residue.
- Dry Thoroughly: Prevent water spots or moisture buildup, especially on electronics or wood.
Recommended Solvents and Their Applications
Different solvents work by breaking down polymer chains in adhesives. Here's a comparison of common options:
| Solvent | Best For | Avoid On | Effectiveness |
|---|---|---|---|
| Isopropyl Alcohol (70%+) | Glass, metal, plastic, sealed countertops | Unsealed wood, some painted surfaces | ★★★★☆ |
| Household Oil (Olive, Coconut, Baby Oil) | Wood, skin, delicate finishes | Porous stone, fabric | ★★★☆☆ |
| Goo Gone (Citrus-Based) | Stubborn residues, appliances | Painted walls, thin plastics | ★★★★★ |
| WD-40 | Metal, heavy-duty residue | Wood, fabrics, electronics | ★★★★☆ |
| Vinegar + Baking Soda Paste | Eco-friendly option for light residue | Marble, limestone, aluminum | ★★☆☆☆ |
For sensitive electronics or screens, isopropyl alcohol is the safest bet due to its quick evaporation and low conductivity. For vintage furniture, opt for natural oils to avoid stripping protective coatings.
Real Example: Removing Command Strip Residue from Painted Walls
A homeowner in Portland used 3M Command hooks to hang seasonal decor in their living room. After removing the hooks, they noticed white, hazy residue around each anchor point—common when the adhesive separates from the foam strip.
Instead of scraping, they followed these steps:
- Heated the area with a hairdryer for 45 seconds.
- Applied a small amount of baby oil to a cotton pad.
- Gently rubbed in circular motions for two minutes.
- Wiped clean with a damp microfiber cloth.
The residue lifted completely without scuffing the paint. A final wipe with diluted dish soap restored the wall’s original matte finish.
Checklist: Safe 3M Residue Removal Protocol
Use this checklist before starting any cleanup project:
- ✅ Identify the surface type (glass, paint, wood, etc.)
- ✅ Check manufacturer guidelines for cleaning restrictions
- ✅ Gather supplies: microfiber cloths, solvent, hairdryer, cotton pads
- ✅ Test solvent on a hidden area
- ✅ Soften residue with heat before applying cleaner
- ✅ Work in small sections with gentle pressure
- ✅ Rinse or wipe away solvent residue
- ✅ Inspect results and repeat if necessary
Frequently Asked Questions
Can I use nail polish remover to remove 3M tape residue?
Acetone-based removers can be effective but are highly aggressive. They may damage paint, plastics, and rubber seals. Use only as a last resort on non-porous surfaces like metal or glass, and always dilute or wipe immediately after residue lifts.
Will rubbing alcohol damage car interiors?
High-concentration isopropyl alcohol can dry out leather and discolor vinyl. For automotive surfaces, use a dedicated interior cleaner or diluted alcohol (50/50 with water) and follow with a protectant. Always patch-test first.
How do I remove residue from electronic devices?
Power off the device. Use a lint-free cloth slightly dampened with 70% isopropyl alcohol. Avoid getting moisture into ports or seams. Gently wipe the affected area and let air dry before use.
Prevention and Long-Term Care
The easiest way to deal with tape residue is to avoid it altogether. Consider these preventive measures:
- Use reusable adhesive putty for lightweight items.
- Opt for hook-and-loop mounts instead of tape on walls.
- Remove tape within the recommended timeframe (usually 6–12 months).
- Keep surfaces dust-free before applying any adhesive—clean bonding improves clean removal.
If you must use tape, choose products labeled “residue-free” or “easy release,” such as 3M’s Post-it brand or Command line, which are engineered for minimal leftover adhesive.
Final Thoughts
Removing 3M tape residue doesn’t require harsh chemicals or risky tools. With patience and the right technique, you can restore surfaces to their original condition safely and effectively. Whether dealing with a sticky note left too long on a monitor or a mounted shelf bracket, the principles remain the same: identify, soften, dissolve, and clean.
By integrating these methods into your regular maintenance routine, you’ll preserve the appearance and integrity of your belongings—from home walls to office equipment.


 浙公网安备
33010002000092号
浙公网安备
33010002000092号 浙B2-20120091-4
Comments
No comments yet. Why don't you start the discussion?