
Capturing the northern lights—aurora borealis—is a dream for many travelers and photography enthusiasts. Once thought impossible with smartphones, modern iPhones now have the capability to photograph this celestial phenomenon with surprising clarity. With the right settings, timing, and preparation, you can take stunning images of the aurora without carrying professional camera gear. The key lies not in having the latest model alone, but in understanding how to use your iPhone’s tools effectively under extreme low-light conditions.
Understanding Your iPhone’s Capabilities
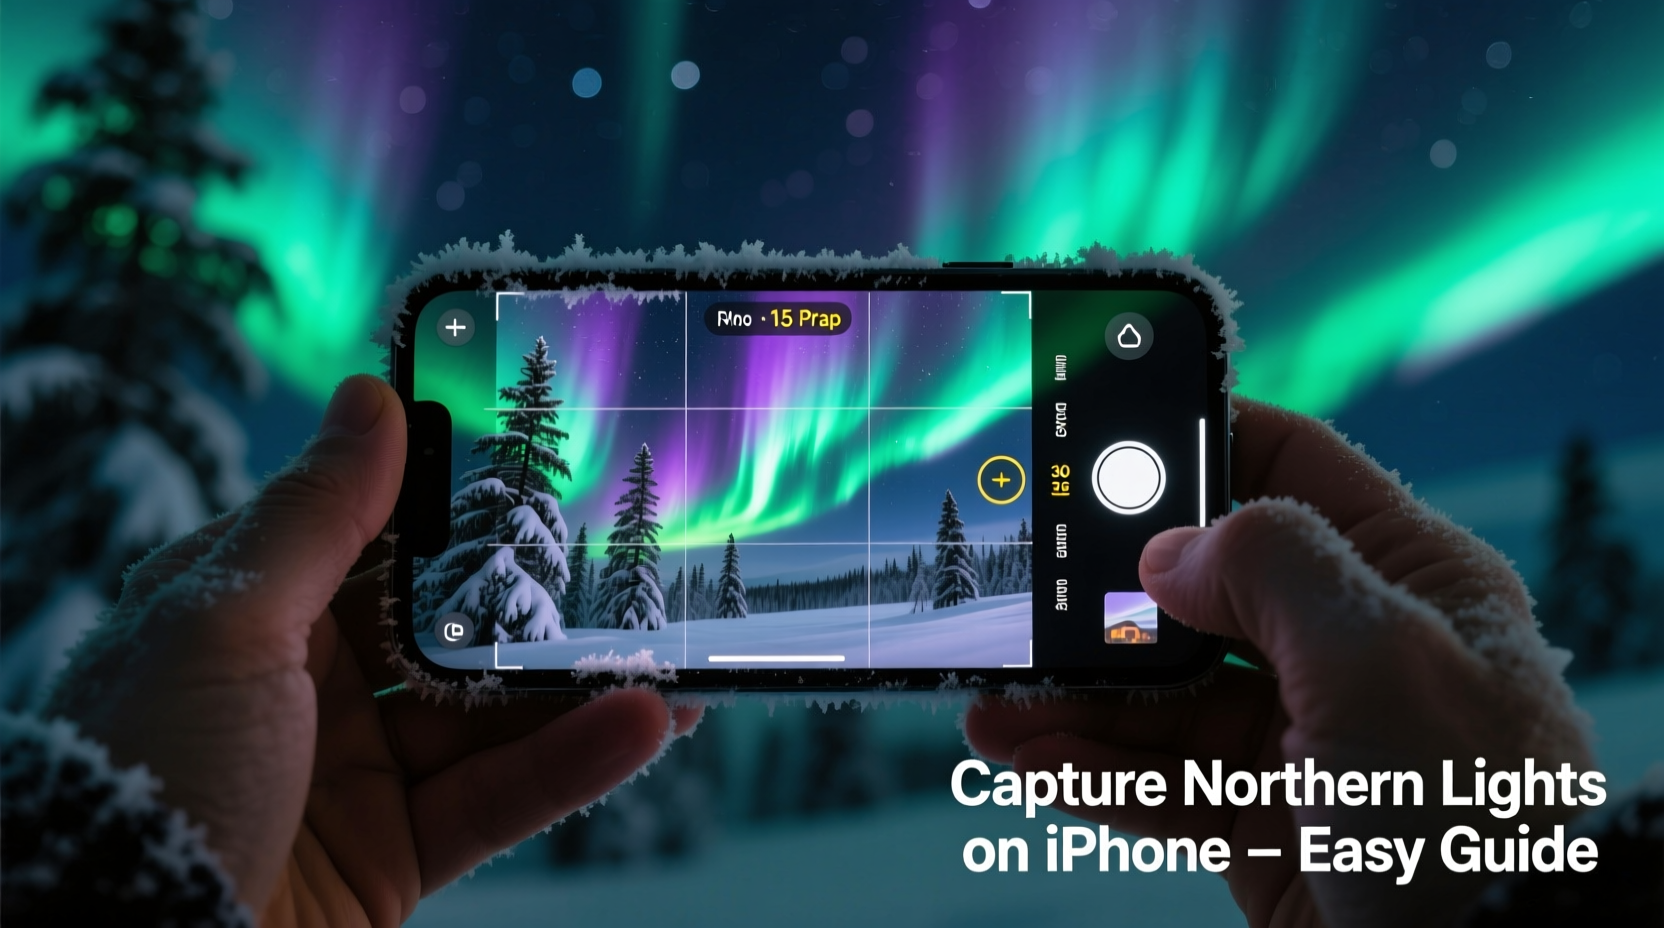
Since the introduction of Night mode starting with the iPhone 11, Apple has significantly improved low-light photography. Newer models like the iPhone 12 through iPhone 15 series feature advanced sensor-shift stabilization, larger apertures, and computational photography that make astrophotography more accessible than ever. Night mode automatically activates in dark environments, extending exposure time up to 30 seconds when stabilized—critical for capturing faint green or purple waves of the aurora.
However, automatic modes may struggle with fast-moving auroras or dim displays. Manual control is often necessary. While the native Camera app offers limited adjustments, third-party apps provide full control over ISO, shutter speed, focus, and white balance—essential parameters for night sky photography.
Step-by-Step Guide to Capturing Aurora on iPhone
Follow this practical sequence to maximize your chances of getting a sharp, vibrant photo of the northern lights:
- Check aurora forecasts: Use apps like My Aurora Forecast, Aurora Watch, or SpaceWeatherLive to monitor KP index levels (aim for KP 4+).
- Find dark skies: Travel away from city lights. Light pollution drastically reduces visibility and image contrast.
- Arrive early: Set up at least 30 minutes before peak activity. Allow your eyes—and your iPhone—to adjust to darkness.
- Enable Night mode manually: Open the Camera app, tap the moon icon to lock Night mode, and extend exposure by holding the timer icon or using volume buttons.
- Use a tripod or stabilizer: Even slight hand movement ruins long-exposure shots. A mini tripod designed for phones works best.
- Switch to a third-party app: Try ProCam, NightCap Camera, or Halide Mark II for manual controls over ISO (set between 800–3200) and shutter speed (4–15 seconds).
- Set focus to infinity: Tap to focus on a bright star or distant light, then lock focus by pressing and holding until “AE/AF Lock” appears.
- Adjust white balance: Slightly cooler temperatures (around 3500K–4500K) enhance green hues; warmer tones bring out reds in strong solar storms.
- Take multiple shots: Conditions change rapidly. Capture bursts to increase odds of catching a vivid wave.
- Review and retake: Zoom in on previews to check for blur or underexposure. Adjust settings accordingly.
Recommended Settings Comparison
| Setting | Native Camera (Night Mode) | Third-Party App (Manual Mode) |
|---|---|---|
| Shutter Speed | Auto (up to 30 sec if stable) | Manual (1–30 sec) |
| ISO | Auto (typically 25–1000) | Manual (800–3200 adjustable) |
| Focus | Auto-focus only | Manual focus to infinity |
| White Balance | Auto | Custom Kelvin adjustment |
| Best For | Beginners, moderate aurora | Strong aurora, creative control |
Real Example: Shooting the Lights in Tromsø
Travel photographer Lena Reyes traveled to Tromsø, Norway, in February 2023 hoping to capture the aurora with just her iPhone 14 Pro. Despite sub-zero temperatures and wind chill, she used a compact phone tripod and the NightCap Camera app. She set ISO to 1600, shutter speed to 8 seconds, and manually focused on Polaris. Over two nights, she captured over 70 images, later selecting five where ribbons of green light danced above snow-covered fjords. One photo, shared on Instagram, gained over 50,000 likes—not because of high-end gear, but due to precise timing, stability, and correct exposure.
“Smartphones won’t replace DSLRs in every scenario, but for spontaneous aurora chasers, the iPhone is now a legitimate tool.” — Dr. Marcus Lin, Astrophotography Researcher at Nordic Institute of Imaging
Essential Tips for Success
- Keep your iPhone warm: Cold drains batteries quickly. Store it inside your coat when not shooting.
- Turn off flash and HDR: These interfere with low-light processing.
- Avoid digital zoom: It degrades image quality. Shoot wide and crop later.
- Use headphones as a remote: Connect wired earbuds and press the volume button to snap photos without touching the screen.
- Shoot in ProRAW (if available): Available on Pro models, this preserves maximum detail for post-processing.
Common Mistakes to Avoid
Even experienced mobile photographers make errors when chasing the aurora. Recognizing these pitfalls improves results:
- Holding the phone by hand: Any movement causes blur. Always stabilize.
- Waiting for visible lights before setting up: The human eye sees aurora later than cameras detect them. Be ready early.
- Over-editing in post: Excessive brightness or saturation makes images look fake. Enhance subtly.
- Using dirty lenses: Snowflakes or fingerprints smear light. Carry a microfiber cloth.
- Ignoring battery life: Cold reduces battery efficiency. Carry a power bank rated for winter use.
FAQ
Can older iPhones capture the northern lights?
Yes, though with limitations. iPhones from the 11 series onward support Night mode, which increases low-light sensitivity. Older models may require third-party apps and perfect conditions to produce usable results, but success is possible during strong geomagnetic storms.
Do I need an external lens or filter?
No. External lenses often degrade image quality due to added glass and distortion. The iPhone’s wide-angle lens is ideal for capturing broad swaths of sky. Filters are unnecessary and may block critical light.
How do I edit aurora photos effectively?
Use built-in editing tools or apps like Snapseed or Lightroom Mobile. Slightly increase contrast, shadows, and vibrance. Reduce noise if needed, but avoid over-sharpening. For ProRAW files, fine-tune exposure and color temperature for natural-looking results.
Final Checklist Before You Head Out
- Charge your iPhone and bring a rugged power bank.
- Download aurora forecast apps and check KP index.
- Pack a phone tripod or stabilizing surface.
- Install a manual camera app (e.g., NightCap or ProCam).
- Dress warmly—especially hands and face—for extended outdoor time.
- Wipe the lens clean and disable True Tone display to avoid color shifts.
- Test setup during twilight to ensure everything works before full darkness.
Conclusion
Capturing the northern lights on an iPhone no longer requires luck or miracles—it demands preparation, patience, and smart technique. Modern iPhones are equipped with powerful sensors and intelligent software capable of revealing the aurora’s magic, even in beginner hands. By leveraging Night mode, manual controls, and simple stabilization tools, you can create breathtaking images that rival those taken with traditional cameras. Whether you're standing on a frozen lake in Alaska or hiking a ridge in Iceland, your pocket-sized device holds the potential to document one of nature’s most awe-inspiring shows.


 浙公网安备
33010002000092号
浙公网安备
33010002000092号 浙B2-20120091-4
Comments
No comments yet. Why don't you start the discussion?