
Your toothbrush is essential for daily oral hygiene, but it can also become a breeding ground for bacteria, mold, and viruses if not properly cleaned and stored. After every use, it comes into contact with saliva, food particles, and even airborne bathroom germs—especially if stored near a toilet. Over time, microbial accumulation may compromise both the brush’s effectiveness and your health. Fortunately, simple, accessible techniques can keep your toothbrush hygienic without relying on commercial products or complicated tools. By integrating a few consistent habits, you can maintain a cleaner brushing routine and reduce the risk of cross-contamination.
Why Cleaning Your Toothbrush Matters
While brushing removes plaque from your teeth, the bristles trap microorganisms that can multiply between uses. Studies have identified hundreds of bacterial species on used toothbrushes, including streptococci, staphylococci, and even fecal coliforms in poorly ventilated bathrooms. Though a healthy immune system typically prevents infections from these microbes, individuals with compromised immunity, recent illness, or oral wounds should take extra precautions.
The American Dental Association (ADA) acknowledges that while there's no definitive evidence linking toothbrush contamination to illness in healthy people, proper care minimizes potential risks. Regular cleaning helps preserve bristle integrity, prevents odor development, and supports overall oral wellness.
Step-by-Step Guide to Sanitizing Your Toothbrush at Home
Effective sanitization doesn’t require expensive gadgets. With common household items, you can significantly reduce microbial load on your toothbrush. Follow this practical sequence weekly—or more often during illness:
- Rinse thoroughly: Immediately after brushing, wash the head under warm running water for at least 30 seconds to dislodge trapped particles.
- Soak in an antimicrobial solution: Choose one of the safe options detailed below and immerse the bristle head for 5–15 minutes.
- Rinse again: After soaking, flush the bristles once more to remove any residual cleaning agent.
- Air-dry upright: Store the brush vertically in a holder that allows full airflow; avoid covering or enclosing it.
- Replace regularly: Change your toothbrush every 3–4 months, or sooner if bristles fray or you’ve been sick.
Proven Home Methods for Toothbrush Sanitization
Different approaches offer varying levels of germ reduction. Here are the most effective and research-supported techniques you can perform at home:
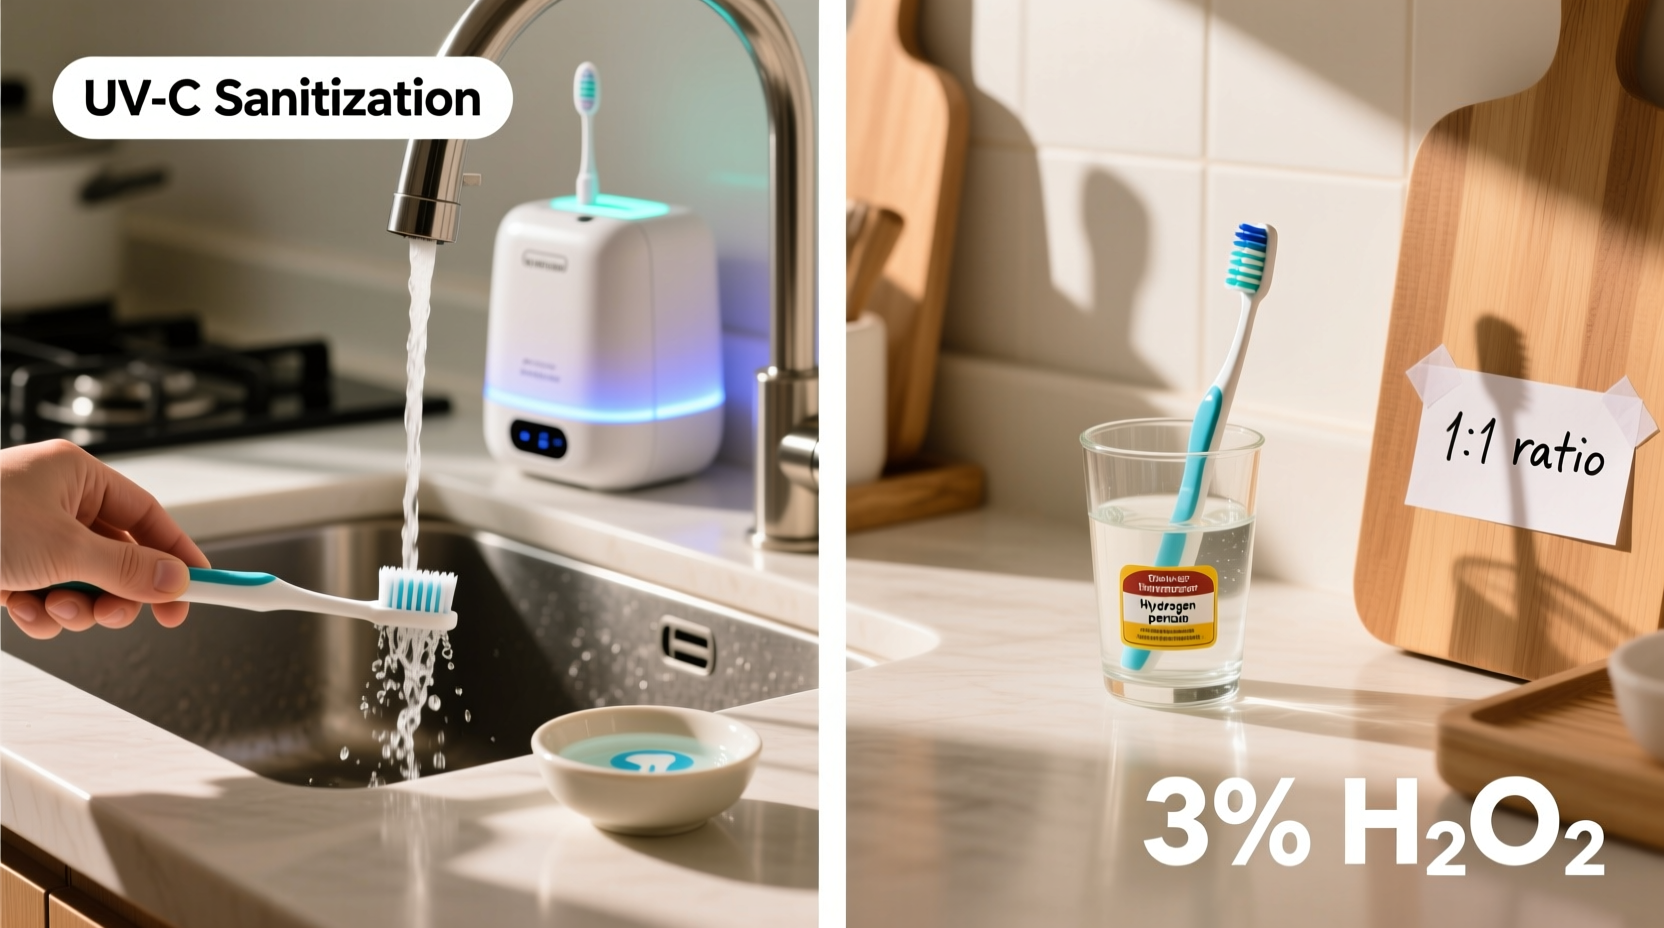
- Hydrogen Peroxide (3%) Soak: A 2020 study published in the Journal of Dental Hygiene found that soaking toothbrushes in 3% hydrogen peroxide for 10 minutes reduced bacterial colonies by over 85%. Replace the solution daily if using for multiple brushes.
- Mouthwash Disinfection: Use an alcohol-based, antimicrobial mouthwash (e.g., containing cetylpyridinium chloride). Soak the head for 15–20 minutes weekly. Avoid prolonged exposure, as some ingredients may degrade nylon bristles.
- Vinegar Solution: Mix equal parts white vinegar and water. Soak for 30 minutes weekly. Acetic acid in vinegar has natural antibacterial and antifungal properties. Rinse well afterward due to acidity.
- Boiling Water (Use with Caution): Dip the bristle head in boiling water for no more than 5 seconds. This method kills many pathogens but may warp plastic handles or melt glued components over time. Not recommended for electric brush heads.
- Baking Soda Paste: Create a paste with baking soda and water. Gently scrub bristles with a fingertip or soft cloth, then rinse. This aids mechanical cleaning and neutralizes odors.
“Even though our mouths are naturally full of bacteria, minimizing external microbial load on toothbrushes is a smart preventive step.” — Dr. Lena Patel, Clinical Dentist and Oral Health Educator
Do’s and Don’ts of Toothbrush Care
| Do’s | Don’ts |
|---|---|
| Store toothbrushes upright to encourage drying | Store in closed containers or capped covers |
| Keep brushes separated to avoid cross-contact | Let toothbrushes touch each other in shared holders |
| Rinse thoroughly after each use | Tap brushes against the sink to dry—this spreads germs |
| Replace toothbrush after illness (e.g., cold, flu, strep) | Continue using the same brush post-illness without replacement |
| Clean the toothbrush holder weekly | Ignore mold or buildup in the holder |
Real-Life Example: Reducing Household Germ Transmission
In a suburban household of four, recurring colds among family members prompted a mother of two to investigate possible sources of reinfection. After consulting her dentist, she learned that shared toothbrush holders—often left damp and covered—could harbor lingering viruses. She implemented changes: each family member got a labeled, ventilated upright holder placed away from the toilet. They began weekly hydrogen peroxide soaks and replaced brushes after any illness. Within two months, the frequency of upper respiratory infections dropped noticeably. While not solely attributable to toothbrush hygiene, the family credited the change as part of a broader shift toward better germ control.
Checklist for Weekly Toothbrush Maintenance
- ☐ Rinse brush thoroughly after every use
- ☐ Soak in hydrogen peroxide or antimicrobial mouthwash once per week
- ☐ Inspect bristles for fraying or discoloration
- ☐ Wash toothbrush holder with hot, soapy water or run through dishwasher
- ☐ Allow brush to air-dry completely before next use
- ☐ Replace toothbrush every 3–4 months or post-illness
- ☐ Avoid sharing toothbrushes—even with close family
Frequently Asked Questions
Can I use my dishwasher or microwave to sanitize my toothbrush?
No. Dishwashers expose brushes to extreme heat and detergents that can damage bristles and handles. Microwaving poses fire risks and can melt components. Stick to soaking or brief boiling only on the bristle end.
Is UV sanitizer worth buying for home use?
UV-C devices can reduce surface microbes, but their effectiveness depends on exposure time and positioning. For most households, consistent rinsing, proper storage, and weekly soaking are sufficient and more cost-effective. If you're immunocompromised, a UV sanitizer may offer added peace of mind—but don't rely on it alone.
How often should I clean my toothbrush holder?
At minimum, wash your holder weekly with hot, soapy water or in the dishwasher if applicable. Mold and biofilm can build up quickly in moist environments. Consider replacing plastic holders every few months if they show signs of staining or wear.
Final Thoughts and Call to Action
Cleaning and sanitizing your toothbrush is a small habit with meaningful long-term benefits. You don’t need specialized equipment or costly solutions—just consistency and awareness. By incorporating simple routines like weekly soaking, proper storage, and timely replacement, you protect not only your oral health but your overall well-being. These practices are especially valuable during cold and flu season or when recovering from illness.


 浙公网安备
33010002000092号
浙公网安备
33010002000092号 浙B2-20120091-4
Comments
No comments yet. Why don't you start the discussion?