
When renovating or repainting a surface, knowing the type of existing paint is critical to ensuring compatibility, durability, and a professional finish. Oil-based paint was once the standard for trim, doors, and high-traffic areas due to its hard, durable finish. However, with the rise of water-based latex paints, distinguishing between the two has become essential—especially when preparing surfaces for new coats. Applying latex over oil without proper preparation can lead to peeling, cracking, or poor adhesion. This guide outlines reliable, practical methods to identify oil-based paint so you can make informed decisions on your next painting project.
Why Identifying Paint Type Matters
The distinction between oil-based and latex paint isn’t just about chemistry—it affects how surfaces behave during prep, priming, and topcoating. Oil-based paints form a harder, more impermeable film that resists moisture and wear, making them ideal for woodwork and cabinets. Latex paints, on the other hand, are flexible, faster-drying, and easier to clean up with water.
Painting over oil-based finishes with latex requires specific primers (such as bonding or shellac-based primers) to ensure adhesion. Skipping this step risks premature failure of the new coat. Additionally, sanding oil-based paint produces finer dust and may require better ventilation due to potential lead content in older layers.
“Misidentifying paint type is one of the most common causes of repaint failure in DIY projects.” — James Holloway, Professional Painting Contractor with 25+ years in residential restoration
Visual and Tactile Inspection Techniques
While not definitive, initial observations can provide strong clues about the paint type.
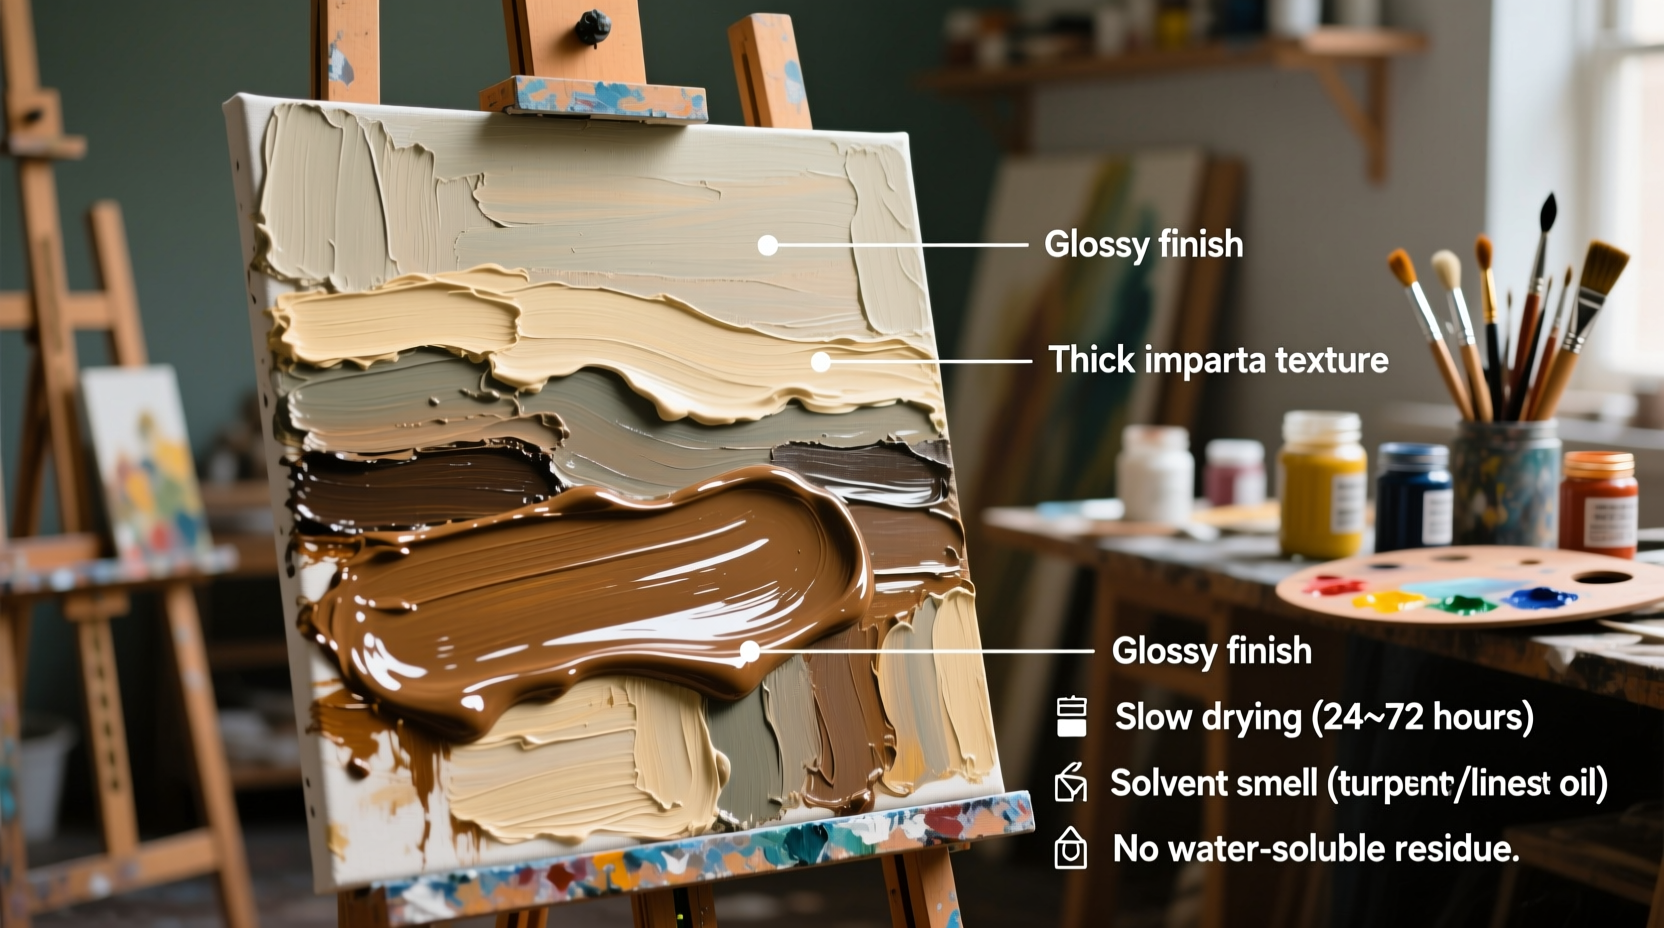
- Gloss and Sheen: Oil-based paints typically have a deeper, richer gloss compared to latex, especially in older applications. High-gloss trim from the 1980s or earlier is often oil-based.
- Surface Hardness: Gently press a fingernail into an inconspicuous area. Oil-based paint is less likely to leave an impression than softer latex.
- Cracking Pattern: Over time, oil-based paint tends to develop fine, alligator-like cracks across large surfaces, especially on wood that expands and contracts. Latex usually remains more flexible.
- Color Yellowing: Oil-based paints, particularly white or off-white, tend to yellow with age, especially in low-light areas like interiors of closets or behind furniture.
The Rub Test: A Reliable DIY Method
The rubbing alcohol (isopropyl alcohol) test is one of the most accurate ways to differentiate between oil and latex paint without lab analysis.
- Clean a small area (about 2x2 inches) with mild soap and water; let dry completely.
- Dampen a white cotton rag or paper towel with 90%+ isopropyl alcohol.
- Firmly rub the surface for 10–15 seconds using moderate pressure.
- Observe the result:
- If the paint softens, transfers color to the cloth, or becomes tacky—likely latex.
- If the surface remains intact and no residue appears—the paint is likely oil-based.
This works because alcohol breaks down the polymers in latex paint but has little effect on cured oil-based coatings. Be cautious: if multiple layers exist, the top layer may be latex over oil, which could yield mixed results.
Chemical and Solvent Reaction Test
A variation of the rub test uses household solvents to assess paint response. Use this method only in well-ventilated areas and wear gloves.
| Solvent | Latex Reaction | Oil-Based Reaction |
|---|---|---|
| Isopropyl Alcohol | Softens, smudges, lifts | No change |
| Mineral Spirits | No change | Slightly tacky, may dull sheen |
| Acetone (use sparingly) | Mild softening | Possible slight softening |
Apply each solvent to separate, hidden spots using a clean rag. Mineral spirits may slightly affect oil-based paint by removing polish or wax buildup but won’t dissolve the paint itself. If alcohol removes paint, it’s almost certainly latex.
Historical Context and Building Age Clues
Understanding the era of construction can help narrow down paint type probabilities.
- Pre-1970s: Oil-based paint was dominant, especially on trim, doors, and cabinetry.
- 1970s–1990s: Transition period. Oil remained popular for durability, but latex gained ground for walls.
- Post-2000: Water-based acrylic/latex became standard due to lower VOCs and easier cleanup. Oil use declined sharply.
However, renovations may complicate assumptions. A home built in 1950 might have been repainted with latex in 2010. Always verify with physical testing rather than relying solely on age.
Mini Case Study: The Problematic Kitchen Cabinet Makeover
A homeowner decided to repaint their 1980s kitchen cabinets with a modern matte latex finish. They cleaned the surfaces but skipped paint identification. Within weeks, the new paint began peeling in sheets. A contractor later diagnosed the issue: the original glossy finish was oil-based, and no deglossing or priming had been done. After sanding, applying a shellac-based primer (like BIN), and recoating, the finish lasted years. The initial mistake cost extra time and materials—but could have been avoided with a simple alcohol rub test.
Lead Safety Consideration in Older Paint
If your home was built before 1978, any paint layer—even if identified as oil-based—may contain lead. Sanding or scraping such paint without precautions releases toxic dust.
Lead test kits are available at hardware stores and provide results in minutes. Positive results require following lead-safe work practices or hiring certified abatement professionals.
Step-by-Step Guide to Confidently Identify Oil-Based Paint
- Inspect visually: Look for gloss level, yellowing, and cracking patterns.
- Check building age: Homes before 2000 are more likely to have oil-based paint on trim.
- Clean the test area: Remove dirt, wax, or polish that could interfere with tests.
- Perform the alcohol rub test: Use isopropyl alcohol on a white cloth; rub firmly.
- Confirm with mineral spirits: Apply to a different spot—if no reaction, supports oil-based identification.
- Test multiple layers if needed: Scrape carefully through layers to test underlying coats.
- Conduct lead testing if applicable: Especially important in homes built before 1978.
Common Mistakes to Avoid
- Assuming all glossy paint is oil-based: Modern latex paints come in high-gloss finishes.
- Skipping prep in hidden areas: Always test in closets, behind doors, or under window sills first.
- Using water instead of alcohol: Water doesn’t react reliably with either paint type.
- Ignoring layered paint systems: A latex topcoat over oil can mislead your test results.
FAQ
Can I paint latex over oil-based paint?
Yes, but only after proper surface preparation. Clean the surface, lightly sand to de-gloss, and apply a high-adhesion primer like shellac-based (e.g., BIN) or bonding primer. Then apply your latex topcoat.
Is oil-based paint still used today?
Yes, though less commonly. It’s still favored for high-wear surfaces like stair rails, front doors, and cabinetry where extreme durability is needed. Some manufacturers offer hybrid alkyd paints with lower VOCs.
What if the alcohol test gives unclear results?
Try repeating the test in another location. If the paint softens slightly but doesn’t lift, you may have a newer alkyd (waterborne oil) paint. In uncertain cases, assume an oil base and prime accordingly to ensure adhesion.
Final Checklist: Confirming Oil-Based Paint
- ☐ Visual inspection complete – gloss, yellowing, cracking noted
- Document appearance in multiple areas.
- ☐ Rub test performed with isopropyl alcohol
- No softening or transfer indicates oil-based.
- ☐ Mineral spirits test confirms resistance
- Supports non-latex composition.
- ☐ Lead test conducted (if pre-1978)
- Ensure safe handling procedures.
- ☐ Surface ready for appropriate primer
- Select primer based on final confirmation.
Conclusion
Accurately identifying oil-based paint is a small step that prevents major setbacks in painting projects. Whether you're refreshing old trim or updating a vintage door, taking ten minutes to test can save days of repair work later. Combine visual clues with the alcohol rub test and historical awareness to make confident decisions. When in doubt, prepare for oil—proper priming ensures success regardless of the underlying coating.


 浙公网安备
33010002000092号
浙公网安备
33010002000092号 浙B2-20120091-4
Comments
No comments yet. Why don't you start the discussion?