
When you bring home a new refrigerator, it often comes adorned with manufacturer labels, price tags, warranty stickers, and promotional decals. While these serve their purpose in retail settings, they rarely align with the sleek, clean aesthetic most homeowners want in their kitchens. Removing them seems simple—until you're left with sticky residue or, worse, fine scratches on the finish. The good news is that with the right tools and techniques, you can eliminate refrigerator stickers safely and completely, preserving both appearance and value.
The challenge lies in balancing effectiveness with surface safety. Refrigerator surfaces—especially stainless steel, painted finishes, or laminated panels—are surprisingly delicate. Harsh scraping or chemical solvents can dull the finish, invite corrosion, or create permanent marks. This guide delivers practical, tested solutions that prioritize protection while ensuring total sticker and adhesive removal.
Understanding Your Refrigerator Surface
Before applying any method, identify your refrigerator’s exterior material. The wrong approach on the wrong surface can lead to irreversible damage.
- Stainless Steel: Resists rust but is prone to fine scratches and fingerprint smudges. Avoid abrasive pads and chlorine-based cleaners.
- Painted or Coated Metal: Common on white, black, or colored models. These surfaces can chip or discolor if exposed to harsh solvents like acetone.
- Laminated or Plastic-Finish Panels: Often found on budget models. Sensitive to heat and alcohol-based products.
“Always test any cleaning solution on a small, inconspicuous area first. What works on one finish may damage another.” — Carlos Mendez, Appliance Finish Specialist at Modern Home Care Labs
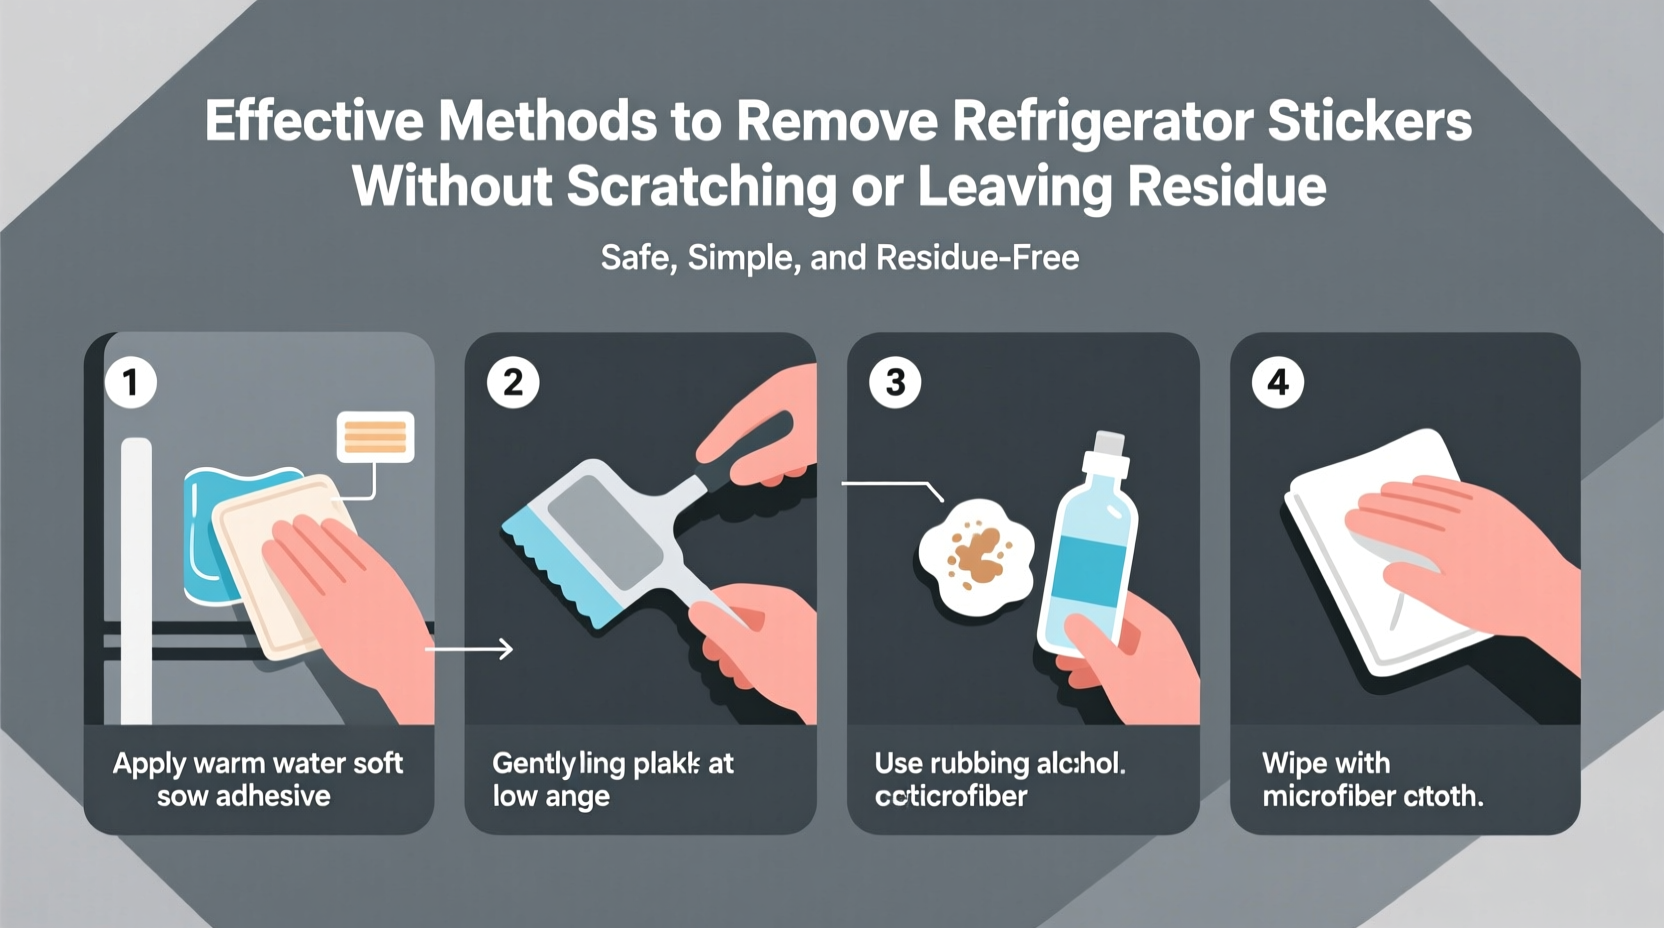
Step-by-Step Guide: Safe Sticker Removal Process
Follow this sequence for optimal results. Patience is key—rushing increases the risk of damage.
- Peel what you can by hand. Start at a corner and lift slowly. If the sticker resists, don’t force it. Move to the next step.
- Apply gentle heat. Use a hairdryer on low setting, holding it 6 inches from the sticker for 30–60 seconds. Heat softens adhesive, making removal easier.
- Continue peeling. As the glue softens, the sticker should pull away cleanly. Work slowly around edges.
- Treat remaining residue. Choose a safe solvent based on your surface (see table below).
- Clean and polish. Wipe the area with a damp microfiber cloth, then dry thoroughly. For stainless steel, follow with a grain-aligned polish.
Top 5 Residue-Removal Methods Compared
Different adhesives respond better to different treatments. Below is a comparison of common household solutions, ranked by effectiveness and safety.
| Method | Best For | Effectiveness | Risk Level | Notes |
|---|---|---|---|---|
| Hairdryer + Fingernail | All surfaces | ★★★☆☆ | Low | Ideal for fresh stickers; minimal residue left behind |
| Warm Soapy Water | Paper stickers, light adhesive | ★★☆☆☆ | Very Low | Soak a cloth and let sit for 5–10 minutes before wiping |
| Isopropyl Alcohol (70%) | Stainless steel, glass | ★★★★☆ | Moderate | Avoid on painted or plastic finishes—can cause hazing |
| White Vinegar + Baking Soda Paste | Stubborn residue, eco-conscious users | ★★★☆☆ | Low | Mix into a thick paste; apply, wait 5 mins, gently rub with soft cloth |
| Goo Gone (Original Formula) | Heavy-duty adhesive | ★★★★★ | Moderate | Use sparingly; wipe off immediately after residue lifts |
Real Example: Removing a Price Tag from Stainless Steel
Sarah from Portland purchased a new French-door refrigerator. After removing the outer packaging, she noticed a large barcode label on the door near the handle—a high-visibility spot. She tried peeling it, but the adhesive held strong, stretching without lifting.
She grabbed a hairdryer and warmed the sticker for about 45 seconds. Using a plastic gift card edge, she gently lifted a corner. The sticker peeled cleanly. A faint residue remained. Sarah applied a few drops of isopropyl alcohol to a cotton pad and wiped in the direction of the metal grain. Within seconds, the area was clear. She finished with a stainless steel cleaner and a microfiber cloth. No scratches, no haze—just a pristine finish.
Do’s and Don’ts of Sticker Removal
| Do’s | Don’ts |
|---|---|
| Use plastic cards, credit cards, or guitar picks to lift edges | Use metal scrapers or box cutters |
| Test solvents on a hidden area (like the back or side panel) | Apply full-strength essential oils or undiluted vinegar directly |
| Let solutions dwell for 1–2 minutes to break down adhesive | Rub aggressively in circular motions |
| Clean the area afterward with mild dish soap and water | Leave residue removers on the surface for extended periods |
Checklist: Remove Stickers Safely in 6 Steps
- Identify your refrigerator’s surface type
- Gather supplies: hairdryer, microfiber cloths, plastic scraper, chosen solvent
- Warm the sticker with a hairdryer for 30–60 seconds
- Peel slowly using a plastic edge tool
- Apply residue remover with a soft cloth; let sit briefly
- Wipe clean, rinse with damp cloth, and dry thoroughly
Frequently Asked Questions
Can I use WD-40 to remove refrigerator stickers?
While WD-40 can dissolve adhesive effectively, it leaves an oily film and may degrade certain finishes over time. If used, apply minimally, wipe off immediately with a soapy cloth, and rinse well. Not recommended for regular use.
Will vinegar damage my stainless steel fridge?
Plain white vinegar is generally safe when diluted and wiped off promptly. However, prolonged exposure or frequent use can dull the finish. Always follow up with a stainless steel polish to restore luster and protect the surface.
What if the sticker has been on for years and is brittle?
Old, dried stickers are more challenging. Begin with heat application to rehydrate the adhesive. Then, use a damp cloth soaked in warm soapy water and lay it over the sticker for 10–15 minutes. This softens the bond, allowing safer lifting.
Final Tips for Long-Term Surface Protection
Once the sticker is gone, maintain the surface to prevent future issues. Regular cleaning with a microfiber cloth and pH-neutral cleaner helps prevent adhesive buildup. For households with children or frequent product changes, consider labeling inside the fridge or using removable vinyl decals instead of tape-based stickers.
If you plan to resell your refrigerator, a clean, sticker-free surface significantly improves perceived condition and value. Real estate stagers often highlight appliance finishes during kitchen showings—small details matter.
“The difference between a well-maintained appliance and a neglected one often comes down to minor care habits—like how stickers are removed.” — Lisa Tran, Home Staging Consultant, Pacific Living Group
Conclusion
Removing refrigerator stickers doesn’t have to mean sacrificing your appliance’s finish. With careful preparation, the right tools, and a methodical approach, you can achieve a flawless result—no scratches, no sticky leftovers. Whether you’re dealing with a new purchase or cleaning up after years of accumulated labels, these proven techniques empower you to protect your investment and keep your kitchen looking its best.


 浙公网安备
33010002000092号
浙公网安备
33010002000092号 浙B2-20120091-4
Comments
No comments yet. Why don't you start the discussion?