
Repurposing candle jars has become a popular way to reduce waste and add charm to home organization. However, removing leftover wax can be tricky—especially when you want to preserve the jar’s integrity and avoid a sticky cleanup. Whether it's a Mason-style container or a decorative vessel, residual wax and wicks often cling stubbornly to glass. The good news is that with the right techniques, you can extract every bit of wax cleanly and safely. This guide outlines proven, low-mess strategies that protect your jars while preparing them for reuse in storage, planters, or new DIY candles.
Why Proper Wax Removal Matters
Leaving wax residue not only looks unappealing but can also trap odors and hinder repurposing efforts. Attempting to chip out hardened wax with sharp tools risks scratching or shattering the glass. Moreover, improper cleaning might leave behind scent traces that interfere with future uses—such as storing food or making scented candles. A careful approach ensures both safety and functionality. Understanding the properties of wax (typically paraffin, soy, or beeswax) helps inform which method works best based on melting point, adhesion strength, and sensitivity to temperature changes.
Step-by-Step Guide: Safe and Effective Wax Removal
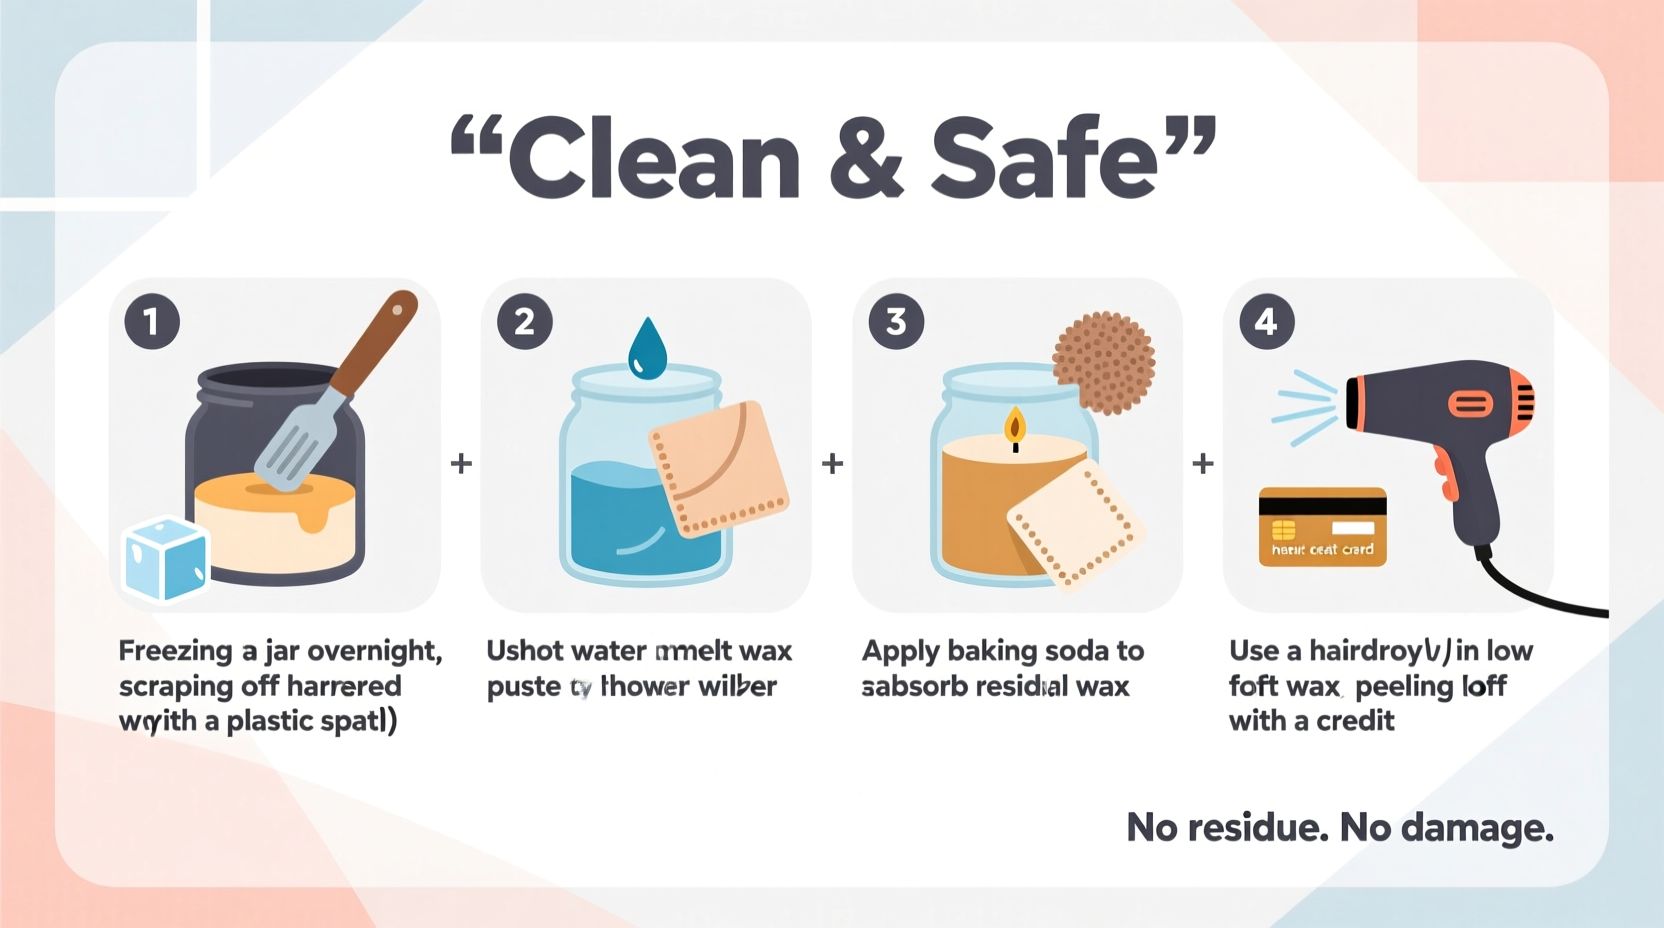
The following timeline presents a reliable sequence of actions using common household items. Choose the method that fits your schedule and equipment availability.
- Let the jar cool completely. If recently burned, allow several hours for the wax to harden fully.
- Remove excess debris. Use a butter knife or spoon to gently lift out large chunks of wax and discard the wick holder (metal base).
- Select your removal method—options include freezing, hot water, oven heating, or boiling.
- Clean the interior with warm, soapy water once wax is gone.
- Dry thoroughly before storing or repurposing.
Method 1: Freezing Technique (Best for Fragile or Decorative Jars)
This non-thermal method leverages contraction. When wax freezes, it shrinks slightly, breaking its seal with the glass.
- Place the candle jar in the freezer for at least 4–6 hours (overnight is ideal).
- Remove and immediately tap the bottom firmly on a countertop or use a spoon handle to push from below.
- The frozen wax should pop out in one piece or break into easy-to-remove fragments.
- Wash with dish soap and a sponge to eliminate any oily film.
Method 2: Hot Water Immersion (Quick and Low-Effort)
Ideal for jars without labels or metallic finishes that could peel.
- Boil a kettle or heat water in a saucepan until steaming (not boiling if placing directly in sink).
- Pour hot water into the jar, filling it nearly to the top. Let sit for 5–10 minutes.
- As the wax melts, it will float to the surface. Carefully pour off the melted wax into a disposable container (e.g., an old tin).
- Use a paper towel to wipe away remaining film, then wash with soap and scrub lightly if needed.
“Using controlled heat preserves the glass structure and prevents thermal shock.” — Dr. Alan Reyes, Materials Scientist
Method 3: Oven Method (For Multiple Jars or Thick Wax Layers)
Efficient for batch processing, especially when planning to make homemade candles later.
- Preheat oven to 170°F (77°C)—just above most waxes’ melting point.
- Place jars upright on a baking sheet lined with aluminum foil.
- Heat for 15–20 minutes, watching closely as wax liquefies.
- Turn off oven, open door, and let jars cool slightly.
- Tilt each jar carefully to pour melted wax into a mold or storage container for reuse.
- Once empty, wash with hot, soapy water and dry.
Method 4: Simmering/Boiling (Most Thorough but Requires Caution)
This deep-cleaning method ensures complete wax removal, including stubborn residues.
- Fill a large pot halfway with water and bring to a simmer.
- Submerge the candle jar up to its neck—do not let water enter the jar.
- After 10–15 minutes, the wax will loosen and rise to the water’s surface.
- Remove jar with tongs, dump out softened wax, and scrape gently if necessary.
- Wash and inspect for leftover residue.
Note: Avoid full boiling if jars have glued-on labels or painted designs, as these may degrade under prolonged heat.
Do’s and Don’ts of Wax Removal
| Action | Recommended? | Reason |
|---|---|---|
| Use a plastic utensil to scrape | ✅ Yes | Less likely to scratch glass than metal |
| Apply direct flame to melt wax | ❌ No | Risk of cracking glass or fire hazard |
| Soak in hot water overnight | ⚠️ With caution | Prolonged soaking may loosen labels or weaken adhesives |
| Reuse extracted wax | ✅ Yes | Perfect for DIY candles or fire starters |
| Put jars in dishwasher immediately | ❌ No | Wax can clog filters and coat dishes |
Mini Case Study: From Trash to Treasure in a Small Apartment
Sophie, a zero-waste advocate living in Brooklyn, used to toss her finished candle jars due to difficulty removing wax. After trying the freezing method she found online, she discovered that her favorite lavender-scented jar popped clean after six hours in the freezer. Inspired, she repeated the process with five more containers. She now uses them to store spices, cotton swabs, and even grows succulents. “I was amazed how little effort it took,” she says. “Now I look forward to finishing a candle—it means another jar gets a second life.” Her experience highlights how simple, consistent techniques can transform routine disposal into sustainable reuse.
Checklist: How to Prepare Candle Jars for Reuse
- ☑ Remove wick tab and large wax pieces with a spoon
- ☑ Choose a removal method based on time and tools available
- ☑ Protect countertops with paper towels or trays during cleanup
- ☑ Save melted wax for crafting or emergency fire starters
- ☑ Wash jar with warm, soapy water and a non-abrasive sponge
- ☑ Dry completely before labeling or refilling
- ☑ Inspect for lingering scent; deodorize with vinegar soak if needed
FAQ
Can I put candle jars in the dishwasher?
Not unless all wax is removed first. Residual wax can melt and coat other dishes or clog the dishwasher pump. Even trace oils may leave a film. Always hand-clean initially.
What if the label won’t come off after cleaning?
Soak the jar in warm, soapy water for 30 minutes. Use a sponge or soft cloth to rub gently. For stubborn adhesive, apply rubbing alcohol or a paste of baking soda and oil to dissolve residue without scratching.
Is it safe to reuse candle jars for food storage?
Yes, provided they are thoroughly cleaned and free of chemical residues. Glass jars originally used for food-grade candles (like soy or beeswax) are safest. Avoid reusing jars that held synthetic fragrances or dyes if storing acidic foods.
Final Tips for Long-Term Jar Maintenance
To minimize future cleanup, consider removing wax shortly after burning ends. You can also pour off excess liquid wax while still warm (but not hot) and store it for reuse. Keeping a dedicated container for collected wax helps streamline DIY candle projects later. For those who frequently repurpose jars, investing in a silicone spatula or small heat-safe gloves improves handling during hot-water or oven methods.
“The key to effortless wax removal is timing and temperature control—not force.” — Maria Lin, Sustainable Home Educator
Conclusion
Removing wax from candle jars doesn’t require special tools or harsh chemicals. With thoughtful techniques like freezing, hot water immersion, or gentle oven melting, you can reclaim beautiful glassware cleanly and safely. These methods not only prevent messes but also extend the lifecycle of everyday objects, supporting eco-conscious habits. Whether you're crafting, organizing, or simply decluttering, mastering wax removal turns what was once waste into valuable resources.


 浙公网安备
33010002000092号
浙公网安备
33010002000092号 浙B2-20120091-4
Comments
No comments yet. Why don't you start the discussion?