
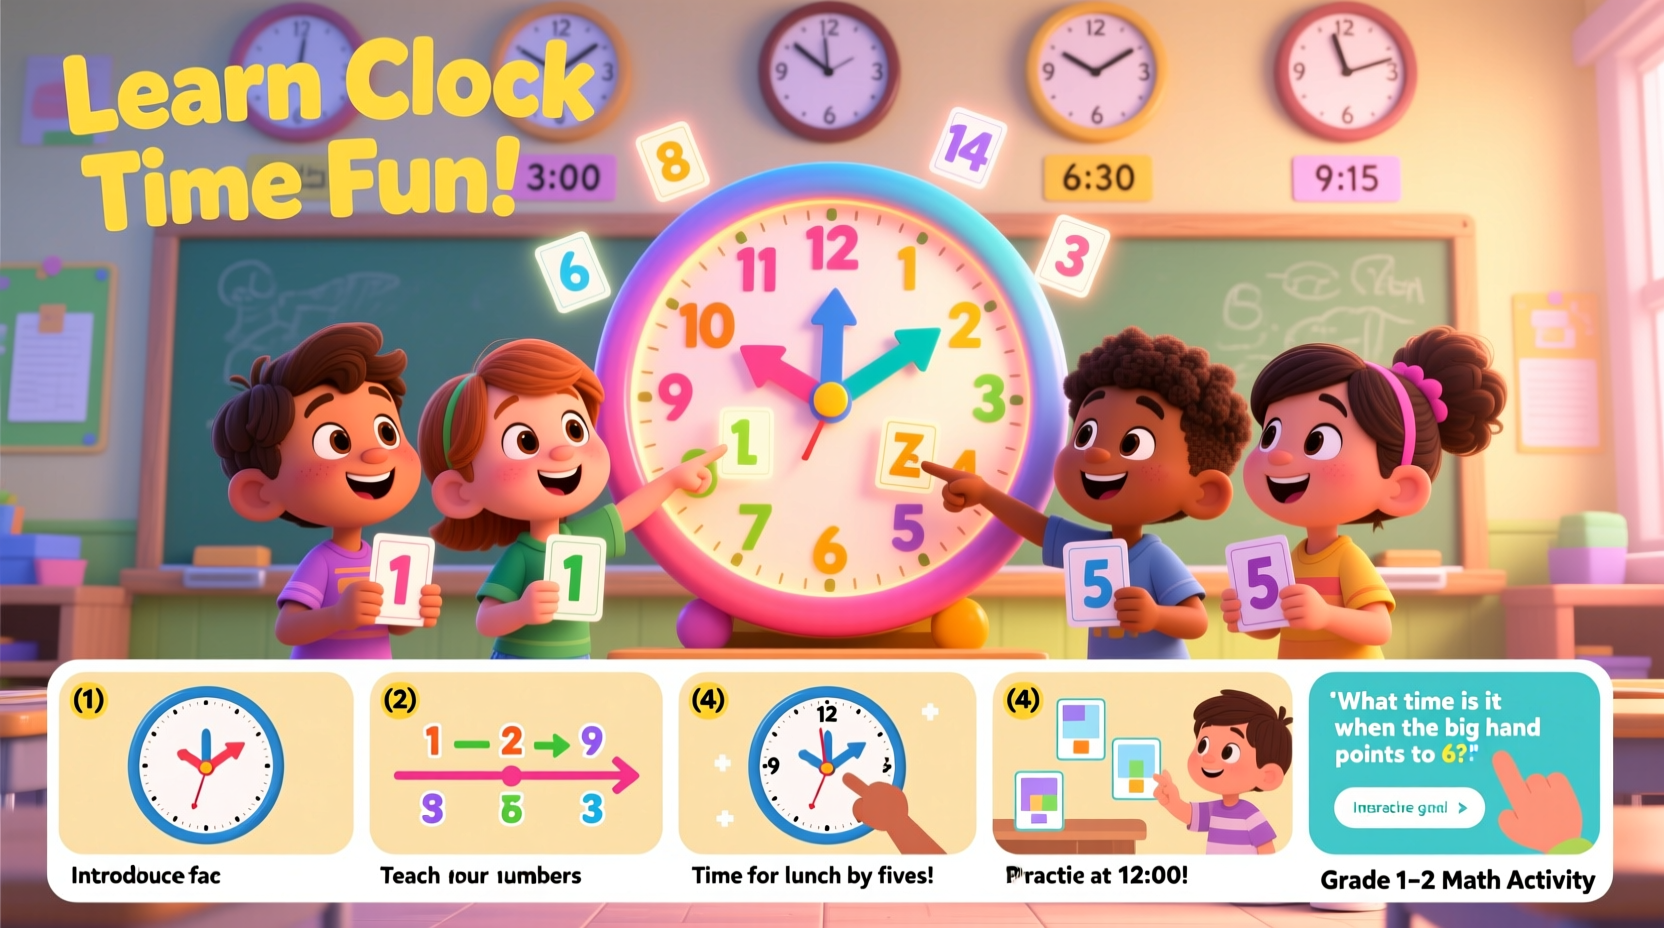
Understanding how to read a clock is a foundational life skill, yet many children struggle with the abstract nature of time. Unlike counting or basic arithmetic, telling time involves grasping both numbers and movement—two hands rotating at different speeds across a circular face. Without clear guidance, this can be overwhelming. The key lies in breaking the process into manageable, engaging steps. With the right approach, even young learners can master clock hours confidently and accurately.
Start with the Basics: What Is a Clock?
Before diving into reading time, ensure your child understands what a clock is and why we use it. Begin by introducing the physical components: the face, the hour hand, and the minute hand. Use simple language—avoid technical terms like “analog” initially. Instead, describe the clock as a circle with numbers from 1 to 12 and two hands that move around it.
Explain that the short hand shows the hour and the long hand shows the minutes. At this stage, focus only on the hour hand. For example, when the short hand points directly at 3, it’s 3 o’clock. This simplification reduces cognitive load and builds a solid foundation.
Step-by-Step Guide to Teaching Clock Hours
Mastery comes through structured progression. Follow this five-phase approach to guide children from recognition to independent time-telling.
- Phase 1: Learn the Numbers on the Clock
Ensure the child can identify numbers 1–12 in order around the clock face. Practice sequencing with games or tracing activities. - Phase 2: Introduce the Hour Hand Only
Use a clock where the minute hand is removed or covered. Show times like 1 o’clock, 2 o’clock, etc., emphasizing that the hour hand must point exactly at a number. - Phase 3: Match Clocks to Daily Routines
Connect times to familiar events: “We eat breakfast at 7 o’clock,” “School starts at 9 o’clock.” This reinforces relevance. - Phase 4: Practice with Flashcards and Games
Show images of clocks set to whole hours and ask the child to name the time. Make it fun with timers, rewards, or matching games. - Phase 5: Transition to Half-Hours (Later Stage)
Once whole hours are mastered, introduce half-past times using the minute hand at 6. But only after full confidence with hours.
Effective Teaching Tools and Activities
Hands-on engagement increases retention. Incorporate these practical tools into daily learning:
- Paper Plate Clocks: Children create their own clocks using paper plates, markers, and fasteners. This kinesthetic activity strengthens memory.
- Time Bingo: A game where kids match called times (e.g., “4 o’clock”) to clock faces on their cards.
- Digital vs. Analog Comparison: Show the same time on both types of clocks to help bridge understanding.
- “What’s Happening Now?” Chart: A visual schedule with clock faces next to routine activities like snack time or bedtime.
| Activity | Skill Developed | Best Age Range |
|---|---|---|
| Paper Clock Craft | Fine motor skills, number placement | 5–7 years |
| Time Matching Game | Visual recognition, memory | 6–8 years |
| Daily Routine Chart | Contextual learning, sequencing | 5–9 years |
| Interactive Apps (e.g., “Telling Time for Kids”) | Engagement, repetition | 6+ years |
Common Mistakes to Avoid
Even well-intentioned efforts can hinder progress if common pitfalls aren’t addressed. Watch out for these errors:
- Introducing minutes too early: Jumping to “quarter past” or “twenty to” before mastering whole hours confuses learners.
- Using only digital clocks at home: Lack of exposure makes analog reading seem foreign.
- Over-correcting: Constantly saying “no, that’s wrong” discourages participation. Instead, gently guide: “Let’s look at the short hand together.”
- Skipping real-life application: If time isn’t linked to daily routines, it remains an abstract concept.
“Children learn time best when it’s tied to their world. When they see that 6 o’clock means dinner, the numbers gain meaning.” — Dr. Laura Simmons, Early Childhood Education Specialist
Mini Case Study: How Emma Learned to Tell Time
Emma, a first-grader, struggled with distinguishing between the hour and minute hands. Her teacher, Ms. Reed, implemented a phased strategy. First, she used a classroom clock with only the hour hand visible for one week. Each morning, students announced the current hour during calendar time. Then, Emma made her own paper plate clock, coloring each hour segment a different color.
The breakthrough came when Ms. Reed created a personalized schedule with pictures and clock faces showing when Emma had recess, art, and lunch. Within three weeks, Emma could confidently identify any whole hour. By anchoring time to her day, the abstract became tangible.
Checklist: Are You Ready to Teach Clock Hours?
Before beginning, ensure you have the following in place:
- ✅ A working analog clock visible in the learning environment
- ✅ Simple materials for hands-on activities (paper, brads, markers)
- ✅ A consistent daily moment to practice (e.g., morning meeting or bedtime routine)
- ✅ Patience to repeat concepts without frustration
- ✅ A plan to connect time to the child’s personal schedule
FAQ
At what age should kids start learning to tell time?
Most children begin grasping clock hours between ages 5 and 7. Kindergarten and first grade are ideal starting points, depending on number recognition and attention span.
My child keeps confusing the hour and minute hands. What should I do?
Temporarily remove or cover the minute hand. Focus exclusively on the short (hour) hand until mastery. Use color coding—paint the hour hand red and refer to it as “the red hand tells the hour.”
Is it okay to use digital clocks while teaching analog time?
Yes, but use them to reinforce learning. Point out that “7:00” on the digital clock matches “7 o’clock” on the analog clock. Avoid relying solely on digital displays during instruction.
Conclusion: Building Confidence One Hour at a Time
Teaching clock hours doesn’t require advanced tools or hours of drills. It requires clarity, consistency, and connection to a child’s daily life. By starting simple, using engaging activities, and progressing step by step, you lay the groundwork not just for telling time—but for understanding its value. Every child can learn this skill with the right support. Begin today with a single hour, and watch their confidence grow as they master the clock, one step at a time.


 浙公网安备
33010002000092号
浙公网安备
33010002000092号 浙B2-20120091-4
Comments
No comments yet. Why don't you start the discussion?