
Wedge sandals combine style and height with a stable platform, making them a favorite for summer outings, weddings, or casual strolls. But even the most beautiful pair can turn into a source of pain if they cause blisters during the break-in period. Unlike flat shoes, wedges shift your weight forward and increase pressure on the balls of your feet and heels, creating friction points that lead to hot spots and eventually blisters. The good news is that with the right preparation and techniques, you can wear your new wedges comfortably from day one—without sacrificing style for sore feet.
Understand Why Blisters Form in Wedge Sandals
Blisters occur when repeated friction, heat, and moisture damage the layers of skin on your feet. In wedge sandals, several design elements contribute to this:
- Elevated heel angle: Forces more weight onto the forefoot, increasing sliding and rubbing.
- Strap placement: Ankles, insteps, and toes often rub against stiff or poorly positioned straps.
- Stiff soles: New wedges typically have rigid platforms that don’t conform immediately to your foot’s shape.
- Lack of cushioning: Many fashion-focused wedges prioritize aesthetics over arch support or padding.
According to Dr. Lena Patel, a podiatrist specializing in footwear biomechanics, “The combination of elevation and open-back design means wedge sandals create unique pressure zones. Without proper adaptation, friction builds quickly—especially around the Achilles tendon and metatarsal heads.”
“Even a half-inch difference in heel height changes how force distributes across the foot. That’s why gradual break-in is non-negotiable.” — Dr. Lena Patel, Podiatry Today Contributor
Step-by-Step Guide: How to Break In Wedge Sandals Safely
Rushing the break-in process leads to blisters. Instead, follow this 5-day timeline to condition both your shoes and feet:
- Day 1–2: Indoor Wear (30–60 minutes)
Start at home on carpeted floors. Walk normally, climb stairs gently, and test strap tightness. This helps soften materials without exposing feet to outdoor abrasion. - Day 3: Short Outdoor Walk (15–20 minutes)
Wear them on smooth pavement or grass. Pay attention to any pinching or slipping. Carry backup flats just in case. - Day 4: Moderate Use (1 hour)
Extend wear time while avoiding uneven terrain. Try standing still for extended periods to simulate event scenarios. - Day 5: Full-Day Trial
If no discomfort arises, attempt a full outing. Still keep blister prevention tools handy.
Smart Prevention Strategies and Product Choices
Preventing blisters isn’t just about time—it’s also about using the right accessories and adjustments. Here are proven methods backed by dermatologists and shoe fitters:
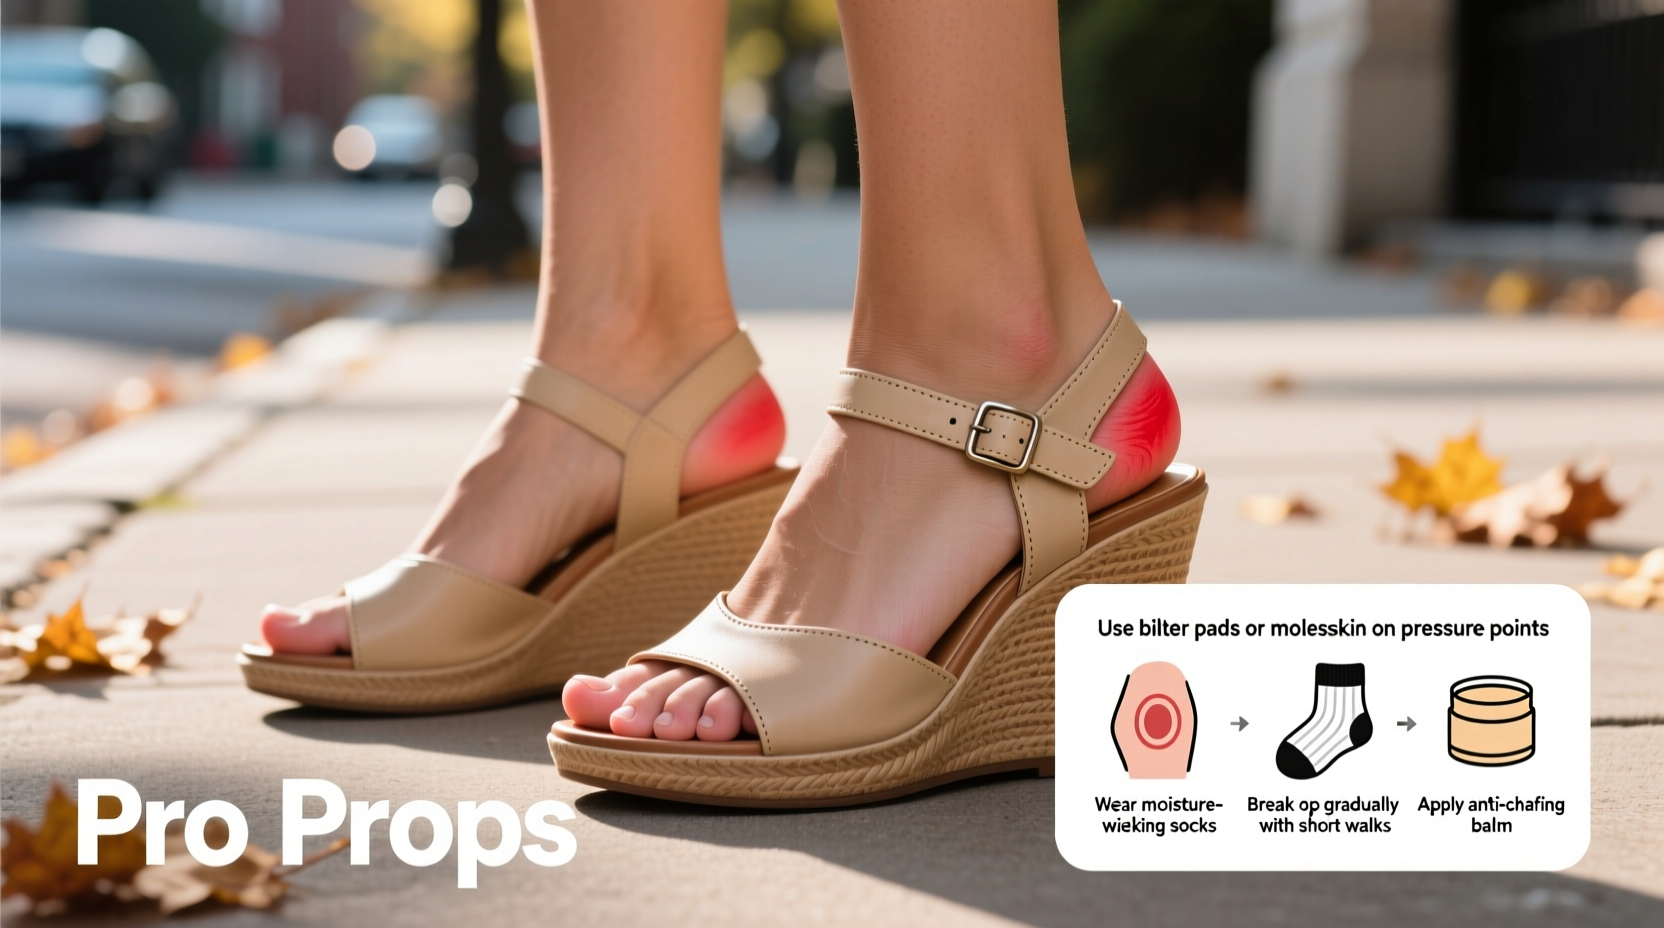
Use Anti-Friction Products Before Every Wear
Apply preventive treatments directly to high-risk zones: heels, little toes, and ball of foot.
- Powders: Talc-free foot powders reduce moisture and minimize slip.
- Gels: Products like BodyGlide or FootGlide create a protective barrier without stickiness.
- Silicone pads: Heel grips or toe protectors absorb movement and shield sensitive skin.
Choose the Right Socks or Liners (Even in Sandals)
No-show liner socks made from moisture-wicking fabric can be invisible yet highly effective.
| Product Type | Best For | Limitations |
|---|---|---|
| Ultra-thin nylon liners | Daily wear, moderate activity | May bunch under straps |
| Silicone heel cups | Preventing heel slippage | Visible with open-back designs |
| Toe caps (gel) | Protecting pinky toe from rubbing | Need reapplication after hours |
| Moisture-wicking footies | Long events, humid climates | Slight visibility with strappy styles |
Adjust Fit with Customization
Many people overlook simple modifications that dramatically improve comfort:
- Tighten or loosen ankle straps slightly—too loose causes sliding; too tight increases pressure.
- Add an adhesive arch strip inside the footbed if there’s excessive flattening.
- Use a hairdryer on low heat to warm stiff straps for 30 seconds before wearing—this makes leather or synthetic bands more pliable.
Real-Life Scenario: Avoiding Disaster at a Summer Wedding
Sophia bought a stunning pair of espadrille wedges for her friend’s beach wedding. Excited, she wore them straight to the ceremony—only to develop painful heel blisters within two hours. Unable to walk barefoot on hot sand, she spent most of the reception sitting down.
After consulting a foot specialist, she learned what went wrong: the jute sole was stiff, the back strap wasn’t broken in, and humidity increased foot sweat. For future events, she now follows a strict pre-event routine: three days of indoor wear, applying anti-chafe balm, and using gel heel protectors. At her sister’s garden party last month, she danced for hours—pain-free.
Her experience underscores a key truth: beauty doesn’t have to come at the cost of comfort. Preparation turns potential disasters into confident strides.
Checklist: Prevent Blisters When Wearing New Wedge Sandals
Before stepping out in your new wedges, go through this checklist:
- ✅ Worn shoes indoors for at least two short sessions
- ✅ Identified pressure points using mirror checks and walking tests
- ✅ Applied anti-friction balm or gel to heels and toes
- ✅ Selected appropriate thin liners or protection pads
- ✅ Adjusted all straps for secure—but not tight—fit
- ✅ Packed emergency blister kit (moleskin, bandages, wipes)
- ✅ Planned initial outings with escape options (spare shoes)
Frequently Asked Questions
Can I use regular Band-Aids to prevent blisters?
Standard adhesive bandages are not ideal for high-movement areas. They tend to peel off quickly and may bunch up, creating new friction zones. Instead, use specialized blister shields made from hydrocolloid or flexible silicone that stay in place longer and conform to motion.
How do I know if my wedges are the wrong size?
If your toes hang over the edge, your heel lifts excessively with each step, or you feel constant pressure on the sides of your midfoot, the fit is likely incorrect. Remember: sizes vary between brands. Always try on wedges later in the day when feet are slightly swollen for the most accurate fit.
Are cork footbeds better for preventing blisters?
Cork molds to your foot over time, offering improved contouring and reduced slippage—both of which help prevent blisters. However, initial stiffness means they still require gradual break-in. Pair cork-lined wedges with moisture-absorbing inserts to maintain hygiene and grip.
Final Thoughts: Comfort Is Part of the Style Equation
Stylish footwear should enhance your confidence, not limit your mobility. Blisters aren’t an inevitable side effect of wearing fashionable wedges—they’re a sign that preparation was skipped. By understanding how friction develops, pacing your wear schedule, and using smart protective tools, you can enjoy elevated style without sacrificing foot health.
Take control of your shoe journey. Whether it’s a weekend brunch or a milestone celebration, every step should feel as good as it looks.


 浙公网安备
33010002000092号
浙公网安备
33010002000092号 浙B2-20120091-4
Comments
No comments yet. Why don't you start the discussion?