
A scratch-free desktop is more than just a matter of aesthetics—it reflects care, organization, and respect for your personal workspace. Whether you're working from home, studying, or managing creative projects, the last thing you want is unsightly scuffs and gouges caused by something as simple as tossing your keys onto the desk. Over time, metal keys dragged across wood, laminate, or glass surfaces can leave permanent marks that degrade both appearance and value. The good news? Most of these damages are entirely preventable with small behavioral changes and smart protective strategies.
Why Keys Cause More Damage Than You Think
Keys may seem harmless, but their rigid edges and metallic composition make them surprisingly abrasive. When placed directly on a desk and moved—either by hand or when brushing against them—they act like miniature scrapers. Repeated contact, especially on softer materials like particleboard, veneer, or painted finishes, leads to micro-scratches that accumulate into visible wear. Even harder surfaces like tempered glass or stone countertops aren’t immune; fine abrasions from grit trapped between keys and the surface can dull the finish over time.
“Surface integrity begins with daily habits. A single key ring dropped carelessly can initiate a chain reaction of cosmetic degradation.” — Daniel Reeves, Furniture Durability Analyst at HomeWell Institute
Proven Strategies to Prevent Key Scratches
Preventing scratches doesn't require expensive solutions or major lifestyle shifts. It starts with awareness and ends with consistent, practical actions. Below are five essential methods backed by interior designers, ergonomic specialists, and material scientists.
1. Designate a Key Drop Zone
Create a specific spot near your entryway or desk where keys always go. This could be a bowl, tray, or wall-mounted hook. The goal is to break the habit of placing keys directly on the work surface. Choose a container made from soft materials like felt-lined ceramic, silicone, or padded leather to avoid transferring scratches elsewhere.
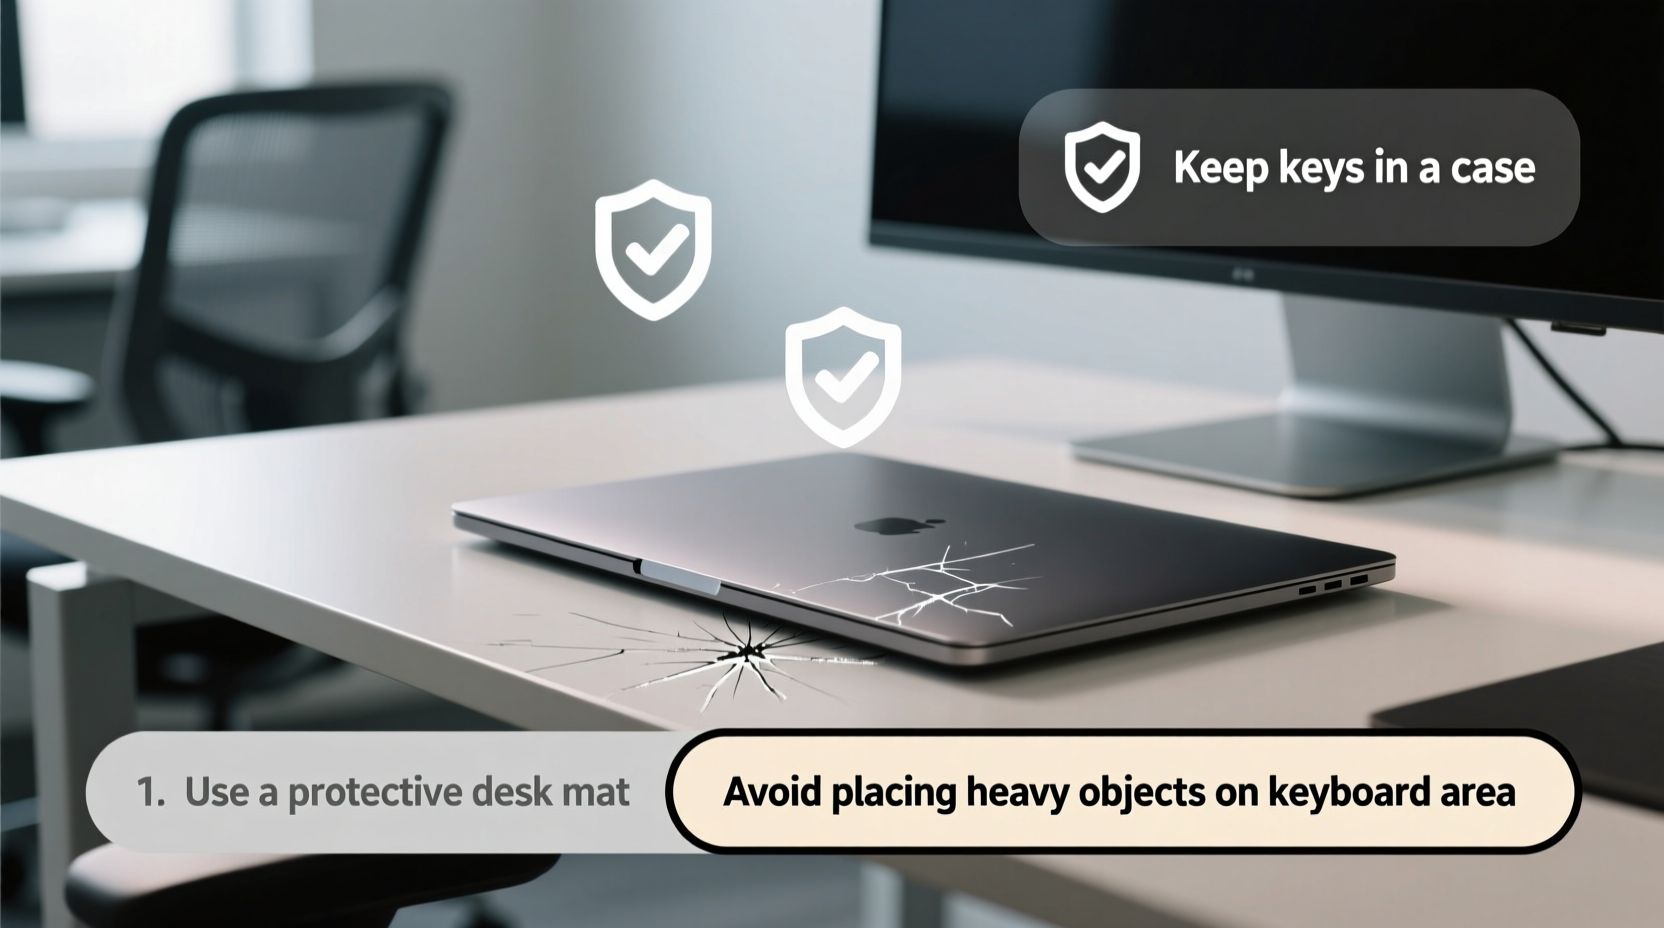
2. Use a Desk Mat or Protective Pad
A high-quality desk mat serves as a durable barrier between sharp objects and your desktop. Look for options made from natural rubber, silicone, or stitched leather with non-slip backing. These not only resist cuts and abrasions but also improve comfort during typing and writing.
When selecting a mat, ensure it covers all high-contact zones—especially areas where you tend to set down bags, phones, or accessories. Mats should be large enough to accommodate your keyboard and mouse while leaving room for temporary item placement.
3. Wrap Keys in Soft Material
If you must carry or place keys on your desk temporarily, wrap them in a soft cloth pouch or use a key cover. Neoprene, microfiber, or genuine leather sleeves cushion the metal and eliminate direct contact with the surface. These covers are compact, affordable, and available in various styles to suit personal taste.
This method is particularly useful for professionals who frequently travel or switch between workspaces and need a portable solution.
4. Organize with Drawer Inserts or Trays
Many desks come with drawers ideal for storing everyday items. Use small organizers or insert trays to dedicate a compartment specifically for keys. Lining the drawer with felt or rubber padding adds an extra layer of protection and reduces noise when opening and closing.
Teach household members or office mates to use this system consistently. Labeling the tray can reinforce the habit, especially in shared environments.
5. Adopt a “Clean Surface” Mindset
Maintaining a clutter-free desk isn’t just about productivity—it’s a defense mechanism against accidental damage. The fewer items left lying around, the lower the chance of keys scraping across wood or knocking into monitors and frames.
At the end of each day, take two minutes to clear non-essential objects. Return books, chargers, and accessories to their designated spaces. This ritual minimizes risks and sets a tone of intentionality for the next work session.
Do’s and Don’ts: Key Management on Desks
| Do’s | Don’ts |
|---|---|
| Use a fabric-lined tray for key storage | Leave loose keys on bare desktops |
| Invest in a full-size desk mat | Slide keys across the surface when moving them |
| Store keys in a closed drawer overnight | Attach heavy keychains with exposed metal edges |
| Wipe down surfaces weekly to remove grit | Use abrasive cleaners that weaken surface sealants |
| Check for loose screws or burrs on keys | Ignore small scratches—they often worsen over time |
Step-by-Step: Building a Scratch-Free Desk Routine
Changing habits takes consistency. Follow this seven-day plan to establish long-term protection for your desktop:
- Day 1: Inspect your current desk surface for existing scratches or vulnerable spots.
- Day 2: Purchase a desk mat or protective tray if you don’t already have one.
- Day 3: Designate a permanent home for your keys—preferably off the desk.
- Day 4: Clean the desk thoroughly and apply polish or sealant if appropriate for the material.
- Day 5: Introduce a soft key cover or pouch into your daily carry.
- Day 6: Organize a drawer with padding and assign it for accessory storage.
- Day 7: Perform a quick review: Are keys still touching the desktop? Adjust as needed.
By the end of the week, the new behavior should feel automatic. Continue reinforcing it monthly with a short maintenance check.
Real Example: How One Professional Saved Her Executive Desk
Sarah Lin, a freelance graphic designer in Portland, noticed faint streaks appearing on her walnut-finish workstation after six months of remote work. Initially dismissing them as dust, she later realized they were fine scratches from her car and house keys, which she routinely dropped near her monitor after arriving home.
Determined to preserve her $1,200 desk, Sarah implemented three changes: she mounted a magnetic key holder inside her closet door, began using a leather desk pad, and started wrapping her keys in a velvet pouch when traveling. Within a month, no new scratches appeared. After six months, her desk looked nearly new, and she reported feeling more focused in a cleaner, intentional space.
Essential Checklist for Key Scratch Prevention
- ✅ Assess your current desk surface for existing damage
- ✅ Choose a dedicated key storage solution (bowl, hook, drawer)
- ✅ Install a high-quality desk mat covering primary work zones
- ✅ Acquire a soft key cover or sleeve
- ✅ Clean desk weekly with appropriate products
- ✅ Educate family members or coworkers on key placement rules
- ✅ Conduct monthly inspections for early signs of wear
Frequently Asked Questions
Can scratches be removed once they appear?
Minor surface scratches on wood or laminate can often be treated with touch-up pens, wax sticks, or polishing compounds. Deep gouges may require professional refinishing. However, prevention is far more effective and economical than repair.
Are some desk materials more resistant to scratches?
Yes. Solid hardwood, epoxy-coated surfaces, and tempered glass with anti-scratch coatings offer greater durability. Laminate and veneer are more prone to damage, especially along edges and seams. Always consider scratch resistance when purchasing new furniture.
Is it safe to use adhesive-backed desk protectors?
Some adhesive protectors can leave residue or peel off finishes, especially on older or porous surfaces. Opt for non-adhesive, weighted mats with anti-slip backing instead. If using adhesive types, test on a small hidden area first.
Protect Your Workspace—Start Today
Your desk is more than furniture—it's the foundation of your daily focus and creativity. Allowing preventable damage like key scratches undermines its function and longevity. With thoughtful habits and minimal investment, you can maintain a pristine surface for years. Small actions compound: placing keys in a tray, using a mat, or wrapping metal edges save more than appearances—they reflect discipline and care.


 浙公网安备
33010002000092号
浙公网安备
33010002000092号 浙B2-20120091-4
Comments
No comments yet. Why don't you start the discussion?