
Google Forms is a powerful tool for collecting information, conducting surveys, and managing registrations. However, once responses start coming in, many users face challenges in controlling access, preventing duplicate entries, or securing collected data. Knowing how to effectively disable and manage a form after submission ensures data integrity, prevents confusion, and supports compliance with privacy standards. Whether you're organizing an event, gathering feedback, or managing sign-ups, mastering post-submission controls is essential.
Understanding Submission Management in Google Forms
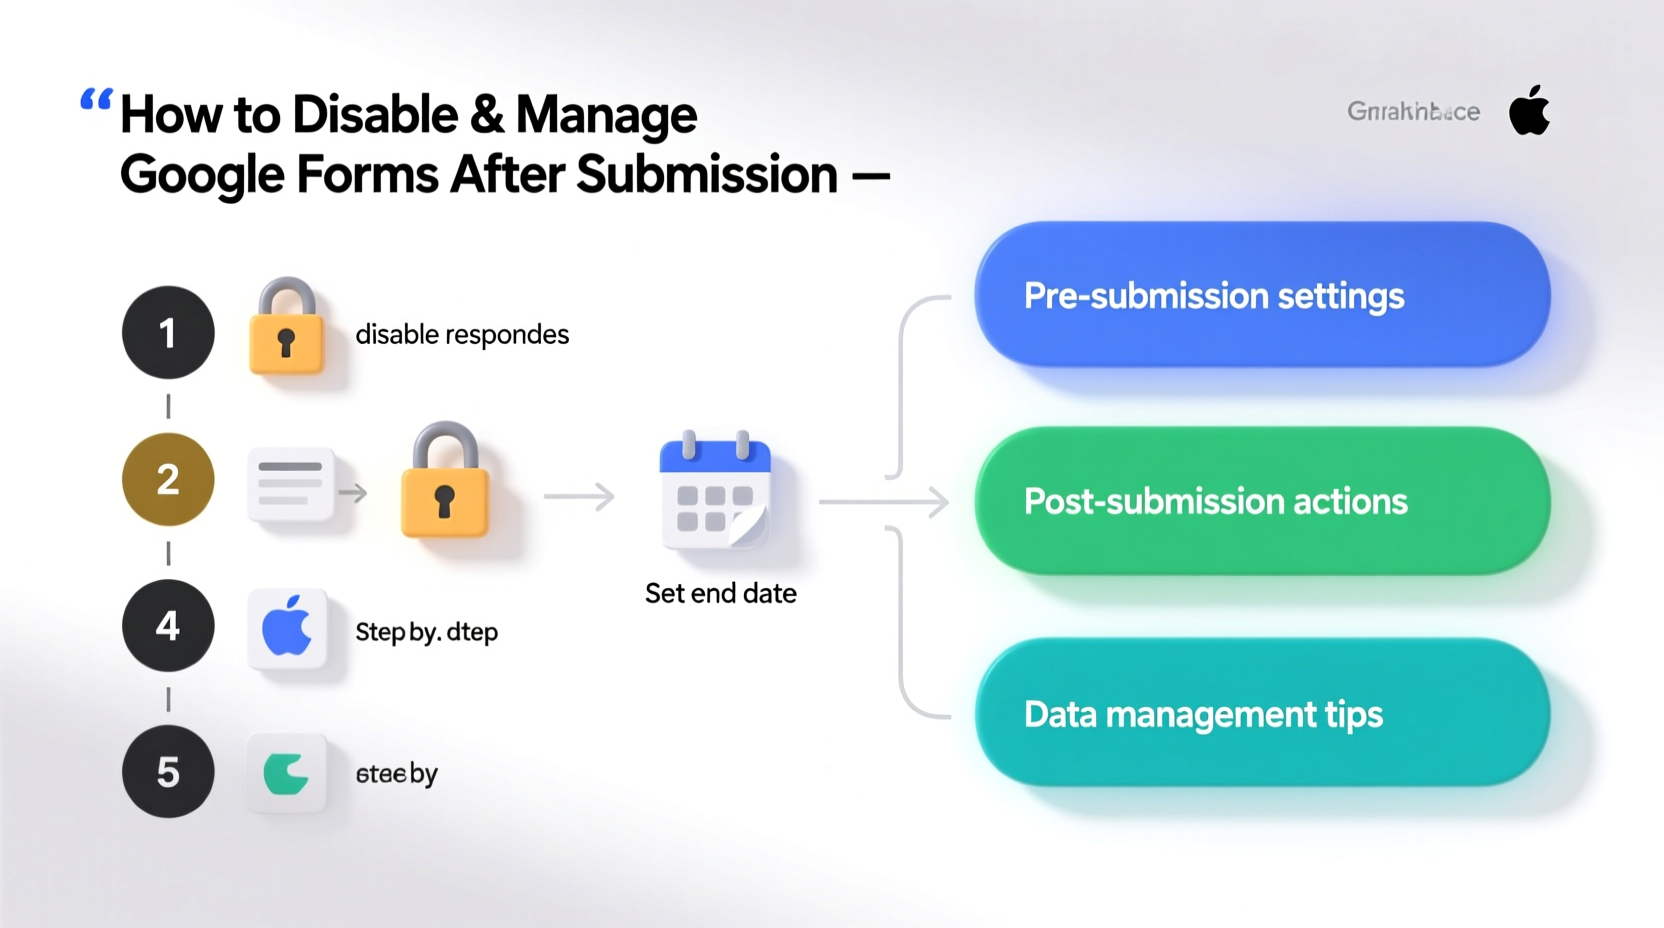
Google Forms does not automatically \"close\" after someone submits a response. Instead, it remains open unless manually adjusted. This default behavior can lead to unintended consequences—such as duplicate submissions, outdated responses, or overwhelming data entry—if not properly managed. The key lies in understanding the available tools: response collection toggles, confirmation messages, edit links, and integration with Google Sheets.
When a respondent submits a form, they are typically shown a confirmation message. By default, this message includes an option to “Submit another response,” which allows repeated entries unless disabled. Additionally, if the form owner enables the “Allow response editing” setting, users can return later to modify their answers using a unique link sent via email or stored separately.
Step-by-Step Guide to Disable Form Access After Submission
Disabling a Google Form doesn’t mean deleting it—it means stopping new responses while preserving existing data. Follow these steps to take control:
- Navigate to the Responses Tab: Open your Google Form and click on the “Responses” tab at the top.
- Stop Accepting New Responses: Click the three-dot menu (⋯) in the upper-right corner of the response panel and select “Stop accepting responses.”
- Confirm Action: A banner will appear confirming that the form is closed. Respondents attempting to access it will see a message stating, “This form is no longer accepting responses.”
- Reopen If Needed: You can reverse this at any time by returning to the same menu and selecting “Accepting responses.”
This method instantly disables all future submissions without affecting previously collected data. It's ideal for time-sensitive campaigns like registration deadlines or limited-capacity events.
Customizing the Post-Closure Message
While Google Forms doesn't allow direct customization of the closure message within the platform, you can enhance user experience by embedding a custom note before disabling the form. For example:
- Add a final section titled “Important Update” explaining when and why the form will close.
- Include contact information for follow-up inquiries.
- Set expectations about next steps (e.g., confirmation emails, selection process).
Once disabled, consider sharing a read-only version of the form via a static link or PDF export for transparency.
Managing Editable Responses and Preventing Abuse
One often-overlooked feature is the ability to let respondents edit their submissions. While useful for correcting errors, this functionality can be misused—especially in competitive applications or voting scenarios.
To manage editable responses:
- Go to the “Settings” (gear icon) in your Google Form.
- Under the “General” tab, uncheck “Allow response editing.”
- If already enabled, disable it immediately to prevent further edits.
Note: Disabling editing won’t revoke existing edit links but prevents new ones from being generated. Users who already received an edit link can still update their responses until the form is fully closed.
“Once sensitive decisions are made based on submitted data, allowing edits compromises fairness and accuracy.” — Dr. Lena Patel, Educational Technology Consultant
Best Practices for Post-Submission Data Management
Disabling the form is only part of the solution. Effective management continues with how you handle the collected data. Here’s what experts recommend:
| Action | Purpose | Recommended Timing |
|---|---|---|
| Review all responses in Google Sheets | Ensure completeness and flag inconsistencies | Within 24 hours of last submission |
| Make a backup copy of the spreadsheet | Prevent accidental deletion or overwrites | Immediately after closing the form |
| Remove edit access from collaborators | Maintain data security and ownership | After analysis is complete |
| Convert responses to PDF or archive format | Long-term storage and compliance | Within one week of closure |
Mini Case Study: Managing Event Registrations
A university alumni association used Google Forms to manage RSVPs for a reunion dinner with seating for 150 guests. They launched the form two weeks prior and promoted it through email and social media. Within three days, they reached capacity. However, they forgot to disable the form, leading to 47 additional submissions.
Upon realizing the oversight, the team quickly stopped accepting responses and reviewed all entries in the linked Google Sheet. They contacted those beyond the limit with a polite message and offered priority registration for next year’s event. To prevent recurrence, they now use a two-step process: set a reminder to close the form at capacity, and include a real-time counter embedded via Google Apps Script.
The incident highlighted the importance of proactive monitoring and timely disabling—not just technical knowledge, but operational discipline.
Automation and Advanced Controls Using Google Workspace Tools
For high-volume or mission-critical forms, manual management isn’t enough. Leverage Google Workspace integrations to automate post-submission actions:
- Google Apps Script: Write scripts that automatically close the form when a specific number of responses is reached.
- Google Sheets Triggers: Set up triggers based on response count or timestamps to send alerts or lock the form.
- Zapier or Make (Integromat): Connect Google Forms to external systems to trigger notifications, disable forms via API calls, or archive data.
Example script snippet to auto-close a form at 100 responses:
function checkResponseCount() {
  const form = FormApp.openById('YOUR_FORM_ID');
  const responses = form.getResponses();
  if (responses.length >= 100) {
    form.setAcceptingResponses(false);
    MailApp.sendEmail('admin@domain.com', 'Form Closed', 'The form has reached its limit and is now closed.');
  }
}
This level of automation ensures precision and reduces human error.
FAQ
Can respondents still view the form after it’s closed?
Yes. Anyone with the link can view the form structure, but they cannot submit responses. To restrict viewing, adjust sharing permissions in Google Drive to “Specific people” instead of “Anyone with the link.”
Is it possible to reopen a disabled form?
Absolutely. Go back to the “Responses” tab, click the three-dot menu, and select “Accepting responses.” All previous data remains intact, and the form becomes active again.
How do I prevent duplicate submissions from the same person?
Enable the “Collect email addresses” option under Settings → General. This helps identify repeat entries in the response sheet. While Google Forms doesn’t block duplicates automatically, filtering by email in Google Sheets allows you to detect and remove them manually.
Final Checklist: Secure Your Form After Submission
- ✅ Confirm all expected responses have been received.
- ✅ Stop accepting new responses via the Responses tab.
- ✅ Disable “Allow response editing” in Settings.
- ✅ Backup the linked Google Sheet or export data.
- ✅ Adjust sharing settings to limit access to editors/viewers.
- ✅ Notify participants of closure, if applicable.
- ✅ Archive or document the form for future reference.
Conclusion
Effectively disabling and managing Google Forms after submission is more than a technical task—it's a critical step in maintaining data quality, ensuring fairness, and protecting participant trust. From simple toggle switches to automated scripts, the tools exist to give you full control. Whether you're managing a small survey or a large-scale application process, taking deliberate action after submission reflects professionalism and attention to detail.


 浙公网安备
33010002000092号
浙公网安备
33010002000092号 浙B2-20120091-4
Comments
No comments yet. Why don't you start the discussion?