
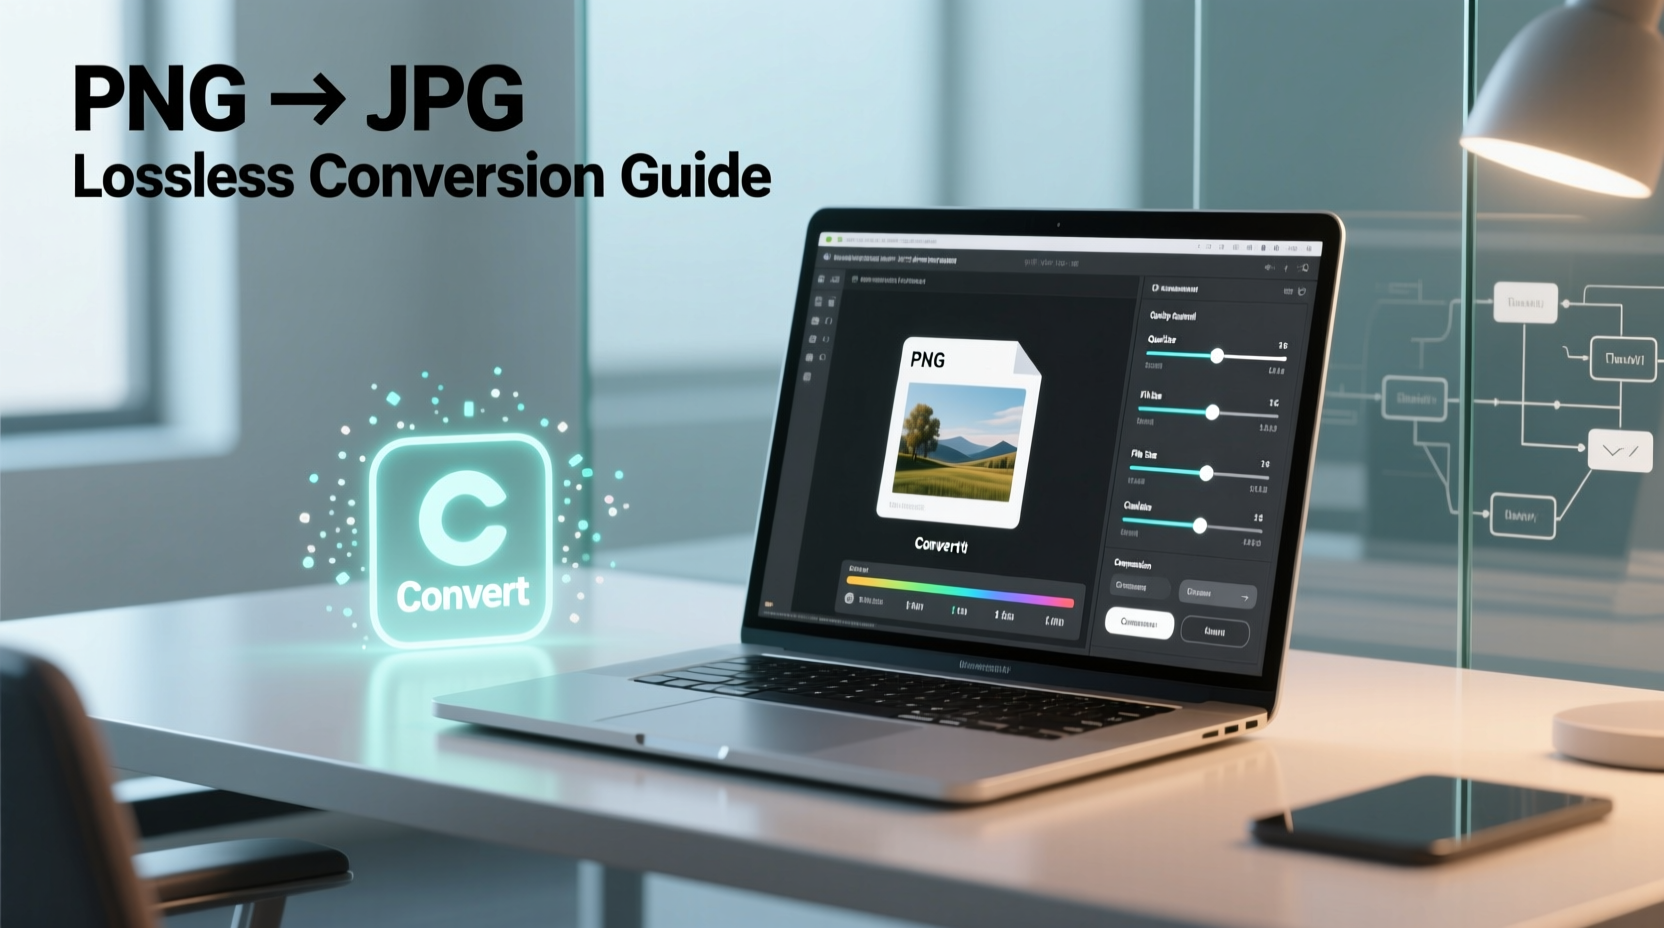
Converting a PNG file to JPG is a common task for web developers, designers, bloggers, and everyday users who need to share or upload images. While PNG files offer transparency and lossless compression, they often come with larger file sizes—making them less ideal for websites or email attachments. JPG, on the other hand, provides smaller file sizes with efficient compression, but improper conversion can lead to visible quality loss. The good news: you don’t need advanced software or technical skills to make this switch seamlessly. With the right approach, you can convert PNG to JPG effortlessly while preserving clarity, color accuracy, and overall visual integrity.
Why Convert PNG to JPG?
PNG (Portable Network Graphics) is excellent for graphics with transparent backgrounds, sharp lines, and text-heavy images. However, its file size can be significantly larger than JPG (Joint Photographic Experts Group), especially for photographs or complex visuals. JPG uses lossy compression, which reduces file size by discarding some image data—but when done correctly, the difference is imperceptible to the human eye.
Common reasons to convert PNG to JPG include:
- Reducing file size for faster website loading
- Meeting platform upload requirements (e.g., social media, email)
- Saving storage space without sacrificing perceived image quality
- Ensuring compatibility with older devices or software that prefer JPG
“Choosing the right format isn’t just about preference—it’s about performance. A well-converted JPG can load twice as fast as a bulky PNG without visible degradation.” — Lena Patel, Digital Imaging Specialist
Key Factors That Affect Image Quality During Conversion
Before diving into methods, it’s essential to understand what influences quality during the PNG-to-JPG transition:
- Compression Level: JPG allows adjustable compression. Higher compression means smaller files but potential artifacts like blurring or pixelation.
- Color Depth: PNG supports millions of colors and alpha channels (transparency). JPG doesn’t support transparency, so any transparent areas must be filled (usually white or black).
- Resampling Settings: Some tools automatically resize or resample images during conversion, which can degrade quality if not controlled.
- Original Image Resolution: High-resolution PNGs converted properly will retain more detail in JPG form.
Step-by-Step Guide: Converting PNG to JPG Without Quality Loss
The goal isn’t to eliminate compression entirely (which is inherent to JPG), but to minimize visible impact. Follow these steps for high-quality results:
- Open the PNG File in a Reliable Editor: Use software like Photoshop, GIMP, or even your operating system’s preview tool.
- Flatten Transparency (if applicable): Replace transparent backgrounds with a solid color that matches your intended use (white is safest for general purposes).
- Adjust Compression Settings: When saving as JPG, choose the highest quality setting available (often labeled “Quality 10” or “Maximum”).
- Avoid Repeated Saving: Each time a JPG is saved, it loses more data. Make edits on a copy and export only once.
- Preview Before Finalizing: Zoom in to check edges, gradients, and text for signs of distortion.
Example Workflow Using Windows Photos App
- Right-click your PNG file and select “Open with” → “Photos”.
- Click the three-dot menu and choose “Edit & Create” → “Crop & rotate”.
- Make no changes, then click “Save a copy”.
- In the save dialog, change the file type from PNG to JPG.
- Select “High” quality and confirm. The result is a clean, compact JPG.
Top Tools for Effortless PNG to JPG Conversion
You don’t need expensive software. Many free, user-friendly tools deliver professional-grade results. Here's a comparison of reliable options:
| Tool | Platform | Best For | Quality Control | Batch Conversion |
|---|---|---|---|---|
| Windows Photos / macOS Preview | Desktop (built-in) | Quick single-file conversions | Basic (high/medium/low) | No |
| GIMP (Free) | Windows, Mac, Linux | Precision editing and control | Full (customizable compression) | Yes (with plugin) |
| IrfanView (Free) | Windows | Fast batch processing | Advanced (JPG quality slider) | Yes |
| OnlineConvert.com | Web-based | On-the-go access | Moderate (quality presets) | Yes |
| XnConvert (Free) | Cross-platform | Professional batch workflows | Full (bit depth, DPI, filters) | Yes |
Mini Case Study: Streamlining E-Commerce Product Images
Sophie runs a small online store selling handmade jewelry. Her product photos were originally saved as PNGs to preserve crisp details and drop shadows. However, her website was loading slowly, and hosting costs were rising due to large image files.
She decided to convert all product images to JPG. Using IrfanView, she imported the PNGs, set the output quality to 95%, and replaced transparent backgrounds with soft white. After conversion, each image shrank from an average of 2.1 MB to 380 KB—reducing total page load time by 60%. Customers noticed no drop in image quality, and Sophie saw a 15% increase in mobile conversions within two weeks.
This real-world example shows how smart format conversion directly impacts performance and user experience—without compromising visual appeal.
Checklist: Ensuring High-Quality PNG to JPG Conversion
Use this checklist every time you convert to maintain professional standards:
- ✅ Back up the original PNG file
- ✅ Check if transparency needs to be preserved (if yes, consider keeping PNG)
- ✅ Fill transparent areas with appropriate background color
- ✅ Use high-quality JPG settings (90–100% if possible)
- ✅ Avoid resizing during conversion unless necessary
- ✅ Preview the final image at 100% zoom
- ✅ Test the image on target platforms (web, print, email)
- ✅ Delete temporary files after conversion to save space
Frequently Asked Questions
Can I convert PNG to JPG without any quality loss?
True lossless conversion isn’t possible because JPG uses lossy compression. However, using high-quality settings (90–100%) makes the loss visually undetectable in most cases. The key is balancing file size and appearance based on your use case.
What happens to transparent parts of a PNG when converted to JPG?
JPG does not support transparency. Most conversion tools automatically replace transparent areas with a solid color—typically black or white. To maintain professionalism, manually set the background to match your design context before exporting.
Is it safe to use online converters for sensitive images?
If you're handling private or client-related images, avoid uploading them to unknown online tools. Many free websites retain copies on their servers temporarily or permanently. For sensitive work, use offline software like GIMP, IrfanView, or built-in OS tools instead.
Final Tips for Best Results
While the process of converting PNG to JPG is straightforward, attention to detail ensures optimal outcomes. Always preview your converted images under real viewing conditions—on both desktop and mobile screens. If the image contains fine text or intricate details, consider retaining the PNG version for digital sharing where transparency matters.
For web use, pairing JPG conversion with modern optimization techniques—like responsive image sizing and lazy loading—can further enhance performance. And remember: automation tools like XnConvert or scripts in Photoshop can save hours when managing large libraries.
“Smart image management starts with format awareness. Knowing when and how to convert—not just whether—is what separates amateur from expert workflow.” — Marcus Tran, Web Performance Engineer
Conclusion
Converting PNG to JPG doesn’t have to mean sacrificing quality. With the right tools, settings, and a few strategic choices, you can achieve lightweight, web-ready images that look just as sharp as their original counterparts. Whether you're optimizing blog graphics, preparing product photos, or cleaning up old files, these effortless methods empower you to work faster and smarter.


 浙公网安备
33010002000092号
浙公网安备
33010002000092号 浙B2-20120091-4
Comments
No comments yet. Why don't you start the discussion?