
Extracting text from images used to require third-party software or online OCR services, often involving privacy risks or complicated steps. Today, modern operating systems come with powerful built-in tools that make it easy to copy text directly from screenshots, photos, or scanned documents—without installing anything. Whether you're working with a PDF screenshot, a digital textbook page, or a menu photo, these native solutions offer fast, secure, and surprisingly accurate text extraction.
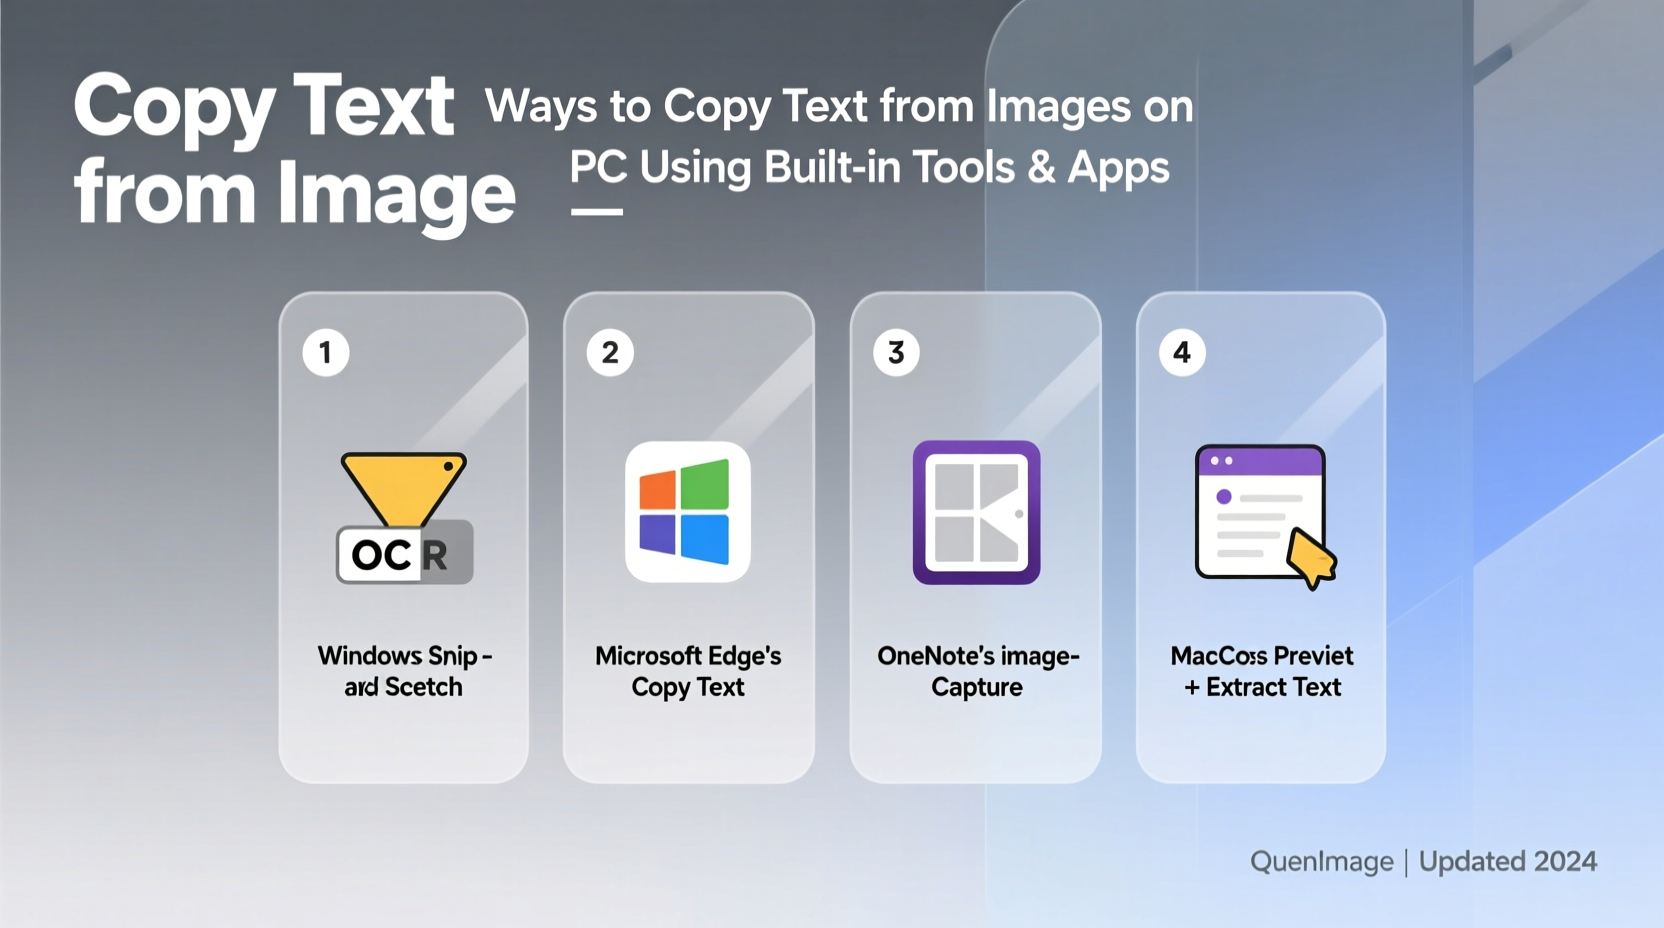
How Built-In OCR Works on Modern PCs
Optical Character Recognition (OCR) is the technology that converts visual text in images into editable and searchable data. What once required specialized software is now embedded directly into Windows, macOS, and even some web browsers. These tools use machine learning models trained on millions of text samples to recognize characters across fonts, languages, and image qualities.
The advantage of using built-in OCR? No need to upload sensitive documents to external servers. Everything happens locally on your device, preserving privacy and reducing processing time. Most modern implementations also support multiple languages and can handle rotated or skewed text with minimal user input.
“Native OCR tools have reached a point where they match or exceed the accuracy of many standalone applications—especially for clean, high-contrast images.” — Dr. Alan Reyes, Computer Vision Researcher at MIT CSAIL
Copy Text from Images Using Windows 11 Built-In Tools
Windows 11 introduced robust OCR capabilities through its Snipping Tool and Microsoft Lens integration. You no longer need to rely on third-party software for basic text extraction tasks.
Step-by-Step: Extract Text with Snipping Tool
- Press Win + Shift + S to open the Snip & Sketch tool.
- Select the area of the screen containing the text you want to extract.
- After capturing the snip, a notification will appear. Click it to open the image in the Snipping Tool editor.
- In the toolbar, click the Text button (looks like “Aa” over a dotted line).
- The tool will highlight all recognized text. Click and drag to select the portion you want.
- Right-click the selected text and choose Copy.
- Paste (Ctrl + V) into any document, email, or note-taking app.
This method works not only on live screens but also on images opened within the Snipping Tool. Simply drag and drop a saved image (JPG, PNG) into the app, then activate the Text tool.
Use macOS Preview and Quick Look for Instant Text Extraction
Apple users have enjoyed system-level OCR for years through Live Text, introduced in macOS Monterey and later. This feature allows you to interact with text in photos as if it were selectable—right from Finder or Preview.
Steps to Copy Text from an Image on Mac
- Locate the image file (JPEG, PNG, HEIC) in Finder.
- Hover over the file and press the Spacebar to activate Quick Look.
- Move your cursor over visible text in the image. The cursor will change to a text-selection I-beam.
- Click and drag to highlight the desired text.
- Right-click the selection and choose Copy, or use Cmd + C.
- Paste the text wherever needed.
You can also open the image in **Preview** app, where the same text interaction applies. If the image contains tables or forms, macOS often preserves formatting when copying, making it ideal for transferring structured data.
| Feature | Windows 11 (Snipping Tool) | macOS (Live Text) |
|---|---|---|
| Activation Method | Win+Shift+S → Text tool | Spacebar in Finder (Quick Look) |
| Supported File Types | JPG, PNG, GIF, BMP | JPG, PNG, HEIC, PDF |
| Offline Functionality | Yes | Yes |
| Multilingual Support | English, Spanish, French, German, Chinese, Japanese, and more | Same as Windows, plus additional regional languages |
| Accuracy on Low-Quality Images | Moderate | High |
Extract Text from Images Using Microsoft OneNote (Windows & Mac)
OneNote, often overlooked, includes one of the most reliable built-in OCR engines. It’s especially useful for extracting text from handwritten notes or complex layouts.
Process Overview
- Insert the image into a OneNote page by dragging it or using Insert > Pictures.
- Right-click the inserted image.
- Select Copy Text from Picture.
- Paste the copied text into any application.
This method excels when dealing with scanned documents, whiteboard photos, or multi-column articles. OneNote’s engine handles orientation well and can detect text in various angles.
Real-World Example: Digitizing Meeting Notes
Sarah, a project manager at a tech startup, takes photos of whiteboard sessions during team meetings. Previously, she manually retyped action items into her task tracker—a time-consuming process prone to errors.
Now, she uploads each photo to OneNote on her Windows laptop. With a right-click and “Copy Text from Picture,” she extracts all written content in seconds. She pastes it into Asana, assigns tasks, and shares updates—all within five minutes of the meeting ending. Her productivity has increased by nearly 30%, and her team appreciates the faster follow-ups.
This scenario highlights how built-in OCR tools aren’t just convenient—they can transform workflows in professional settings.
FAQ: Common Questions About Copying Text from Images
Can I copy text from a password-protected PDF screenshot?
Yes. Since the text appears visually in the image, OCR tools can extract it regardless of the original PDF’s restrictions. However, this only applies to the visual representation—not the underlying encrypted text layer.
Why does the OCR fail on some images?
Poor lighting, low resolution, decorative fonts, or busy backgrounds confuse OCR algorithms. For best results, use clear, high-contrast images with standard typefaces. If possible, increase brightness or crop tightly around the text before processing.
Is my data safe when using built-in OCR?
Absolutely. Unlike web-based OCR tools, native features in Windows and macOS process images locally. No data leaves your device, ensuring confidentiality—critical for handling contracts, medical records, or personal information.
Essential Checklist for Successful Text Extraction
- ✅ Ensure the image is clear and well-lit
- ✅ Crop unnecessary areas to focus on text
- ✅ Use native tools like Snipping Tool (Windows) or Quick Look (Mac)
- ✅ Try OneNote if other methods fail—its OCR is highly accurate
- ✅ Verify extracted text for errors, especially numbers and technical terms
- ✅ Paste into plain text editors first to remove hidden formatting
Maximizing Accuracy Across Platforms
To get the most out of built-in OCR, consider these best practices:
- Avoid shadows and glare: When photographing documents, use even lighting and shoot straight-on.
- Zoom in: Capture text at the highest resolution possible.
- Use dark text on light backgrounds: Inverted colors (white text on black) may reduce accuracy.
- Update your OS: Newer versions improve OCR performance and language support.
For multilingual documents, both Windows and macOS allow you to enable additional language packs in Settings > Time & Language > Language (Windows) or System Settings > Language & Region (Mac). This boosts recognition for non-English scripts like Arabic, Cyrillic, or Kanji.
Conclusion: Start Extracting Text Effortlessly Today
Copying text from images doesn’t require complex software or technical skills. With tools already installed on your PC, you can extract readable, editable text in seconds—safely and efficiently. Whether you're transcribing receipts, saving quotes from social media, or digitizing printed materials, leveraging built-in OCR saves time and enhances productivity.


 浙公网安备
33010002000092号
浙公网安备
33010002000092号 浙B2-20120091-4
Comments
No comments yet. Why don't you start the discussion?