
Setting up a canopy should be quick, secure, and stress-free—especially when you're preparing for an outdoor event, camping trip, or market stall. Yet for many beginners, the process can feel overwhelming: poles don’t align, fabric tears in the wind, or the entire structure wobbles after hours of effort. The good news? With the right knowledge, tools, and techniques, anyone can master canopy setup in under 15 minutes. This guide breaks down every step, from choosing the right model to anchoring it securely, so you can enjoy shade without the struggle.
Understanding Canopy Types and Their Uses
Not all canopies are created equal. Choosing the right one depends on your intended use, frequency of setup, and environmental conditions. Here’s a breakdown of the most common types:
- Pop-up canopies: Lightweight, portable, and designed for quick deployment. Ideal for casual events, farmers markets, or backyard gatherings.
- Frame canopies: Heavy-duty metal frames offer superior durability and wind resistance. Best for commercial use or long-term installations.
- Instant shelters: Hybrid models combining pop-up convenience with added structural support. Great for camping or emergency preparedness.
- Retractable awnings: Permanent or semi-permanent fixtures attached to vehicles or buildings. Suitable for RVs or patios.
Step-by-Step Guide to Effortless Canopy Assembly
A successful canopy setup starts with preparation. Follow this sequence to ensure smooth, efficient installation every time:
- Clear and level the ground: Remove rocks, sticks, and debris. Uneven terrain increases instability and puts uneven pressure on legs.
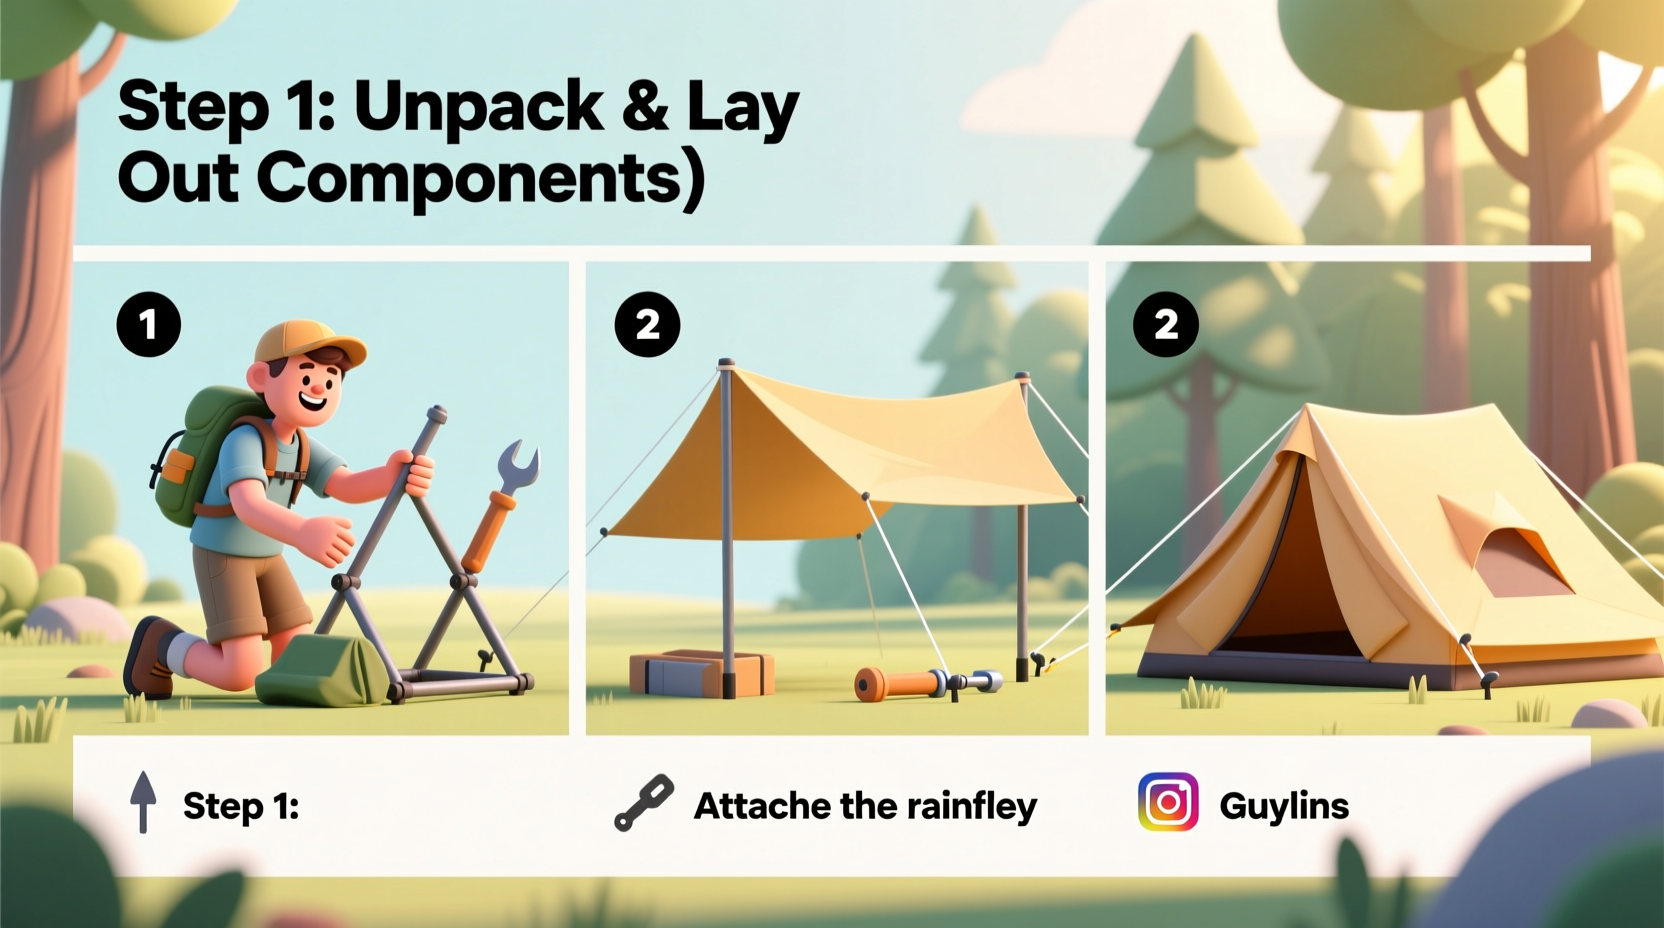
- Lay out all components: Unpack poles, legs, top cover, stakes, and tie-downs. Verify nothing is missing before starting.
- Assemble the frame: Connect leg sections first, then attach crossbars. Use gentle pressure—do not force joints together.
- Raise the canopy frame: Lift the frame into position slowly. Have a partner assist to prevent tipping.
- Attach the canopy top: Drape the cover over the frame starting from the center. Secure each corner with Velcro straps or clips.
- Anchoring: Insert stakes at a 45-degree angle away from the canopy. For hard surfaces, use sandbags or bungee cords to fixed objects.
- Final check: Tug gently on the fabric and legs. Adjust tension if the cover sags or flaps.
Practice this process at home before heading outdoors. Familiarity reduces setup time significantly and helps identify potential issues early.
Do’s and Don’ts of Canopy Setup
Mistakes during assembly can lead to damage, injury, or failure in windy conditions. Refer to this table to avoid common pitfalls:
| Do’s | Don’ts |
|---|---|
| Use gloves to protect hands from sharp edges | Force misaligned poles—this can crack connectors |
| Check weather forecast before setup | Leave canopy unattended in high winds |
| Secure all four corners evenly | Over-tighten straps, which may tear fabric |
| Clean and dry canopy before storage | Store while damp—mold and mildew will develop |
| Inspect hardware regularly for wear | Use damaged or bent poles—they compromise stability |
Expert Insight: Stability Starts Before the First Pole
According to outdoor gear specialist Marcus Lin, “Most canopy failures aren’t due to poor quality—they result from rushed setups and inadequate anchoring.” He emphasizes that preparation is key: “I always tell new users to spend five extra minutes assessing their site. Look for overhead hazards like tree branches, underground utilities, and natural wind channels between buildings.”
“Your canopy is only as strong as its weakest anchor point. Never skip weights or stakes—even if the sky looks clear.” — Marcus Lin, Outdoor Equipment Consultant
Real Example: From Frustration to Confidence
Jamie, a weekend vendor at a local craft fair, struggled with her pop-up canopy for months. During her first event, wind lifted one corner, tearing the fabric and collapsing the frame. Embarrassed and discouraged, she almost quit selling outdoors. After researching best practices and investing in heavy-duty sandbags, Jamie practiced setup in her driveway. She marked pole lengths with colored tape for faster alignment and began checking wind speeds via a pocket anemometer. At her next event, despite gusts up to 20 mph, her canopy remained stable. “It wasn’t magic,” she says. “Just preparation and respect for the process.”
Essential Checklist for Every Canopy Setup
Keep this checklist handy before every deployment:
- ✅ All poles and connectors accounted for
- ✅ Canopy top free of rips or mildew
- ✅ Ground surface cleared and leveled
- ✅ Wind speed below manufacturer’s limit (usually 15–20 mph)
- ✅ Anchoring system ready (stakes, sandbags, or ratchet straps)
- ✅ Partner available for assistance (if needed)
- ✅ Emergency repair kit packed (duct tape, spare pins, mallet)
Weather Considerations and Safety Tips
Even the best-assembled canopy is vulnerable in extreme conditions. Always monitor the environment:
- Wind: Winds exceeding 20 mph can lift or collapse canopies. Use wind-resistant models with aerodynamic designs when possible.
- Rain: Ensure the canopy top is taut to prevent water pooling. Sagging fabric holds water, increasing weight and risk of collapse.
- Sun exposure: UV-resistant fabrics last longer. However, prolonged sun weakens stitching over time—rotate usage if possible.
- Lightning: Avoid open fields during thunderstorms. Canopies with metal frames can attract lightning.
If severe weather approaches, take the canopy down immediately. No event is worth the risk of injury or property damage.
Frequently Asked Questions
How long should a beginner expect canopy setup to take?
With practice, most pop-up canopies can be assembled in 10–15 minutes. Beginners may take 20–30 minutes the first few times. Practice at home reduces time significantly.
Can I set up a canopy on concrete or asphalt?
Yes, but traditional stakes won’t work. Use sandbags, water barrels, or vehicle tie-downs with ratchet straps. Aim for at least 40 pounds of counterweight per leg.
Why does my canopy keep sagging in the middle?
Sagging usually means the top isn’t tight enough or the frame isn’t fully extended. Double-check that all locking pins are engaged and adjust tie-downs for even tension across the cover.
Final Thoughts: Mastering Simplicity Through Preparation
Effortless canopy setup isn’t about strength or special skills—it’s about consistency, attention to detail, and respecting the equipment. Whether you’re hosting a family picnic or running a business booth, a well-secured canopy enhances comfort, safety, and professionalism. By choosing the right model, following a reliable assembly process, and anchoring properly, you transform what once felt chaotic into a seamless routine.


 浙公网安备
33010002000092号
浙公网安备
33010002000092号 浙B2-20120091-4
Comments
No comments yet. Why don't you start the discussion?