
Heeled mules are a wardrobe staple—effortlessly chic, versatile, and perfect for transitioning from day to night. But their open-back design and snug fit often lead to one common problem: painful blisters during the break-in period. Unlike traditional closed heels, mules lack ankle support and rely on precise foot placement, making comfort a challenge when worn straight out of the box. The good news? With the right techniques, you can soften the leather, mold the shoe to your foot, and prevent friction before it starts—all without enduring days of discomfort.
Understand Why Mules Cause Discomfort
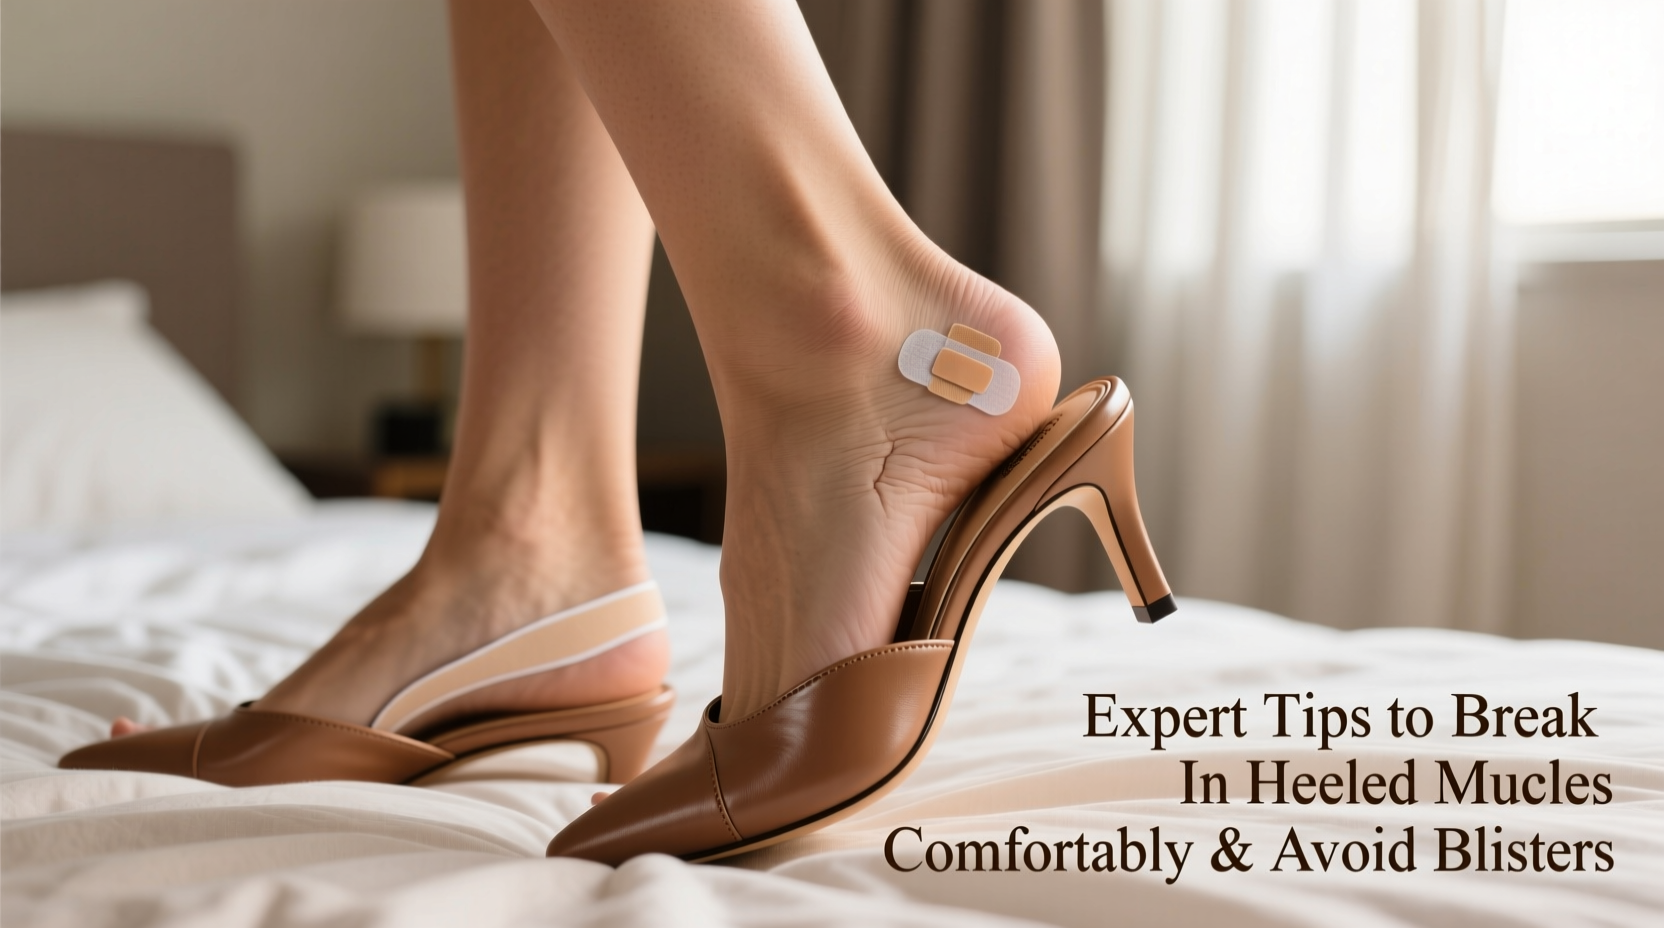
Mules present unique challenges due to their backless construction. Without a heel counter to secure the foot, your toes and ball of the foot must work harder to keep the shoe in place. This increased grip leads to micro-movements with every step, creating friction that quickly turns into hot spots and blisters—especially along the Achilles tendon, sides of the heel, or behind the toes.
Materials also play a major role. Stiff leathers, synthetic linings, and unyielding soles contribute to initial discomfort. However, most high-quality mules are designed to conform to your foot over time. The key is guiding that process intelligently rather than rushing it through forced wear.
“Mules require a more strategic break-in than laced shoes because they don’t have adjustability. Preventive care and gradual adaptation are essential.” — Dr. Lena Torres, Podiatrist & Footwear Consultant
Step-by-Step Guide to Breaking In Heeled Mules Safely
Rushing the break-in process is the fastest way to develop blisters and damage the shoe’s structure. Instead, follow this structured timeline over 5–7 days to condition both your feet and the footwear.
- Day 1–2: Indoor Wear (No Socks)
Wear your mules around the house for 30–60 minutes daily. Walk on carpeted surfaces to gently flex the sole and stretch upper materials. Focus on natural gait patterns—avoid shuffling, which increases heel slippage. - Day 3–4: Introduce Short Outdoor Walks
Take them outside for brief errands (e.g., mail pickup, coffee run). Limit distance to 5–10 minutes initially. Pay attention to pressure points and adjust walking technique if needed. - Day 5–6: Increase Duration Gradually
Extend wear to 2–3 hours, ideally paired with blister prevention methods (discussed below). Choose smooth pavement over uneven terrain. - Day 7+: Full Integration
By now, the shoe should feel noticeably more flexible. Continue monitoring for discomfort, especially after prolonged standing.
Proven Techniques to Prevent Blisters
Blisters form when moisture, heat, and repeated rubbing combine. These strategies disrupt that cycle before damage occurs.
- Use Silicone Heel Grips: Adhesive pads placed inside the heel cup minimize slippage without altering the shoe’s appearance.
- Apply Anti-Friction Balm: Products like Body Glide or FootFitter Balm create a protective barrier on skin prone to rubbing.
- Wear Liner Socks (Temporarily): Thin, invisible nylon or bamboo liner socks reduce direct skin-to-leather contact. Remove once the shoe molds to your foot.
- Moisturize Your Feet Nightly: Dry, cracked skin is more susceptible to tearing. Use a urea-based cream to maintain elasticity.
- Avoid Cotton Socks: Cotton retains moisture and increases friction—opt for moisture-wicking blends instead.
| Method | Effectiveness | Best For | Duration of Use |
|---|---|---|---|
| Silicone Heel Pads | ★★★★☆ | Back-of-heel slippage | First 1–2 weeks |
| Anti-Friction Balm | ★★★★★ | All friction zones | Daily during break-in |
| Liner Socks | ★★★☆☆ | New leather mules | First 3–5 wears |
| Stretch Spray + Wear | ★★★☆☆ | Tight toe boxes | As needed |
| Professional Stretching | ★★★★★ | Chronic tightness | One-time service |
Real-World Example: From Painful to Perfect Fit
Sophia, a marketing executive in Chicago, purchased a pair of tan suede block-heel mules for client meetings. On her first day wearing them, she developed a blister within 45 minutes. Discouraged but unwilling to return them, she followed a targeted break-in plan: she wore them indoors for three evenings, applied foot balm nightly, used silicone grips, and visited a cobbler for a half-stretch on the left shoe (which felt tighter).
By the end of the second week, she wore them confidently through an eight-hour conference with no discomfort. “They’re now my go-to shoe,” she said. “I just wish I’d known not to force it on day one.”
Do’s and Don’ts When Breaking In Mules
- ✅ Do wear them at home first
- ✅ Do use heel grips or anti-friction products
- ✅ Do stretch stiff areas with a shoe stretcher or professional service
- ✅ Do clean and condition leather regularly to maintain softness
- ❌ Don’t wear them on long walks immediately
- ❌ Don’t ignore early signs of redness or warmth
- ❌ Don’t use heat sources like hairdryers excessively—they can crack leather
- ❌ Don’t skip sock liners if your skin is sensitive
When to Seek Professional Help
If discomfort persists beyond two weeks despite proper break-in efforts, consider consulting a cobbler. Many offer targeted stretching services using specialized machines that expand problem areas—such as a narrow toe box or rigid arch—without compromising structural integrity. Some cobblers also install custom cushioning or rubberized heel guards for added protection.
For those with unique foot shapes or medical conditions like hammertoes or wide forefeet, semi-custom orthotics designed for shallow mule interiors can make all the difference.
“Investing $20 in a cobbler can save you hundreds lost to unworn shoes. Precision stretching is far safer than DIY hacks.” — Marcus Reed, Master Cobbler, Boston Shoe Repair Guild
Frequently Asked Questions
Can I stretch mules at home safely?
Yes, but cautiously. Use a dual-axis shoe stretcher for width and length adjustments. Avoid water-based methods unless the manufacturer recommends them, as excess moisture can warp glued components or discolor suede.
How do I know if my mules are too small?
If your toes hang over the front edge, press against the side seams, or if you experience numbness, the size is likely incorrect. A slight slip at the heel is normal in mules, but constant sliding indicates poor fit.
Will thicker socks help during break-in?
No—thicker socks increase pressure and can distort the shoe’s shape. Stick to ultra-thin liner socks if needed, focusing instead on reducing movement with grips and balms.
Final Thoughts: Comfort Meets Style
Breaking in heeled mules doesn’t have to mean enduring pain. By respecting the shoe’s structure and your body’s limits, you can achieve a glove-like fit that enhances both comfort and confidence. The goal isn’t to toughen your feet—it’s to smarten your approach. With consistent care, preventive measures, and patience, your favorite pair of mules can become one of the most reliable, stylish additions to your rotation.


 浙公网安备
33010002000092号
浙公网安备
33010002000092号 浙B2-20120091-4
Comments
No comments yet. Why don't you start the discussion?