
Google Images is one of the most widely used tools for finding visual content online. However, many users frequently encounter a common frustration: thumbnails that appear too small to be useful. Whether you're researching products, gathering design inspiration, or trying to identify an object, tiny previews can hinder your experience. The issue isn't always with Google itself—sometimes it's your browser settings, device resolution, or search behavior. Understanding the root causes and knowing how to adjust image display settings can significantly improve your browsing efficiency and visual clarity.
Why Are Google Images Displaying Too Small?
Several factors contribute to Google Images appearing smaller than expected. These range from algorithmic choices made by Google to user-side configurations on devices and browsers. Recognizing these reasons is the first step toward resolving the issue.
- Thumbnail-Based Layout: Google uses a grid of small thumbnails to allow fast loading and efficient browsing across thousands of results.
- Device Screen Resolution: Lower-resolution screens or older devices may compress image previews to fit within limited pixel dimensions.
- Browser Zoom Settings: If your browser is zoomed out (e.g., at 75% or 90%), all content—including image thumbnails—will appear smaller.
- Slow Internet Connection: Google may serve lower-quality, compressed previews when network speeds are poor to reduce load times.
- Search Filters and SafeSearch: Enabling strict SafeSearch or using filters like “Small” under “Size” can limit results to lower-dimension images.
“Google prioritizes speed and accessibility over high-fidelity previews. That’s why thumbnails are optimized for quick scanning, not detailed inspection.” — Sarah Lin, UX Researcher at a leading search analytics firm
How to Adjust Image Sizes in Google Images: Practical Methods
You don’t have to settle for tiny thumbnails. Several techniques can help enlarge the visible size of images during your search process or after clicking through.
1. Use the “Tools” Filter to Specify Image Size
Google allows you to filter results by image dimensions. This doesn’t change the thumbnail size directly but ensures larger, higher-resolution images appear in your results.
- Perform any image search on Google.
- Click the “Tools” button below the search bar.
- Select “Size” from the dropdown menu.
- Choose “Large,” “Medium,” or “Larger than…” (e.g., 1024x768) to refine results.
2. Adjust Browser Zoom Level
Sometimes, the simplest fix is adjusting your browser’s zoom. Increasing the zoom level enlarges everything on the page, including image thumbnails.
- Press Ctrl + (or Cmd + on Mac) to zoom in incrementally.
- Press Ctrl + 0 to reset to default (100%) zoom.
- Right-click the page and select “Zoom In” if keyboard shortcuts aren’t convenient.
3. Enable Desktop Mode on Mobile Devices
On smartphones and tablets, Google Images often defaults to a mobile-optimized layout with compact thumbnails. Switching to desktop mode can provide a more spacious, resizable interface.
- Tap the three-dot menu in your browser.
- Select “Desktop site” or “Request desktop version.”
- Reload the Google Images page.
The desktop layout typically offers larger thumbnails and more screen real estate per image.
Step-by-Step Guide to Viewing Larger Previews
While you can’t permanently change the default thumbnail size on Google Images, you can access larger versions efficiently. Follow this sequence:
- Search with Intent: Use descriptive keywords (e.g., “vintage leather sofa high resolution”) to increase chances of large-image results.
- Filter by Size: Click “Tools” > “Size” > “Large” or specify custom dimensions.
- Browse the Grid: Scroll through thumbnails. Hover over promising ones (on desktop) to see a slightly enlarged preview.
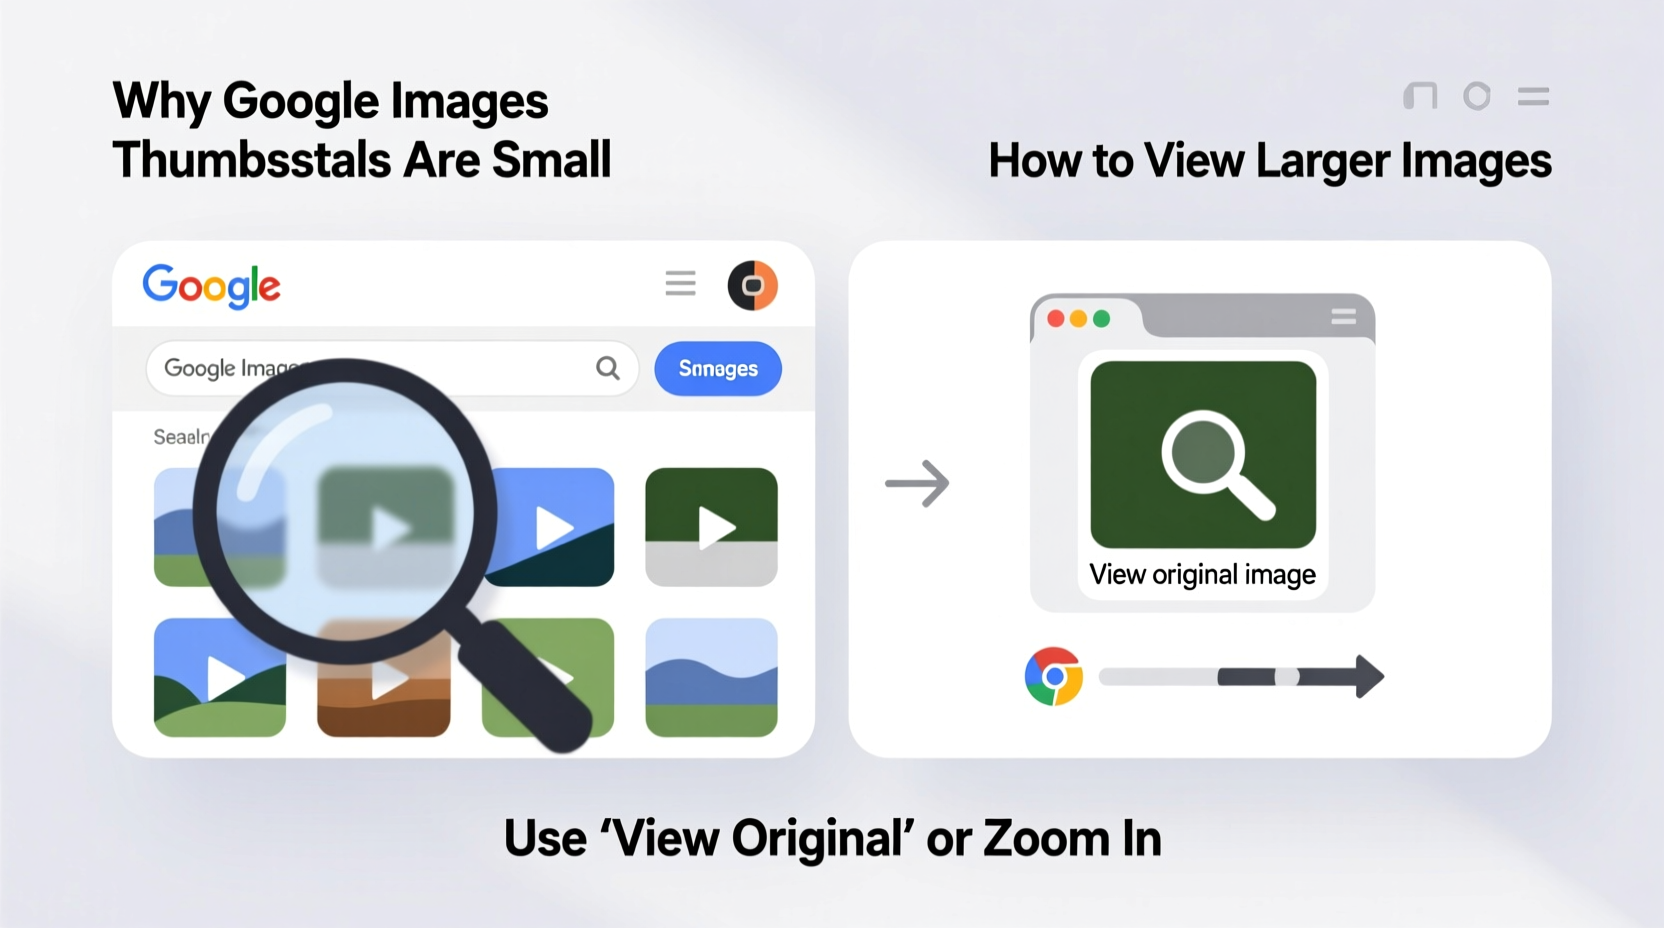
- Click to Expand: Select an image to open Google’s image viewer, which displays a larger preview with source details.
- Visit the Source: Click “Visit page” to view the full-size image on the original website, where it may be embedded in higher quality.
- Download or Save: Right-click the full-size image (if allowed) and choose “Save image as…” to store it locally.
Do’s and Don’ts When Adjusting Image Sizes
| Do’s | Don’ts |
|---|---|
| Use specific search terms like “high resolution” or “wallpaper” to find larger images. | Assume all thumbnails reflect the actual image quality—many are compressed. |
| Adjust browser zoom to 110–125% for a balanced view of thumbnails and text. | Rely solely on the thumbnail; always click through for accurate assessment. |
| Clear browser cache regularly to prevent rendering glitches that affect image display. | Ignore copyright notices when downloading enlarged images from external sites. |
| Use incognito/private mode to test if extensions are interfering with image sizing. | Install unknown browser plugins claiming to “enlarge Google Images”—they may be malicious. |
Real Example: A Designer’s Experience
Jamal Rivera, a freelance graphic designer based in Portland, needed reference images of Art Deco architecture for a client project. His initial searches returned blurry, postage-stamp-sized thumbnails that were nearly impossible to analyze.
He applied several adjustments: he added “site:.edu” to find academic sources, filtered by “Large” size, and switched his browser zoom to 125%. He also enabled desktop mode on his tablet. Within minutes, the image grid transformed—larger, clearer previews appeared, making it easier to identify relevant structures. By visiting the source pages, he accessed full-resolution photos suitable for mood boards.
“I wasted hours before realizing I wasn’t using the filters correctly,” Jamal said. “Now I never search without setting size parameters first.”
Tips for Consistently Better Image Results
- Add file type modifiers like “filetype:jpg” or “-filetype:gif” to exclude low-quality formats.
- Use quotation marks around exact phrases (e.g., “Empire State Building at night”) to narrow results.
- Avoid overly broad terms like “beautiful” or “cool,” which return inconsistent image sizes.
- Bookmark frequently used advanced search combinations for faster access.
Frequently Asked Questions
Can I permanently change the default thumbnail size on Google Images?
No, Google does not allow users to permanently alter the default thumbnail size. The layout is standardized to ensure consistency across devices and fast loading. However, using browser zoom or filtering by image size can simulate larger previews.
Why do some large images still show up as small thumbnails?
Google generates standardized thumbnails regardless of the original image size. Even if an image is 4000x3000 pixels, its preview will be resized to fit the grid. The only way to see the true scale is by clicking through to the source or using Google’s image viewer.
Are there browser extensions that make Google Images larger?
Yes, some extensions claim to enhance Google Images with larger thumbnails or grid customization. Examples include “Image Search Options” or “Google Image Downloader.” However, use caution—only install extensions from trusted developers to avoid privacy risks.
Conclusion: Take Control of Your Visual Search Experience
Google Images doesn’t have to be a frustrating maze of tiny previews. By understanding the technical and behavioral reasons behind small thumbnails—and applying practical fixes like size filtering, browser zoom, and smart search syntax—you gain greater control over how images are displayed. These adjustments require minimal effort but yield significant improvements in usability and efficiency.


 浙公网安备
33010002000092号
浙公网安备
33010002000092号 浙B2-20120091-4
Comments
No comments yet. Why don't you start the discussion?