
Replacing a central air conditioning system is one of the most significant home upgrades a homeowner can make. It affects comfort, energy efficiency, indoor air quality, and long-term utility costs. Yet, many people are caught off guard by the total price tag—not just for the unit itself, but for installation, ductwork, electrical updates, and unexpected complications. Understanding the full financial picture helps avoid surprises and ensures you invest wisely in a system that meets your needs without draining your savings.
Average Costs: What to Expect Upfront
The national average cost to replace a central air conditioning system ranges from $5,000 to $12,500. This includes both equipment and professional installation. However, several factors influence where your project lands within this range.
The size of your home is the primary driver. A 1,500-square-foot house typically requires a 3-ton unit, costing between $6,000 and $8,000. Larger homes—say, 3,000 square feet or more—may need a 5-ton system, pushing prices toward $10,000–$14,000, especially if high-efficiency models or variable-speed compressors are selected.
SEER (Seasonal Energy Efficiency Ratio) ratings also impact pricing. Units with higher SEER ratings (20+), while more expensive upfront, reduce monthly cooling bills and may qualify for tax credits or rebates. For example, upgrading from a standard 14 SEER to a 21 SEER model can add $1,500–$2,500 to the initial cost but save hundreds annually in energy use.
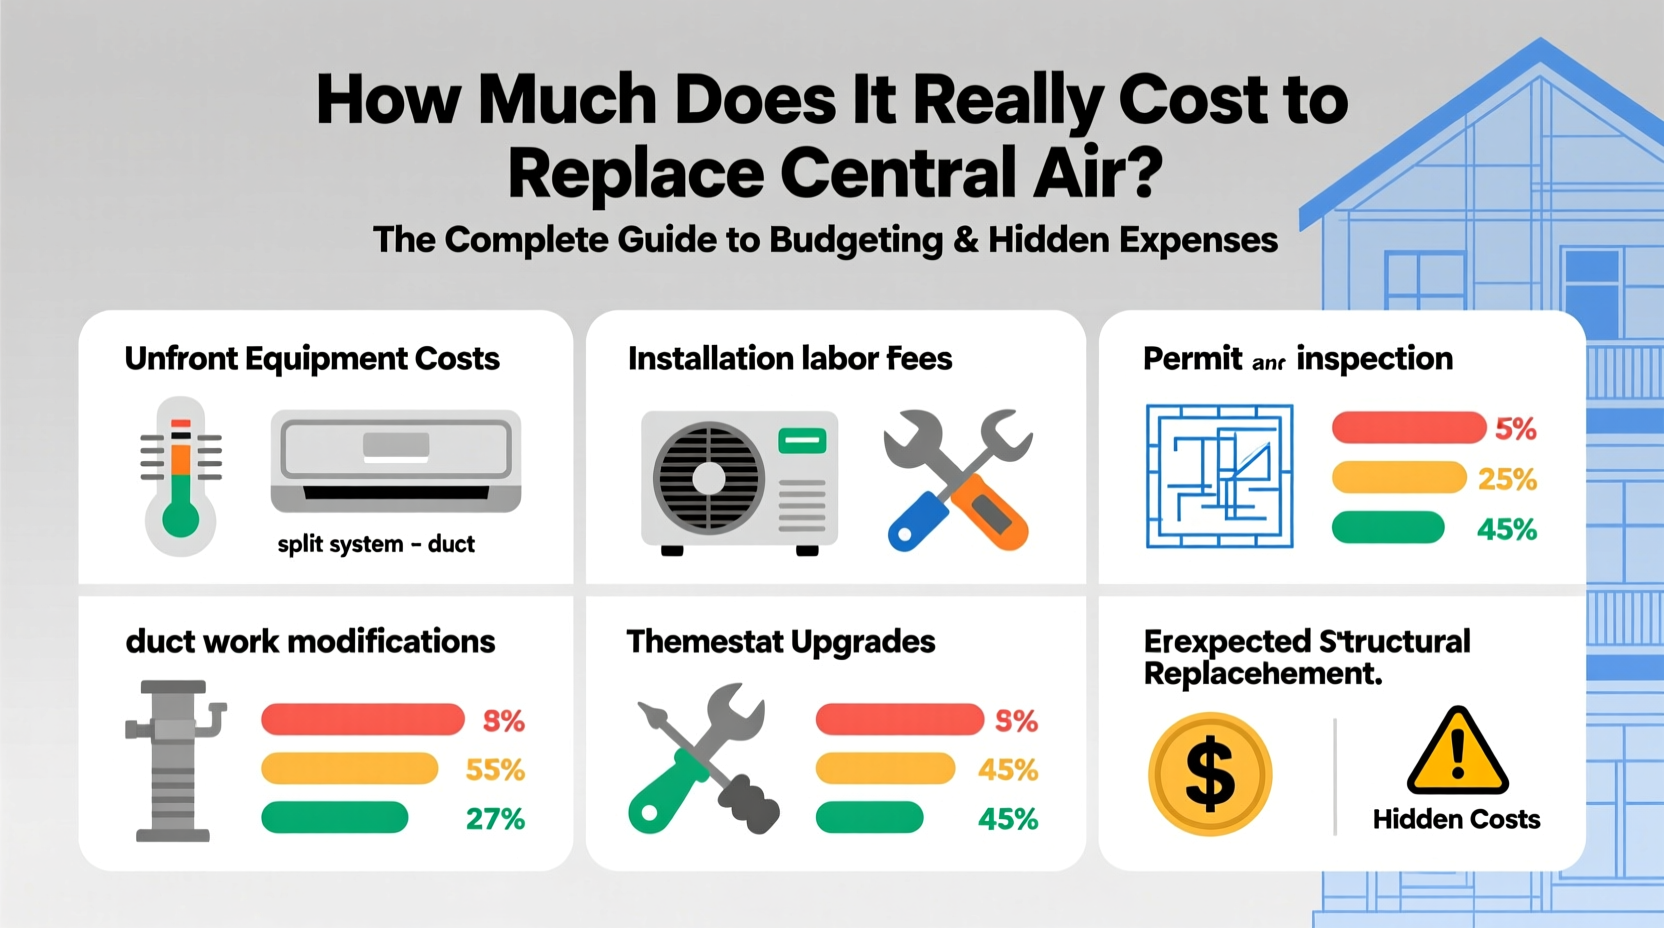
Hidden Expenses That Add Up Fast
Many homeowners focus only on the quoted system price, overlooking critical ancillary costs. These \"hidden\" expenses can increase your final bill by 20% to 50%, depending on your home’s condition.
- Ductwork Replacement: If your ducts are leaky, undersized, or contaminated, they may need sealing or replacement. Repairs average $500–$1,500; full replacements can reach $3,000–$6,000.
- Electrical Upgrades: Older homes may lack a 240-volt circuit or require a new disconnect box. Permitting and rewiring can add $300–$1,000.
- Thermostat Compatibility: Smart thermostats often require a C-wire for continuous power. Adding one costs $150–$300 if not already installed.
- Permit Fees: Most municipalities require HVAC permits, ranging from $50 to $300 depending on location.
- Removal and Disposal: Hauling away the old unit and refrigerant recovery typically runs $150–$400.
“Many customers think they’re getting a ‘great deal’ on a new AC until we explain what’s not included. Duct evaluation alone can uncover thousands in needed work.” — Mark Reynolds, Master HVAC Contractor, Austin, TX
Cost Comparison by System Type and Efficiency
| System Type | SEER Rating | Avg. Unit Cost | Total Installed Cost | Lifespan |
|---|---|---|---|---|
| Single-Stage, Standard Efficiency | 13–15 | $2,500–$3,500 | $5,000–$7,000 | 10–12 years |
| Two-Stage, Mid-Efficiency | 16–19 | $3,500–$5,000 | $7,000–$9,500 | 14–16 years |
| Variable-Speed, High-Efficiency | 20–26 | $5,000–$7,500 | $9,500–$14,000+ | 15–20 years |
| Ductless Mini-Split (for retrofit) | 18–30 | $3,000–$6,000 | $7,000–$12,000 | 15–20 years |
Note that ductless systems bypass duct-related costs but are better suited for homes without existing ductwork or for room-specific cooling. They offer zoned control and superior efficiency but come with visible indoor units.
Step-by-Step: Planning Your Central Air Replacement
Replacing central air shouldn’t be rushed. Follow this timeline to ensure accuracy, value, and peace of mind.
- Assess Current System (Month 1): Note age, repair history, and performance issues. Systems over 10–12 years old are candidates for replacement.
- Get a Load Calculation (Week 2): Hire an HVAC pro to perform a Manual J calculation. This determines the correct system size—avoiding oversized units that short-cycle and waste energy.
- Obtain 3 Detailed Quotes (Week 3): Ensure each includes equipment specs, labor, permit handling, disposal, and warranty terms.
- Check Rebates and Financing (Week 4): Visit ENERGY STAR’s website or local utility programs. Some rebates exceed $1,000. Also explore low-interest financing through contractors or home equity loans.
- Schedule Installation (Month 2): Choose mild weather if possible. Avoid peak summer when demand (and prices) spike.
- Post-Installation Review (Day After): Confirm thermostat calibration, airflow balance, and refrigerant levels. Keep all documentation for warranty claims.
Real-World Example: The Johnson Family’s Upgrade
The Johnsons in suburban Atlanta replaced their 15-year-old AC unit after repeated breakdowns and soaring summer bills. Their initial quote was $7,200 for a 4-ton, 16 SEER system. But during inspection, the contractor found collapsed ducts in the attic and outdated electrical wiring.
They opted for duct sealing ($1,100), a new 240V circuit ($650), and upgraded to a 19 SEER two-stage unit for better humidity control. The final cost: $10,800. While above budget, their cooling bills dropped 38% in the first summer, and they received a $600 utility rebate. With proper maintenance, they expect the system to last 16+ years—making the investment worthwhile.
Budgeting Smartly: Do’s and Don’ts
| Do’s | Don’ts |
|---|---|
| Invest in a load calculation before buying any system | Choose a system based solely on price |
| Look for ENERGY STAR rebates and federal tax credits | Ignore duct condition—leaky ducts waste up to 30% of cooled air |
| Maintain your new system with annual tune-ups | Skimp on warranties—extended coverage protects against compressor failure |
| Consider zoning systems for multi-level homes | Assume all contractors are equal—verify licenses, insurance, and reviews |
Frequently Asked Questions
Can I replace just the outdoor unit and keep the indoor coil?
Technically yes, but it's not recommended. Mixing old and new components reduces efficiency, voids some manufacturer warranties, and can cause refrigerant compatibility issues. For optimal performance and warranty validity, replace both components together.
How long does installation take?
Most standard replacements take 1 to 2 days. Complex jobs involving ductwork, electrical upgrades, or custom fabrication may require 3–5 days. The process includes disconnecting the old system, removing debris, installing the new unit, charging refrigerant, testing airflow, and calibrating controls.
Are there financing options available?
Yes. Many HVAC companies partner with lenders like Carrier Finance, GE Capital, or Hearth to offer 0% interest for 12–24 months. Credit unions and home equity lines also provide competitive rates. Always read the fine print—deferred interest clauses can backfire if not paid in full by the deadline.
Final Thoughts: Make It a Long-Term Investment
Replacing central air is more than a repair—it's a strategic upgrade that influences comfort, health, and home value. While the upfront cost can seem steep, a properly sized, efficiently installed system pays for itself over time through lower energy bills, fewer repairs, and consistent performance. Avoid cutting corners on diagnostics or installation quality. Instead, treat this as a 15-year investment and budget accordingly.


 浙公网安备
33010002000092号
浙公网安备
33010002000092号 浙B2-20120091-4
Comments
No comments yet. Why don't you start the discussion?