
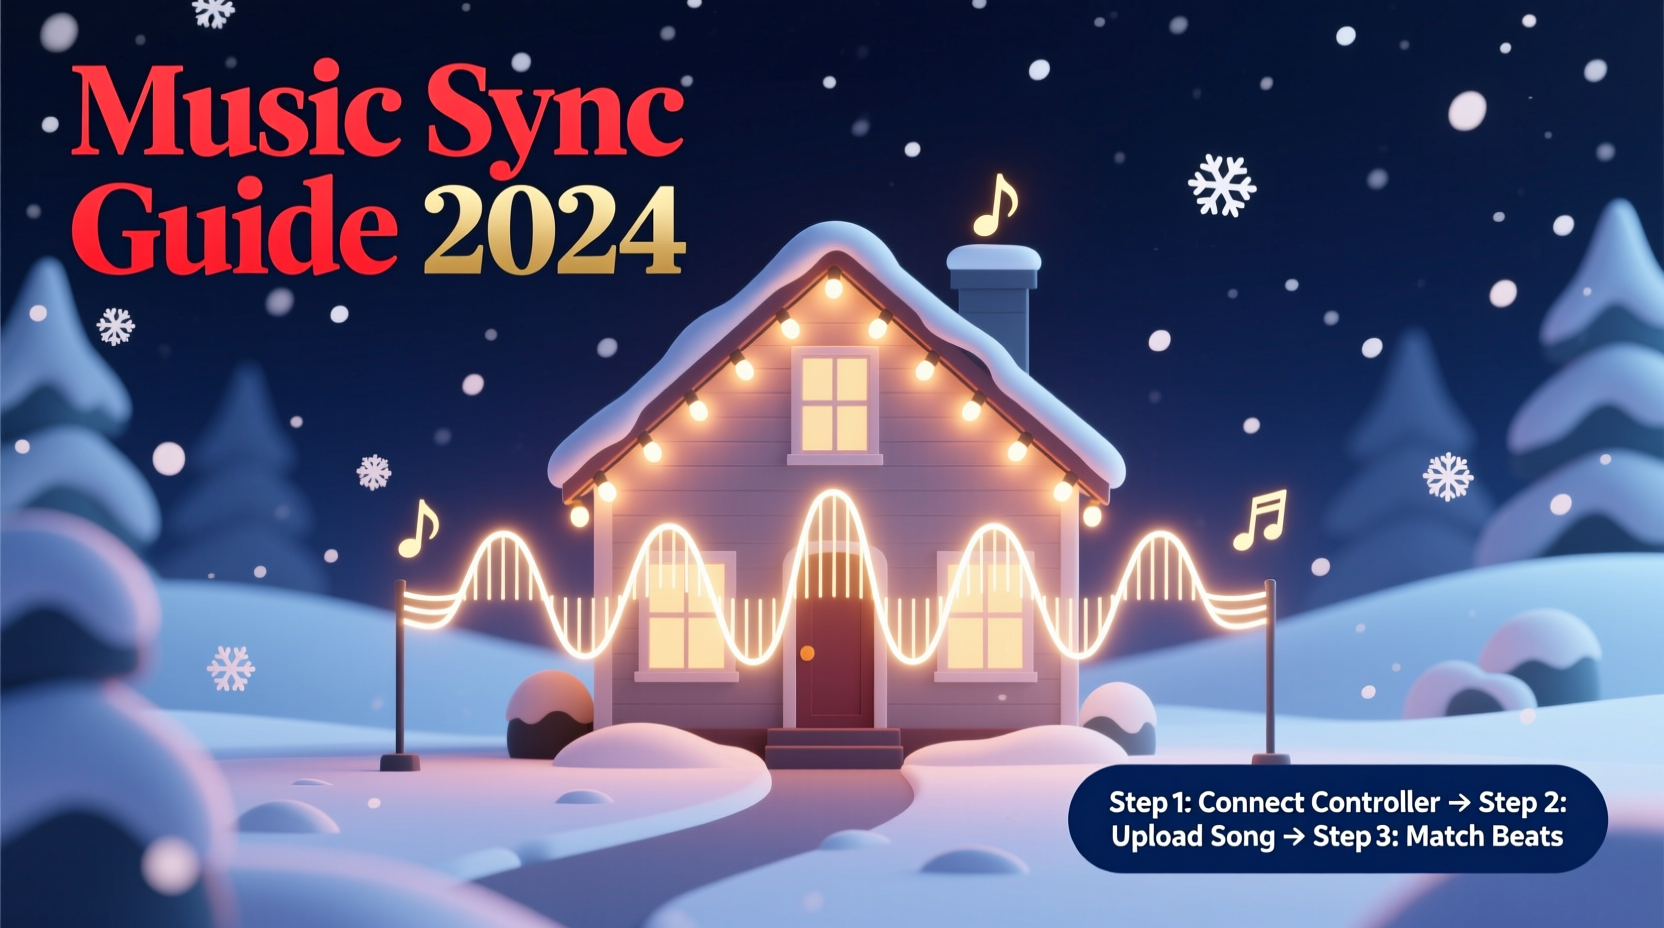
Christmas light displays have evolved from simple static setups into dynamic, immersive experiences. One of the most captivating upgrades you can make is adding music synchronization—transforming blinking lights into a choreographed performance that dances in time with holiday tunes. If you already have an existing display, integrating audio doesn’t require starting over. With careful planning and the right tools, you can elevate your current setup into a neighborhood sensation.
Synchronized lighting combines hardware, software, and creative timing to match light effects precisely to musical beats, melodies, and rhythms. Whether your display consists of string lights along the eaves or a full yard installation with multiple channels, syncing it to music enhances emotional impact and viewer engagement. The process involves assessing your current system, choosing compatible technology, mapping channels, and programming sequences—all while maintaining safety and reliability.
Assess Your Current Light Setup
Before introducing music, evaluate what you already have. Not all lighting systems are created equal when it comes to synchronization. The key factor is whether your lights are individually controllable or grouped into fixed circuits.
If your display uses traditional plug-in strands without any smart controls, you’ll need to upgrade at least partially to addressable or channel-based systems. However, if you’re already using smart LEDs like WS2812B (commonly known as NeoPixels) or have invested in controllers such as those from Light-O-Rama or Falcon Christmas, integration will be significantly easier.
Begin by documenting:
- The number of independent light zones or circuits
- Type of bulbs: incandescent, LED, RGB, or single-color
- Control method: manual switches, timers, or programmable controllers
- Power requirements and circuit load limits
This inventory determines your compatibility with music-sync platforms. For example, basic on/off control allows only simple beat matching, while RGB addressable strips enable complex color fades, chases, and wave effects timed to musical phrases.
Select the Right Synchronization System
The heart of any synchronized display is its control system. There are two primary approaches: proprietary ecosystems and open-source solutions.
Proprietary Systems like Light-O-Rama offer user-friendly software (Sequence Editor), dedicated hardware (controllers, power supplies), and strong community support. These are ideal for beginners due to their plug-and-play nature and comprehensive documentation. They support both AC-powered channels (for standard mini-lights) and pixel-based outputs (for addressable LEDs).
Open-Source Options such as xLights (formerly called LOR Sequence Editor alternative) provide greater flexibility and cost efficiency. xLights runs on Windows, macOS, and Linux, supports a wide range of hardware—including DIY options based on ESP8266/ESP32 microcontrollers—and enables advanced features like 3D preview and audio waveform analysis.
Choosing between them depends on your technical comfort level, budget, and long-term goals. Proprietary systems often come with higher upfront costs but include customer service and guaranteed compatibility. Open-source tools demand more setup time but allow customization and scalability.
“With xLights, I was able to sync over 20,000 pixels across my house and garage using repurposed hardware and free software.” — Daniel Reeves, Home Lighting Enthusiast and Creator of “Holiday Sync Lab”
Hardware and Software Integration Timeline
Adding music sync isn't instantaneous—it requires a structured rollout. Follow this realistic six-week timeline to avoid last-minute stress:
- Week 1–2: Audit & Plan
Inventory existing lights, sketch layout, decide which elements to keep or replace, and choose control platform. - Week 3: Acquire Equipment
Purchase needed controllers, power supplies, network gear (like Ethernet cables or WiFi modules), and audio playback devices. - Week 4: Install & Test Hardware
Mount new controllers, connect light strings, verify power distribution, and test basic functionality (e.g., turn all lights on/off remotely). - Week 5: Configure Software
Set up xLights or equivalent; import your physical layout; map virtual channels to actual circuits; calibrate brightness and color settings. - Week 6: Create First Sequence
Import a short song (e.g., \"Jingle Bells\"), use beat detection tools, manually adjust effects, and perform outdoor tests with sound.
Testing early and often prevents cascading failures during final deployment. Always run full sequences outdoors under real conditions—indoor simulations don’t account for wind, moisture, or signal interference.
Programming Lights to Match Music
This is where art meets engineering. A well-synchronized display doesn’t just flash randomly to the beat—it reflects the mood, tempo, and structure of the music.
Start by importing your chosen track into the sequencing software. Most programs, including xLights and Light-O-Rama’s Sequence Editor, feature beat detection that automatically marks downbeats. While helpful, these tools rarely capture nuances like crescendos, instrumental solos, or lyrical emphasis. Manual refinement is essential.
Break the song into sections: intro, verse, chorus, bridge, outro. Assign different visual motifs to each:
- Use slow fades and soft glows during verses
- Trigger rapid flashes or color explosions during choruses
- Sync spotlight effects or moving patterns to solo instruments
- Pause or dim lights momentarily before big musical drops
For RGB pixels, leverage color theory. Warm tones (red, orange) evoke joy and energy; cool hues (blue, white) suggest calm or wonder. Transition colors gradually to mirror changes in melody or harmony.
| Musical Element | Light Effect Recommendation | Timing Precision Needed |
|---|---|---|
| Steady Beat (e.g., drum) | On/off flash or strobe | ±50ms |
| Chord Change | Color shift or intensity ramp | ±100ms |
| Vocal Phrase Start | Wave or chase effect initiation | ±75ms |
| Instrumental Solo | Spotlight or focused animation | ±25ms |
Accuracy matters. Even slight delays between audio and visual cues disrupt immersion. To minimize latency:
- Use wired Ethernet instead of WiFi for controller communication
- Ensure your computer or Raspberry Pi running the software has sufficient RAM and CPU
- Pre-render sequences rather than relying on real-time rendering
- Play audio directly from the same device controlling lights to maintain sync
Real-World Example: Upgrading a Static Display
Mark Thompson had a modest Christmas display on his suburban home—two roofline strings, a lit tree, and a reindeer figure—all controlled by timers. After watching a neighbor’s synced show online, he decided to modernize.
He began by replacing one roofline strand with an addressable RGB strip connected to a WLED-enabled ESP32 board. He kept the second strand on a standard relay controller for basic on/off effects. Using xLights, he mapped both channels and added the tree as a third zone via a smart plug.
His first sequence used Mariah Carey’s “All I Want for Christmas Is You.” He aligned major beats with roofline flashes, triggered the tree glow during the chorus, and made the reindeer blink in rhythm during the bridge. Audio played through a weatherproof Bluetooth speaker mounted near the front porch.
After three weekends of tweaking, Mark achieved tight synchronization. On opening night, dozens of neighbors gathered to watch. Within days, his display went viral locally, drawing families who brought chairs and hot cocoa to enjoy the full playlist.
The total investment? Under $200. The effort? Worth every hour.
Essential Checklist for Adding Music Sync
Follow this checklist to ensure no critical step is missed:
- ✅ Inventory all existing lights and note controllability
- ✅ Choose a control platform (xLights, Light-O-Rama, etc.)
- ✅ Verify power supply capacity for upgraded loads
- ✅ Purchase necessary controllers and networking equipment
- ✅ Physically install and label all new hardware
- ✅ Map real-world circuits to virtual channels in software
- ✅ Import music tracks and detect beats automatically
- ✅ Manually refine timing for key musical moments
- ✅ Test sequences outdoors with full audio and lighting
- ✅ Implement fail-safes (backup sequences, surge protectors)
- ✅ Share your show schedule with neighbors and local authorities if required
Frequently Asked Questions
Can I sync music without replacing all my existing lights?
Yes. You can integrate smart relays or RF-controlled outlets to make traditional lights responsive to signals. While they won’t offer color variation or fine granularity, they can still pulse or flash in time with music. Combine them with newer addressable strips for layered effects.
Is it legal to play music outdoors with my display?
Laws vary by municipality. Some areas restrict amplified sound after certain hours or require permits for public broadcasts. Check local noise ordinances. Alternatively, offer a low-power FM transmitter or QR code linking to a streaming version so viewers can listen privately.
How do I prevent technical failures during shows?
Use high-quality power supplies with overload protection, shield electronics from moisture, and run daily pre-show diagnostics. Keep a backup USB drive with your sequences and configuration files. Consider running a secondary “safe mode” sequence that activates if the main system fails.
Final Steps and Long-Term Enhancement
Once your display is synchronized and running smoothly, consider enhancements. Add motion sensors to trigger special effects when people approach. Integrate voice announcements or holiday messages timed with visuals. Expand to additional structures—garage, mailbox, driveway markers—with coordinated animations.
Many enthusiasts share their sequences online via forums like Reddit’s r/lightshow or the xLights Facebook group. Contributing builds community goodwill and often leads to collaborative improvements. You might even inspire others to start their own projects.
Remember, perfection isn’t the goal—joy is. A slightly mistimed flash means little when children are dancing in the driveway or elders are smiling from their cars. The magic lies not in precision alone, but in shared experience.
“The best synchronized light show isn’t the one with the most pixels—it’s the one that makes someone stop, look, and feel something.” — Sarah Lin, Public Art Installation Designer
Bring the Holiday Spirit to Life—Today
Your existing Christmas display already brings cheer. Now, imagine amplifying that joy with music-coupled lights that tell a story, stir emotion, and unite your community. The tools are accessible, the knowledge is available, and the season rewards creativity.
Don’t wait for next year. Begin your upgrade now—assess your setup, download xLights, join a forum, and program your first 30 seconds of synchronized magic. Share your journey, learn from others, and let your home become a beacon of festive innovation.


 浙公网安备
33010002000092号
浙公网安备
33010002000092号 浙B2-20120091-4
Comments
No comments yet. Why don't you start the discussion?