
In an age where smartphones are our primary cameras, the number of photos we accumulate grows rapidly. While cloud services like Google Photos or iCloud offer convenient backup solutions, not everyone wants their personal memories stored on remote servers. Privacy concerns, data caps, subscription costs, and internet dependency make many users look for alternatives. Fortunately, it’s entirely possible—and often more secure—to back up your photos locally, without relying on the cloud.
Backing up photos directly to physical devices gives you full control over your data. You decide where it’s stored, who can access it, and how long it remains preserved. Whether you're a casual photographer or someone documenting life’s milestones, mastering local backups is a smart digital hygiene practice. This guide walks through practical, reliable, and cost-effective ways to safeguard your images—without ever uploading them to the cloud.
Why Avoid Cloud Storage for Photo Backups?
Cloud storage has become synonymous with photo backup, but it's not the only—or best—option for everyone. Some key reasons people choose to avoid cloud-based solutions include:
- Privacy risks: Uploaded photos may be subject to data mining, third-party access, or breaches.
- Subscription fatigue: Free tiers are limited; expanding storage means recurring fees.
- Internet dependency: Uploading thousands of photos requires stable, fast internet—often impractical on metered connections.
- Loss of control: If a service shuts down or suspends your account, access to your memories could be compromised.
“Local backups ensure that your personal history stays in your hands—not in a corporate database.” — Dr. Lena Patel, Digital Archivist & Cybersecurity Researcher
By managing your own backups, you eliminate these risks and build a resilient, self-reliant system for preserving your digital life.
Method 1: Transfer Photos to Your Computer (Manual Copy)
One of the simplest and most accessible ways to back up phone photos is by connecting your device directly to a computer. This method works for both Windows and macOS systems and doesn’t require any special software.
Step-by-Step Guide: Transferring Photos via USB Cable
- Unlock your phone and connect it to your computer using a compatible USB cable.
- On Android: When prompted, select “File Transfer” (MTP mode). On iPhone: Trust the computer if asked.
- Open your computer’s file explorer (Windows) or Finder (macOS).
- Navigate to your phone’s internal storage, then locate the DCIM folder (typically found at DCIM/Camera).
- Select all photo folders or individual files you want to back up. <6>Copy the files and paste them into a dedicated folder on your computer (e.g., “Phone Photos Backup – January 2025”).
- Once the transfer completes, verify that all files are present and viewable.
- Safely eject the device before disconnecting the cable.
This method is free, fast, and gives you immediate ownership of your files. However, it requires manual effort each time, so consistency is key. Set a monthly reminder to perform this transfer and avoid losing recent photos.
Method 2: Use an External Hard Drive or SSD
While storing photos on your main computer works, it’s not ideal for long-term safety. Hard drives fail, laptops get stolen, and accidental deletions happen. A better approach is to use an external drive as your primary backup destination.
External hard drives and portable SSDs offer large capacities (up to 4TB or more), plug-and-play compatibility, and portability. They’re especially useful if you have thousands of high-resolution photos or videos from your phone.
Recommended Workflow
- Connect the external drive to your computer.
- Follow the same file transfer steps as above, but copy photos directly to the external drive.
- Create a structured folder hierarchy (e.g., /Backups/2025/April/) for easy navigation.
- Eject the drive safely after transfer and store it in a dry, temperature-controlled location.
| Drive Type | Capacity Range | Speed | Best For |
|---|---|---|---|
| Portable HDD | 1TB–4TB | Moderate (USB 3.0) | Budget-friendly bulk storage |
| Portable SSD | 500GB–2TB | Fast (USB-C/NVMe) | Large photo/video collections, durability |
| Dockable Desktop Drive | 4TB+ | High (USB 3.2 or Thunderbolt) | Home media archive, multiple devices |
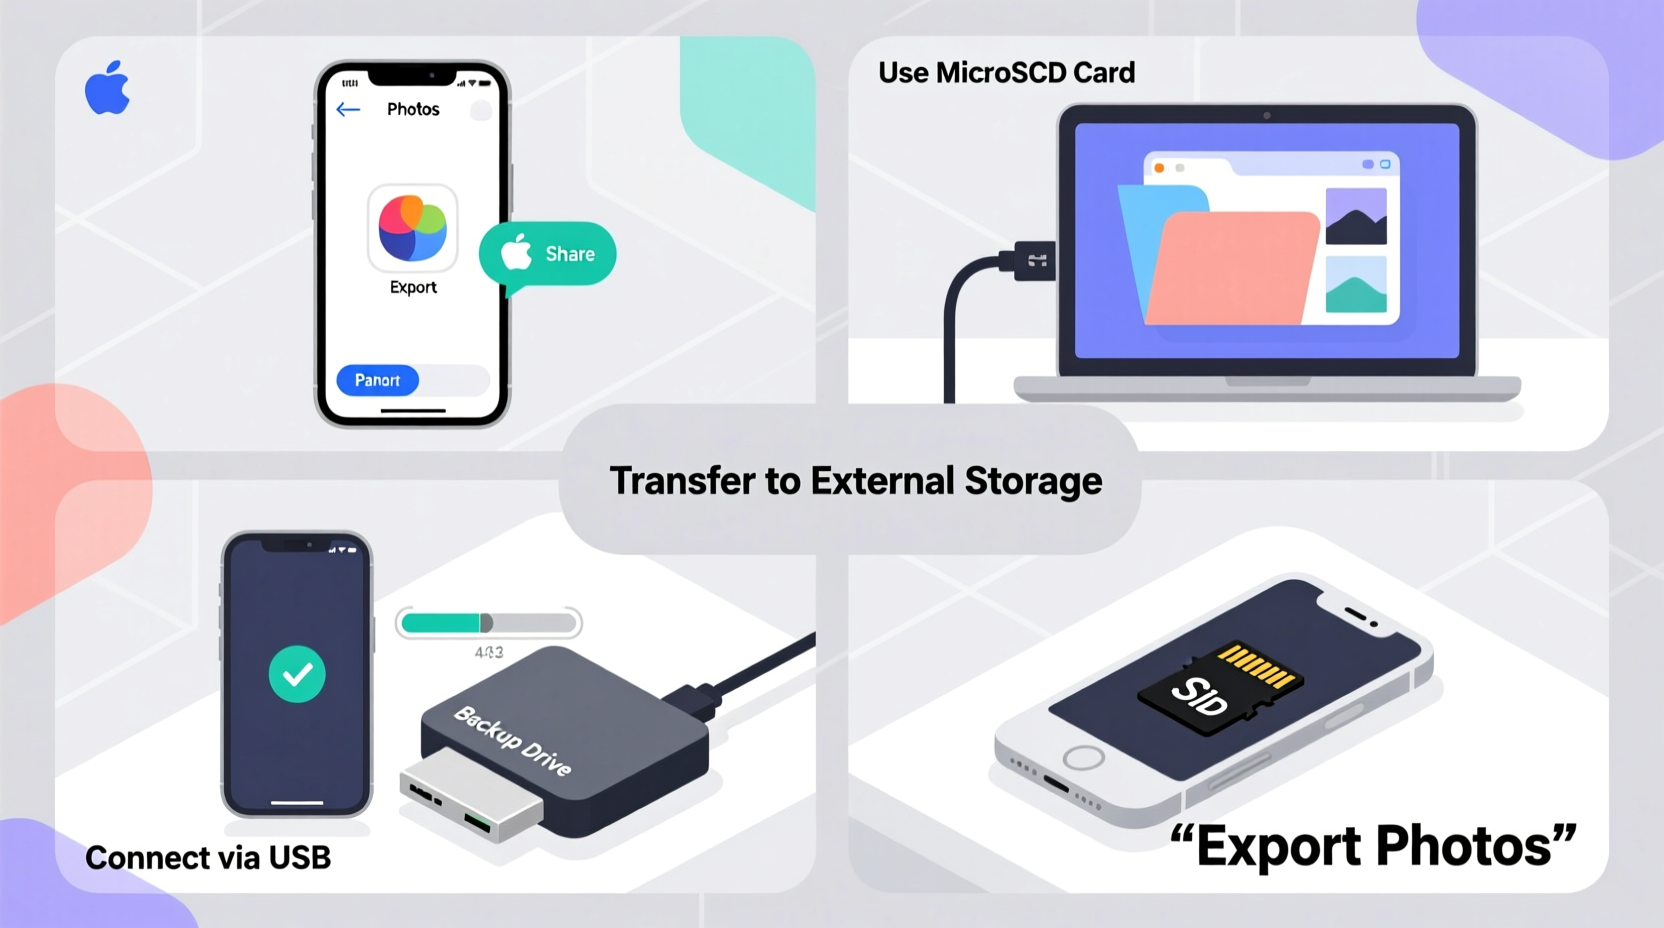
Method 3: Use a USB OTG Flash Drive (Direct Phone-to-Drive)
If you prefer not to involve a computer at all, USB On-The-Go (OTG) flash drives allow direct transfers from your phone to a physical drive. These dual-ended devices have a USB-A or USB-C connector on one end and a micro-USB or Lightning tip on the other—perfect for mobile use.
Popular brands like SanDisk Dual Drive, Samsung BAR Plus, and Anker offer reliable options compatible with Android and iOS (via Apple’s Camera Connection Kit for iPhones).
How to Use a USB OTG Flash Drive
- Insert the appropriate end of the OTG drive into your phone’s charging port.
- Wait for your phone to recognize the drive. A notification should appear.
- Open your file manager app (or the brand-specific app, if required).
- Navigate to your photo gallery or DCIM folder.
- Select the photos or entire albums you wish to back up.
- Choose “Copy” or “Move” and select the OTG drive as the destination.
- Wait for the transfer to complete, then safely eject the drive from your phone.
This method is ideal for travelers or those who want instant, offline backups during trips. It’s also useful when traveling with limited laptop access.
“I started using a USB-C flash drive after losing hundreds of beach vacation photos due to a failed cloud sync. Now I back up daily—no internet needed.” — Marcus T., Photographer & Travel Blogger
Method 4: Automate Backups with NAS (Network Attached Storage)
For tech-savvy users seeking a hybrid of local control and automated convenience, a Network Attached Storage (NAS) device offers a powerful solution. A NAS is a dedicated server-like device connected to your home network that stores data accessible by multiple devices—including your phone.
Unlike cloud storage, your data never leaves your home. Yet, you can set up automatic photo syncing similar to iCloud or Google Photos—but routed to your own hardware.
Setting Up Photo Backups with NAS
- Purchase a consumer-grade NAS (e.g., Synology DS220+, QNAP TS-251D).
- Install and configure the NAS on your home Wi-Fi network using its setup wizard.
- Create a shared folder named “Photo Backups” and enable permissions for your user account.
- Install the NAS manufacturer’s mobile app (e.g., Synology DS File, Qfile).
- Enable auto-upload for your phone’s camera folder within the app settings.
- Ensure your phone connects to Wi-Fi nightly so backups occur automatically.
Once configured, your phone uploads new photos to the NAS every time it's on your home network. No cloud, no subscription, just silent, secure synchronization.
Essential Backup Checklist
📋 Local Photo Backup Action Plan:- ✅ Connect phone to computer via USB and verify file transfer capability.
- ✅ Designate a consistent folder structure for photo archives (e.g., /Photos/YYYY/MM_Date/).
- ✅ Purchase an external hard drive or USB OTG flash drive.
- ✅ Perform first manual transfer and confirm all photos are readable.
- ✅ Schedule monthly backup reminders in your calendar.
- ✅ Store one backup copy in a separate physical location (offsite).
- ✅ Consider investing in a NAS for automated, scalable storage.
Common Mistakes to Avoid
Even with the best intentions, poor backup habits can lead to data loss. Watch out for these pitfalls:
- Only backing up once: One-time transfers aren’t enough. Make backups a regular habit.
- Storing everything on one device: A single drive failure can wipe out your entire collection.
- Ignoring file verification: Always check that transferred photos open correctly.
- Using outdated cables or ports: Faulty hardware can corrupt transfers or slow them down significantly.
- Skipping metadata preservation: Ensure your backup method retains timestamps, GPS tags, and album organization.
Frequently Asked Questions
Can I back up iPhone photos without iTunes or iCloud?
Yes. You can use a USB-C to Lightning cable with a USB OTG adapter or directly connect to a Mac and import photos via the Photos app or Finder. Third-party file managers like iMazing also support direct exports without iCloud.
Do I need special software for local photo backups?
Not necessarily. Most modern operating systems support drag-and-drop file transfers. However, tools like FreeFileSync (for automated syncing), Duplicati (for encryption), or vendor-specific apps (like SanDisk Memory Zone) can enhance functionality.
How many backups should I keep?
Follow the 3-2-1 rule: Keep 3 copies of your data (original + two backups), on 2 different media types (e.g., SSD and HDD), with 1 copy offsite. This minimizes risk from hardware failure, theft, or disasters.
Conclusion: Take Control of Your Digital Memories
Your photos are more than just files—they’re moments frozen in time. Relying solely on cloud services puts those memories at the mercy of algorithms, policies, and connectivity. By taking charge of your backups with local solutions, you preserve not just images, but autonomy over your digital legacy.
Whether you start with a simple USB transfer or build a full NAS-powered system, the key is action. Begin today. Plug in that cable, copy your latest gallery, and create your first independent backup. Over time, these small steps form a fortress around your personal history—one that no server outage or subscription lapse can breach.


 浙公网安备
33010002000092号
浙公网安备
33010002000092号 浙B2-20120091-4
Comments
No comments yet. Why don't you start the discussion?