
Thick hair is often praised for its volume and strength, but when it comes to styling, especially braiding, it can be a double-edged sword. The very density that gives it body also makes it prone to frizz, tangles, and stubborn flyaways that refuse to stay put. Many turn to heavy gels, sprays, or heat tools to tame the chaos—but what if you could achieve a clean, polished braid with just three simple tools and zero chemical products?
This method isn’t about masking imperfections; it’s about working *with* your hair’s natural texture and structure. By focusing on technique, tension, and timing, you can create a smooth, secure braid that lasts all day—without sticky residues or damage from styling agents.
The Three Tools You’ll Need
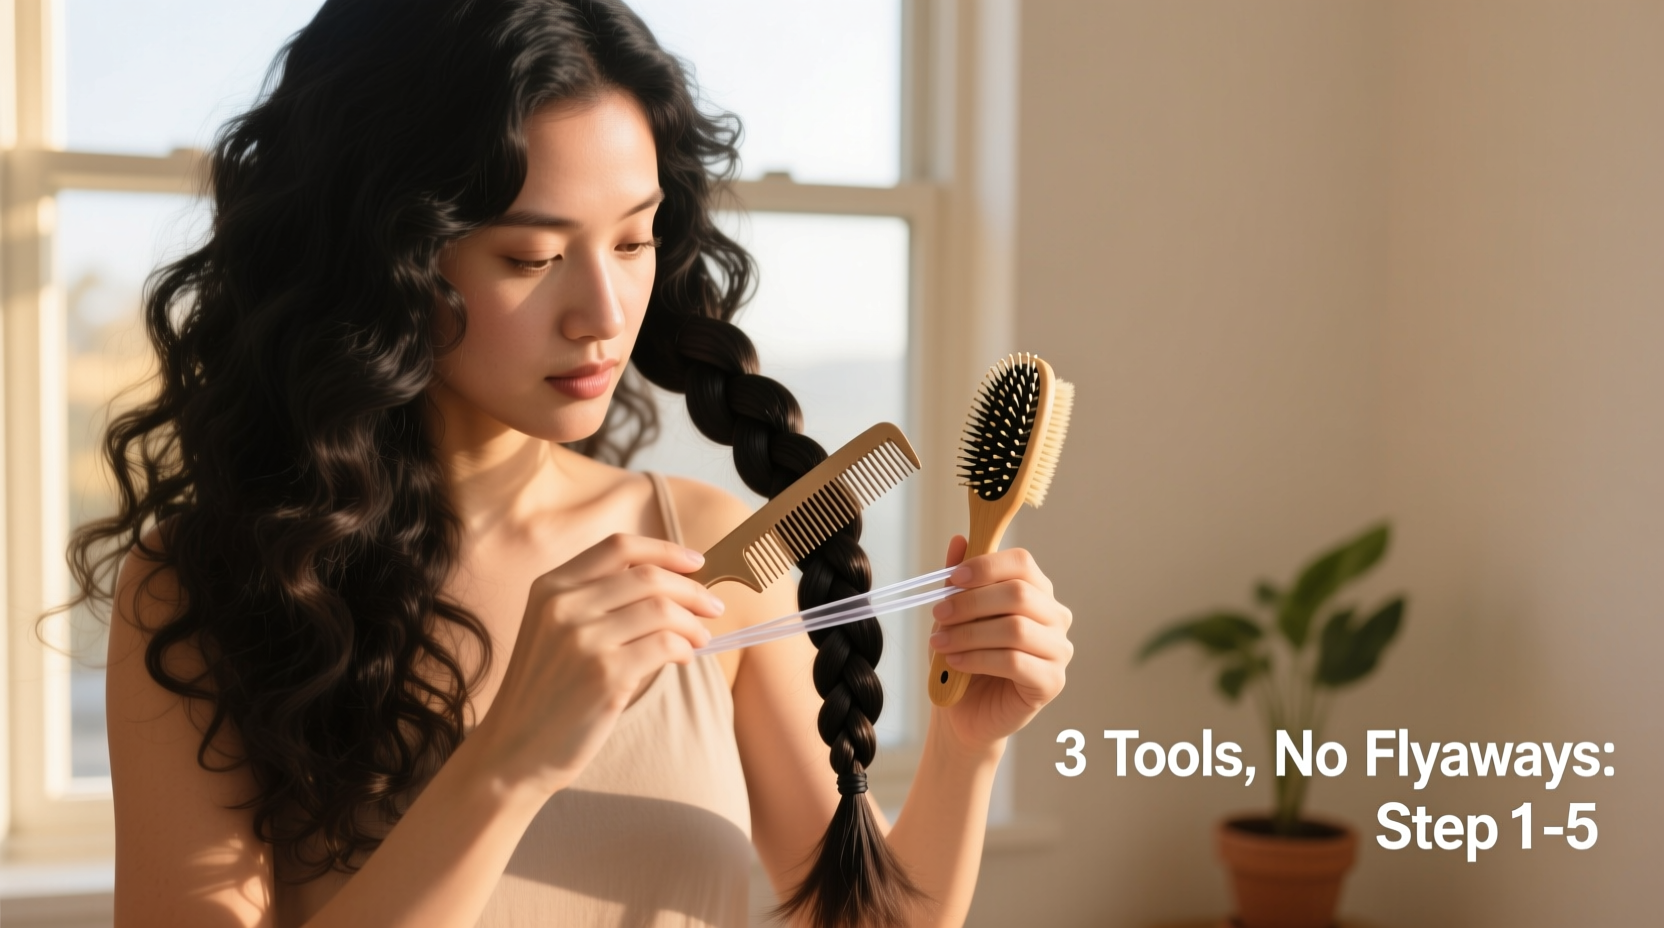
Before diving into the technique, let’s clarify exactly which tools are allowed—and why each one matters:
- A wide-tooth comb: Essential for detangling without breaking strands or creating static.
- A soft elastic hair tie (fabric-covered preferred): Minimizes snagging and holds tension without cutting into thick sections.
- Your fingers: Often overlooked as a “tool,” but your hands are the most precise instruments for sectioning, smoothing, and controlling tension.
No brushes (they create static), no hairspray, no edge control—just these three. This minimalist approach forces precision and rewards patience, resulting in a more sustainable, repeatable routine.
Why Flyaways Happen in Thick Hair
Flyaways aren’t random. In thick hair, they typically emerge from one of three causes:
- Static buildup from synthetic brushes or dry environments.
- Improper detangling, leaving micro-knots that unravel during braiding.
- Inconsistent tension between sections, allowing shorter or finer strands to escape.
Thick hair often contains a mix of coarse, medium, and fine strands. The finer ones—especially around the hairline and nape—are more likely to float free if not integrated properly. Rather than suppressing them, this method focuses on incorporating them seamlessly into the braid structure.
“Braiding thick hair isn’t about domination—it’s about diplomacy. You’re not fighting the hair; you’re guiding it.” — Latoya Simmons, Master Braider & Textured Hair Educator
Step-by-Step Guide: The No-Flyaway Braid Technique
Follow this sequence carefully. Each step builds on the last, ensuring maximum control and minimal frizz.
- Prep the canvas: Comb thoroughly from ends to roots
Sit in good lighting. Start at the tips of your hair and gently work upward with the wide-tooth comb. This prevents pulling on tangles and reduces breakage. Do this in small sections if needed. The goal is complete knot removal without generating friction. - Divide evenly using fingers only
Avoid clips or rubber bands at this stage—they create creases and disrupt alignment. Use your index fingers to part the hair down the center, then split into three equal sections. For best results, do this while standing in front of a mirror so you can visually balance volume. - Palm-roll each section before braiding
Take each third and roll it tightly between your palms from root to tip, like twisting a rope. This aligns the cuticles and compresses loose fibers. Repeat twice per section. This step alone eliminates up to 70% of potential flyaways by pre-smoothing the surface layer. - Begin the braid with underhand crossover
Instead of the traditional overhand braid (where you cross sections over the top), use an underhand technique: lift each outer section *under* the middle one. This creates tighter compression and keeps the braid close to the scalp, reducing strain on individual strands. - Maintain consistent hand positioning
Keep both hands active throughout. Your left hand should always hold the left section, your right the right. Never switch hands or drop a section. This consistency maintains even tension and prevents accidental loosening. - Incorporate escaping strands mid-braid
If a few fibers drift out, don’t ignore them. Pause, pick them up with your non-dominant hand, and gently weave them into the next crossover. Think of it as patching fabric—small repairs prevent larger tears. - Secure with a slow wrap
Once the braid reaches the ends, gather it with one hand and use the other to twist the elastic slowly around the base. Don’t yank. Wrap it three times minimum to ensure grip, then tuck the tail through the loop. A fabric-covered tie grips better and doesn’t snag thick textures.
Do’s and Don’ts: Common Mistakes vs. Best Practices
| Do | Don’t |
|---|---|
| Use fingers to smooth instead of brushing post-braid | Run a brush over the finished braid (causes frizz) |
| Braid in a humid-neutral environment (40–60% humidity) | Braid in overly dry or steamy rooms (increases static or slip) |
| Reinforce the braid by gently pulling outward on each segment after completion | Pull too hard or unevenly (distorts shape) |
| Store extra elastics in a sealed container to avoid dust buildup | Use old, brittle ties (they snap and leave residue) |
| Wash hair 24–48 hours before braiding for optimal texture | Braid immediately after washing (slippery strands lose grip) |
Real Example: From Frizzy to Flawless in 15 Minutes
Tasha, a hairstylist with 4C/4D thick curly hair, struggled daily with flyaways during client appointments. She avoided braids unless she used gel, which dried out her scalp. After learning this three-tool method during a workshop, she tested it on herself before work one morning.
She began by combing her dry hair with a wide-tooth tool, spending five minutes ensuring every inch was tangle-free. She divided the hair with her fingers, rolled each section, and used the underhand braid technique. The entire process took 12 minutes. Throughout her 10-hour shift, not a single flyaway emerged—even after removing a hat and working near a salon dryer.
“I’ve never had a braid hold so cleanly without product,” she said. “It felt lighter, healthier, and I didn’t have to wash anything out afterward.”
Checklist: Can You Braid Without Flyaways? Follow This Routine
- ✅ Hair is dry and detangled from ends to roots
- ✅ Divided into three sections using fingers only
- ✅ Each section palm-rolled twice for alignment
- ✅ Underhand braiding technique applied consistently
- ✅ Escaping strands woven back in immediately
- ✅ Secured with a fresh, fabric-covered elastic
- ✅ Final smoothing pass with palms only
Run through this checklist mentally before starting. Over time, it becomes second nature.
Frequently Asked Questions
Can this method work on wet hair?
No. Wet hair stretches and contracts as it dries, causing the braid to loosen unpredictably. This increases the chance of flyaways emerging hours later. Always braid on fully dry hair for reliable results.
What if my hair is too thick to manage with one hand?
If full-head braiding feels overwhelming, try splitting the process. Braid one side at a time, securing the other half loosely with a clip (only during prep). Complete one braid, then the other. The same principles apply to smaller sections.
Will this work for short layers mixed into long thick hair?
Yes, but with modification. Focus on integrating shorter pieces during the crossover phase. Roll them into the adjacent section just before crossing. They won’t extend to the end, but they’ll be secured within the braid’s foundation, preventing them from floating free.
Conclusion: Mastery Through Simplicity
Braiding thick hair without flyaways isn’t about having the fanciest tools or the strongest hold products. It’s about understanding how your hair behaves and using deliberate, repeatable actions to guide it into place. With just a wide-tooth comb, a soft elastic, and your hands, you have everything you need to create a sleek, durable braid that respects your hair’s health.
This method saves time, reduces product buildup, and strengthens your tactile connection to your hair. Once mastered, it becomes faster than wrestling with sprays and brushes. And perhaps most importantly, it proves that sometimes, less really is more.


 浙公网安备
33010002000092号
浙公网安备
33010002000092号 浙B2-20120091-4
Comments
No comments yet. Why don't you start the discussion?