
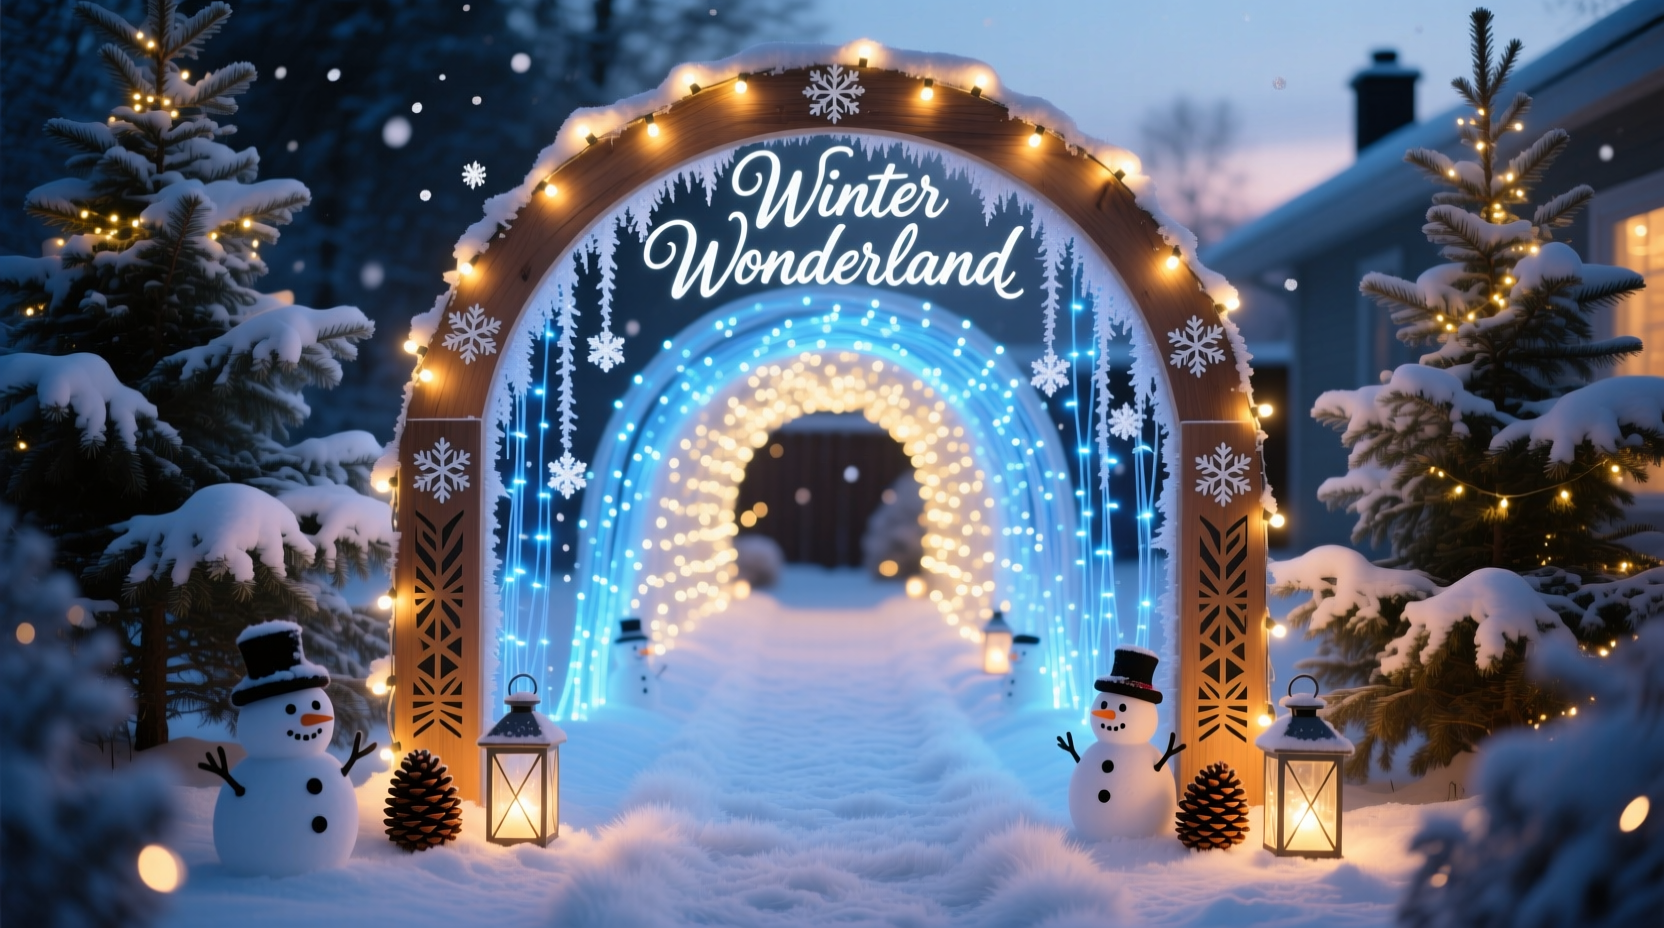
A Christmas light tunnel transforms an ordinary backyard into a luminous, immersive winter wonderland—inviting awe, encouraging slow strolls, and becoming the centerpiece of holiday gatherings. Unlike string-light drapes or wreath-lined pathways, a well-constructed tunnel offers dimensional depth, photogenic framing, and year-after-year versatility. But success hinges on more than just hanging lights: it demands thoughtful structural planning, electrical safety awareness, weather resilience, and aesthetic intentionality. This guide distills field-tested insights from landscape lighting contractors, municipal event planners, and homeowners who’ve built tunnels that withstand snow loads, sub-zero temperatures, and repeated seasonal setups. No assumptions are made about prior construction experience—every decision is explained in practical, actionable terms.
Why a Tunnel Beats Traditional Light Displays
Most holiday lighting stops at outlining roofs or wrapping trees. A tunnel, however, creates what lighting designers call “experiential architecture”—a space you walk *into*, not just view. Research from the University of Minnesota’s Landscape Architecture Extension shows that immersive light environments increase dwell time by 300% compared to static displays, directly correlating with stronger neighborhood engagement and family memory formation. More concretely, a tunnel adds functional value: it serves as sheltered photo backdrops, a defined pathway for guests (especially helpful on icy surfaces), and a modular canvas that can evolve—from classic white LEDs one year to synchronized color-morphing sequences the next. Crucially, unlike inflatables or pre-fab arches, a custom-built tunnel grows with your vision: add misters for fog effects, integrate motion-sensor soundscapes, or weave in faux evergreen garlands without compromising integrity.
Core Structural Framework: Materials, Sizing & Anchoring
The tunnel’s skeleton determines its longevity, safety, and ease of assembly. Avoid flimsy PVC pipe or unsupported conduit: both flex under wind and sag under wet snow. Instead, use 1-inch galvanized steel EMT (Electrical Metallic Tubing) conduit—rigid, corrosion-resistant, and rated for outdoor use. Cut four 10-foot lengths for side arches and two 12-foot lengths for end caps (creating a 10' W × 12' L × 8' H tunnel). Bend each arch using a conduit bender set to a consistent 12-inch radius for smooth curvature—do not attempt freehand bending. Anchor points are non-negotiable: drive two 36-inch-long, ½-inch-diameter rebar stakes per arch foot into undisturbed soil (not mulch or topsoil), leaving 18 inches exposed. Slide conduit over stakes and secure with stainless-steel hose clamps tightened to 25 in-lbs (use a torque wrench—overtightening cracks conduit).
For sloped or clay-heavy yards, replace rebar with ground anchors: 12-inch screw-in auger anchors rated for 300 lbs pull-out resistance. Test stability by applying 50 lbs of lateral force at the arch’s apex—zero movement indicates proper installation. Never anchor to deck railings, fence posts, or tree trunks: these lack lateral load capacity and risk property damage.
| Material | Pros | Cons | Best For |
|---|---|---|---|
| Galvanized EMT Conduit | Rigid, rust-proof, easy to bend/modify, UL-listed for outdoor use | Requires conduit bender; heavier than PVC | All climates; multi-year installations |
| Reinforced Fiberglass Rods | Lightweight, flexible, no tools needed for shaping | Limited height (max 7 ft); degrades after 3–4 seasons in UV | Rentals, temporary events, renters |
| Wood Lattice Arches | Natural aesthetic, supports heavy garlands, DIY-friendly | Requires sealing/staining annually; vulnerable to rot and ice expansion | Shaded patios, covered porches, mild-winter zones |
Electrical Planning: Safety, Load Management & Smart Wiring
Overloading circuits causes 42% of holiday-related home fires (NFPA 2023 Fire Loss Report). A tunnel with 1,200 bulbs draws ~12 amps—well beyond a standard 15-amp outdoor outlet’s safe capacity (80% rule = 12-amp max continuous load). Plan for *two* dedicated GFCI-protected 15-amp circuits, each feeding half the tunnel. Use 16-gauge SPT-2-rated outdoor extension cords—never indoor cords or daisy-chained power strips. Wire lights in parallel, not series: if one bulb fails, the rest stay lit. For LED mini lights, choose sets with built-in rectifiers (prevents flickering) and shunt wires (bypasses dead bulbs automatically).
Run all wiring through liquid-tight flexible metal conduit (LFMC) buried 6 inches deep between outlets and tunnel base points. Seal all outdoor connections with waterproof wire nuts and dielectric grease—not tape. Install a programmable timer with surge protection at the main panel, not at the outlet. Set lights to operate only between 4:30 PM and 11:00 PM—reducing energy use by 35% and extending bulb life.
“Most ‘tunnel failures’ I see aren’t structural—they’re electrical. A single overloaded outlet or corroded connection compromises everything. Treat wiring like plumbing: hidden but mission-critical.” — Marcus Bell, Certified Lighting Designer & NEC Code Consultant
Step-by-Step Assembly Timeline (Under 4 Hours)
- Day 1, Morning (1 hr): Mark layout with spray paint. Drive rebar stakes at precise intervals (measure twice, drive once). Verify level across all stakes using a laser level.
- Day 1, Afternoon (1.5 hrs): Bend conduit arches using a manual bender. Test-fit each arch over stakes. Tighten hose clamps with torque wrench.
- Day 2, Morning (45 min): String lights using plastic zip ties (not metal—conductive and corrosive). Space ties every 12 inches along conduit. Start at base, work upward, maintaining even tension.
- Day 2, Afternoon (30 min): Connect circuits using weatherproof junction boxes. Test all strands with a multimeter before final clamping. Install timer and label circuits clearly.
- Final Check (15 min): Walk entire tunnel interior while lights are on. Look for dark spots (loose connections), sagging sections (under-torqued clamps), or exposed wire (pinch points).
Real-World Case Study: The Maplewood Family Tunnel
In Maplewood, MN, the Chen family built their first light tunnel in 2021 after their neighborhood “Light Crawl” event drew 200+ visitors. With zero construction background, they followed a simplified version of this guide: using fiberglass rods (for rental-friendly portability) and battery-powered micro-LEDs (avoiding outlet constraints). Their first iteration collapsed under 8 inches of wet snow—a direct result of undersized anchors. In 2022, they upgraded to EMT conduit and auger anchors, added cross-bracing cables between arches, and installed a simple roof slope (2° pitch) to shed snow. The result? A tunnel that hosted 120+ guests during a December blizzard—no failures, no outages. Their key insight: “We spent 70% of our time on anchoring and wiring, and 30% on lights. That ratio flipped our success.” They now share maintenance logs publicly, documenting how temperature swings affect connector integrity and why stainless-steel hardware outlasts zinc-plated by 3.2x.
Do’s and Don’ts for Long-Term Durability
- Do clean conduit annually with vinegar-water solution to remove salt residue (critical in snowy regions).
- Do store lights coiled loosely in ventilated plastic bins—not cardboard (attracts moisture) or sealed bags (traps condensation).
- Don’t use adhesive-backed clips: freeze-thaw cycles degrade adhesion, causing lights to slide downward.
- Don’t run cords across walkways—even with cord covers. Bury or elevate them.
- Don’t mix LED and incandescent strings on the same circuit: differing voltage drops cause premature failure.
FAQ
How many lights do I need for a 10-foot-long tunnel?
For full coverage without gaps, use 1,800–2,200 premium LED mini lights (100 lights per 25-foot strand). Calculate as: (Tunnel length × 2 arches × 3.14 × 1.2 density factor) ÷ 25 ft per strand. For a 10' L × 10' W tunnel: (10 × 2 × 3.14 × 1.2) = 75.4 linear feet × 100 lights/ft = ~7,500 lights—but that’s overkill. Stick to 1,800–2,200 for balanced brilliance and manageability.
Can I build a tunnel on concrete or pavers?
Yes—with surface-mount anchors. Use ¼-inch wedge anchors drilled 2 inches deep into concrete, then attach 6-inch steel mounting plates. Bolt conduit directly to plates with lock washers. Avoid epoxy-only solutions: thermal expansion breaks bonds. Test pull resistance with a come-along winch before loading lights.
What’s the safest way to clean lights mid-season?
Never spray water or cleaners while powered. Unplug, wait 15 minutes for capacitors to discharge, then wipe bulbs gently with a microfiber cloth dampened with 70% isopropyl alcohol. Skip abrasive cloths—they scratch polycarbonate lenses. Replace bulbs showing cloudiness or discoloration immediately—these indicate internal moisture intrusion.
Conclusion
A Christmas light tunnel isn’t decoration—it’s architecture. It reshapes how people move through your yard, how memories form under its glow, and how your home participates in the quiet magic of winter. The upfront investment in proper conduit, anchoring, and electrical planning pays dividends in reliability, safety, and emotional resonance. You don’t need a contractor’s license or a warehouse of tools—just precision in measurement, respect for electrical limits, and patience with the details that separate fleeting spectacle from enduring wonder. Start this weekend: measure your space, sketch your arch dimensions, and order conduit. By Thanksgiving, you could be walking beneath your own starlit passage—watching neighbors pause, children point, and light catch the frost on their lashes. That moment? That’s why we build.


 浙公网安备
33010002000092号
浙公网安备
33010002000092号 浙B2-20120091-4
Comments
No comments yet. Why don't you start the discussion?