
Creating a holiday light display that dances in perfect harmony with music is no longer limited to professional designers. With the rise of accessible Christmas light design software, homeowners and hobbyists can craft dynamic, synchronized light sequences that rival commercial installations. Whether you're decorating for family, entertaining neighbors, or entering a local lighting contest, building a custom sequence allows you to express creativity while mastering a rewarding technical skill. The process blends artistry with precision—choosing colors, timing effects, and mapping lights to physical layouts—all within intuitive digital tools.
Selecting the Right Software for Your Skill Level
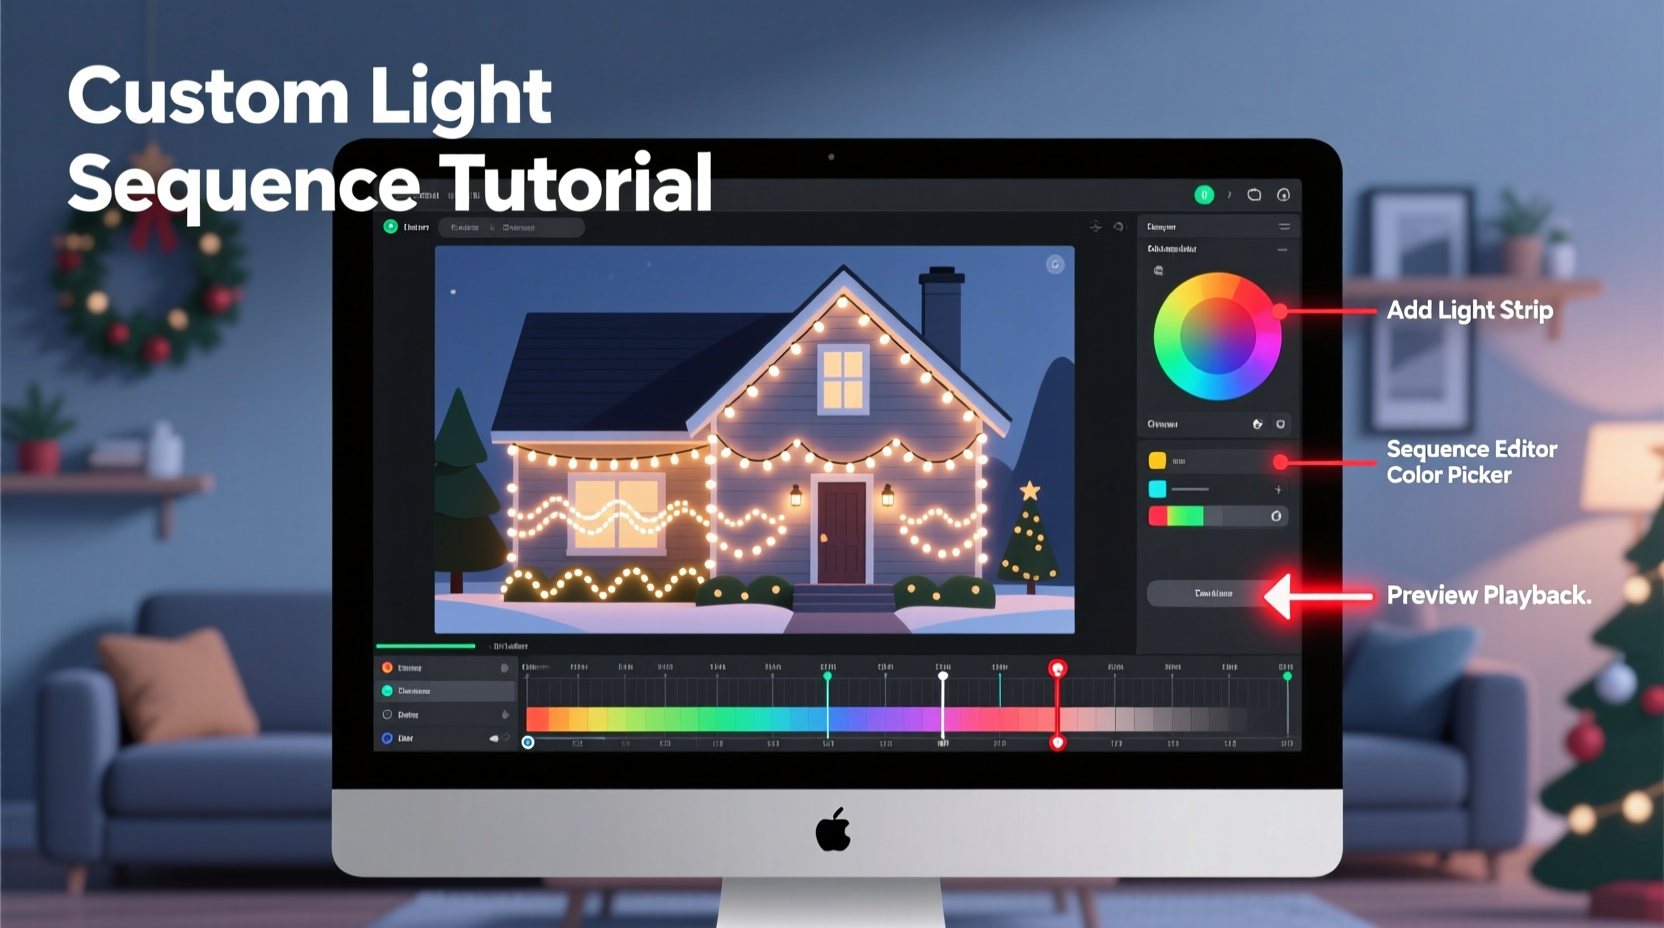
The foundation of any successful light sequence lies in choosing the right software. Not all programs are created equal, and your selection should align with your experience, budget, and hardware setup. Entry-level users benefit from drag-and-drop interfaces and pre-built templates, while advanced creators need frame-level control, audio waveform visualization, and support for complex channel counts.
Popular options include LightsOut, known for its user-friendly interface; Vixen Lights, an open-source platform ideal for customization; and Light-O-Rama S3, widely used by professionals for its robust feature set and hardware integration. Each supports different controller types, so compatibility with your existing or planned equipment is essential.
Planning Your Physical Light Layout
Before opening any software, map out your physical installation. A well-designed sequence depends on accurate representation of your real-world setup. Begin by sketching your house, yard, or display area on graph paper or using a digital tool like SketchUp. Label each section where lights will be installed: rooflines, trees, windows, arches, and props.
Next, assign channels to each segment. A \"channel\" refers to a controllable unit—often a single string of LEDs or a zone on a smart strip. For example, your front porch railing might be Channel 1, the left tree Channel 2, and the rooftop peak split into Channels 3 and 4 for directional effects. This channel mapping becomes the backbone of your digital model.
Consider scalability. If you plan to expand next year, leave room in your controller’s capacity and label spare channels accordingly. Also, note power requirements and signal range—long runs may need amplifiers or additional controllers.
“Accurate physical modeling in software reduces troubleshooting during playback. What you see on screen should mirror reality.” — Daniel Reeves, Holiday Lighting Systems Engineer
Step-by-Step Guide to Building Your First Sequence
With software installed and layout planned, begin constructing your sequence. Follow this timeline to ensure smooth progress:
- Import or create your audio track: Choose a song under three minutes for your first attempt. Trim silence and normalize volume if needed. Most software allows direct import of MP3 or WAV files.
- Set BPM (beats per minute): Use built-in beat detection or manually tap tempo to align the grid with musical rhythm. This ensures effects hit on beats.
- Create a visual model: In the software, add elements corresponding to your physical layout. Assign each to the correct channel number.
- Build basic effects: Start with simple actions—fade-ins, chases, twinkle, and on/off triggers. Apply these to individual channels or groups.
- Synchronize to music: Play the track and adjust effect timing frame by frame (typically 10–30 frames per second). Focus on key moments: choruses, drum hits, vocal lines.
- Preview virtually: Use the software’s simulation mode to watch your sequence without powering hardware. Look for timing mismatches or unintended overlaps.
- Test on hardware: Connect your controller and run a short segment. Verify channel assignments match physical locations.
- Refine and save: Adjust brightness, transition speed, and layering. Once satisfied, export the sequence file for standalone playback.
This process typically takes 3–5 hours for a 2-minute song at beginner level. As familiarity grows, efficiency improves significantly.
Optimizing Effects for Maximum Impact
A technically correct sequence isn’t enough—it must also captivate. Visual appeal comes from thoughtful effect design and pacing. Avoid overwhelming viewers with constant motion; instead, use contrast between stillness and action to highlight musical dynamics.
For instance, during a quiet verse, use subtle fades or slow color shifts. When the chorus hits, unleash synchronized flashes, wave patterns, or pixel-mapped animations across multiple zones. Layer effects strategically: combine a background pulse on rooflines with a foreground chase on stairs to create depth.
| Musical Section | Recommended Effect | Channel Strategy |
|---|---|---|
| Intro (soft) | Gradual fade-up, gentle rainbow cycle | Use ambient zones only (trees, bushes) |
| Verse | Pulsing to beat, minimal movement | Focus on 2–3 main areas |
| Chorus | Full-house flash, chases, sparkles | Activate all channels in coordination |
| Bridge | Directional waves, pixel ribbons | Highlight architectural features |
| Finale | Rising sweep, strobe burst, blackout | Sequence-wide climax |
Pixel-based LED strips offer the greatest flexibility, allowing individual bulbs to change color and behavior independently. These are ideal for creating “traveling” effects like snakes or raindrops. However, even basic RGB strings can produce stunning results when timed precisely.
Mini Case Study: Transforming a Simple Porch Display
Mark T., a homeowner in Ohio, wanted to elevate his traditional white-light porch display. Using Vixen Lights and a $120 starter kit of addressable LEDs, he mapped four zones: columns (left/right), railing, and doorway. He selected \"Jingle Bell Rock\" as his test track.
After importing the audio and setting BPM at 126, Mark began by syncing column lights to snap on each backbeat. During the chorus, he added a red-green color switch every two measures. The railing pulsed outward from center to ends in time with guitar strums. For the finale, all channels flashed rapidly then cut to black on the final note.
Testing revealed one issue: the doorway pixels were delayed due to cable length. He adjusted the start offset by +0.2 seconds in software, resolving the lag. On premiere night, neighbors reported hearing gasps and spontaneous applause. Encouraged, Mark expanded to include driveway stakes and lawn reindeer the following season.
Common Pitfalls and How to Avoid Them
Even experienced users encounter setbacks. Recognizing common issues early prevents frustration later.
- Channel misfires: Caused by incorrect wiring or software mapping. Always label both physically and digitally.
- Audio desync: Can result from compressed audio formats or system latency. Use lossless files and disable background apps during recording.
- Overheating controllers: Especially in enclosed spaces. Ensure ventilation and avoid daisy-chaining too many strands.
- Power glitches: Voltage drop over long LED runs causes dimming at the end. Use injection wiring or separate power supplies.
Always perform a dry run at least 48 hours before public display. This allows time to fix blown fuses, reconnect loose wires, or reprogram skipped cues.
Checklist: Preparing for Your First Live Show
Before flipping the switch on show night, verify the following:
- All controllers are powered and connected to Wi-Fi or USB interface
- Sequence file is loaded and set to auto-start
- Backup USB drive contains the latest version of the sequence
- Outdoor outlets are GFCI-protected and weather-sealed
- Extension cords are rated for outdoor use and not overloaded
- Neighbor notifications sent (if running late hours)
- Emergency shut-off switch is labeled and accessible
Frequently Asked Questions
Can I use regular Christmas lights with design software?
Traditional incandescent mini-lights cannot be individually controlled and won’t work with sequencing software. You need either RGB LED strings with built-in controllers (like WS2811) or dumb LEDs connected through external relay boards that respond to DMX or LOR signals.
How much does it cost to get started?
A basic setup starts around $200: $80 for a 16-channel controller, $60 for 50 feet of addressable LEDs, $30 for power supplies, and $30 for cables and connectors. Free software like Vixen Lights keeps initial costs low.
Do I need coding or programming experience?
No. Modern Christmas light design software uses graphical interfaces—dragging sliders, clicking timelines, and selecting effects from menus. No code is required unless you want to customize firmware or create plugins.
Conclusion
Building a custom light sequence using Christmas light design software transforms holiday decoration into an immersive performance. It rewards patience, attention to detail, and a sense of rhythm. From selecting compatible tools to choreographing lights with musical nuance, every step brings you closer to a display that delights and inspires. Technology has made what once seemed impossible now achievable in a garage or backyard workshop.
Start small. Master one song. Perfect one zone. Then expand. With each season, your confidence and capabilities grow. The joy you bring—with every flash, fade, and flourish—is measurable in smiles, recordings, and memories made under glowing eaves and sparkling trees.


 浙公网安备
33010002000092号
浙公网安备
33010002000092号 浙B2-20120091-4
Comments
No comments yet. Why don't you start the discussion?