
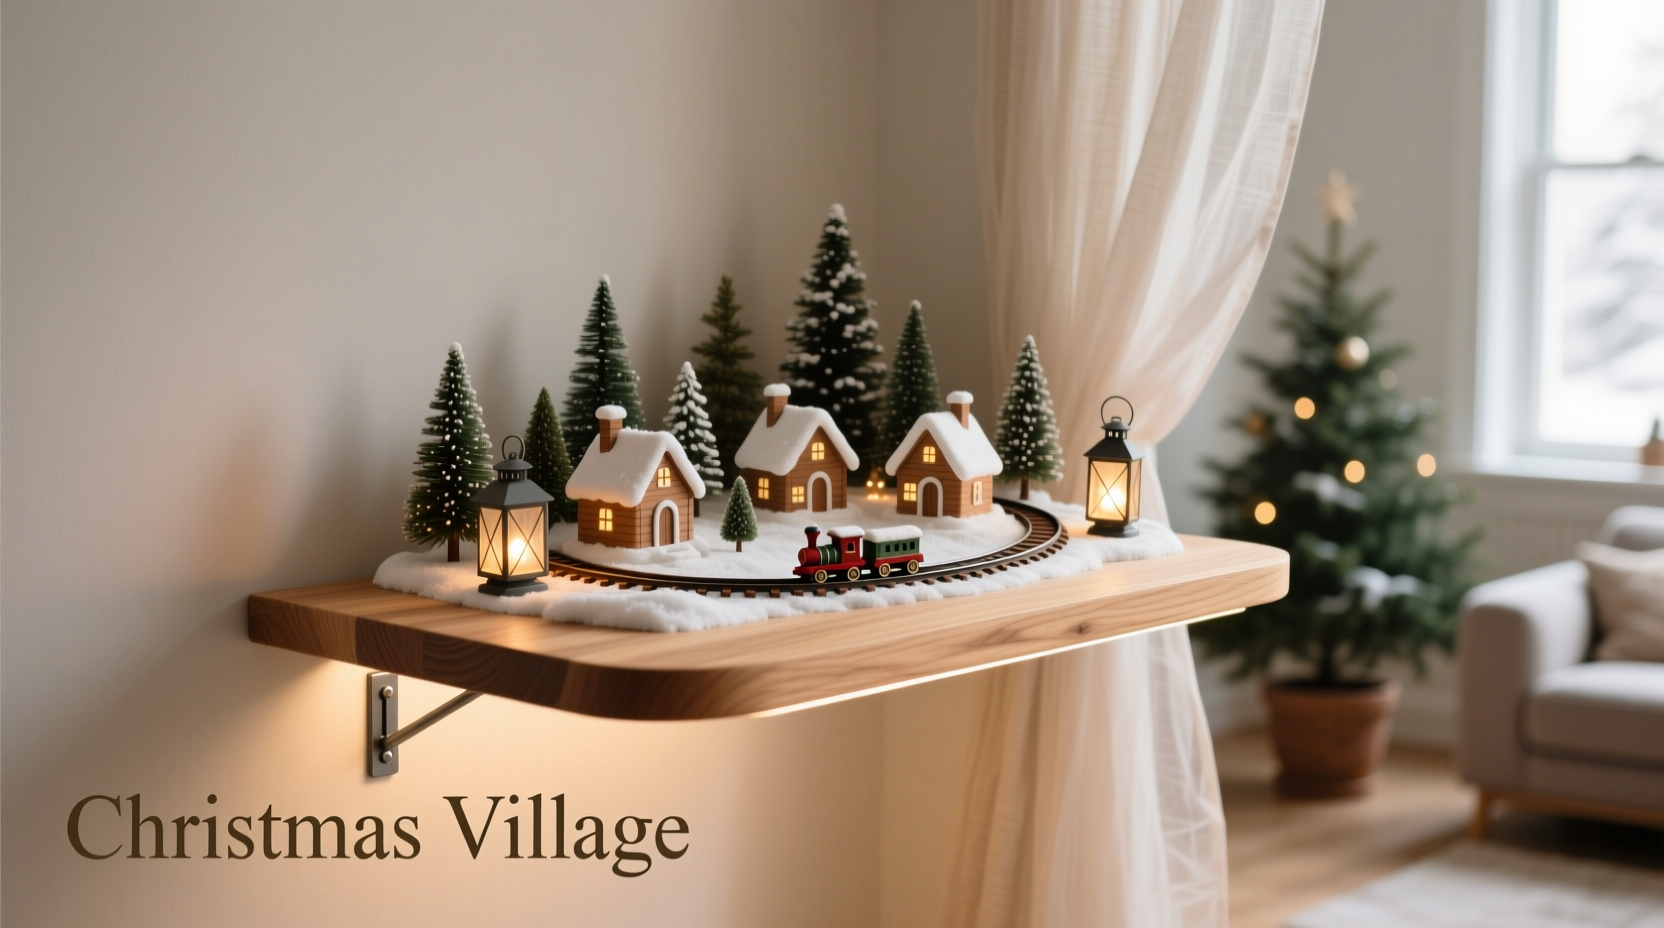
A well-placed Christmas village transforms a quiet corner into a storybook scene: snow-dusted rooftops, glowing windows, miniature sleighs winding through pine forests. But the foundation matters just as much as the figurines. A wobbly shelf distracts; a poorly aligned one breaks the illusion. A purpose-built floating corner shelf solves both problems—it anchors the display with architectural elegance while maximizing floor space and drawing the eye upward into the vignette. Unlike off-the-shelf shelves, a custom-built version accommodates irregular village layouts, supports heavier ceramic or resin buildings, and integrates seamlessly with your room’s crown molding, baseboards, or wall color. This guide walks through every practical decision you’ll face: from selecting wood that won’t warp under seasonal humidity to anchoring into drywall with confidence, from routing clean 45° miters to wiring discreet LED accents. It’s not carpentry for perfectionists—it’s carpentry for storytellers.
Why a Floating Corner Shelf Beats Standard Options
Most Christmas villages end up on mantels, side tables, or bookshelves—places that compete visually with other decor or limit scale. A floating corner shelf eliminates visual clutter below the display while using otherwise unused vertical space. Corners naturally frame scenes; when built at 90°, they create a subtle “stage” effect that enhances depth perception. More importantly, structural integrity is non-negotiable. Villages often weigh 15–30 pounds once fully assembled with terrain, trees, and lighting. Standard floating shelves rated for 20 lbs may sag over time—especially if mounted only into drywall without hitting studs. A custom-built corner shelf uses solid hardwood, continuous stud anchoring, and hidden bracing to carry weight evenly across two walls. That stability prevents micro-shifts that misalign delicate light wires or knock over fragile chimneys. It also allows for intentional asymmetry: extending one arm farther to hold a train station, shortening the other to avoid a window casing, or adding a recessed ledge for battery packs.
Materials & Tools: What You Actually Need (No Overbuying)
Resist the urge to default to plywood or particleboard. Christmas villages generate moisture from indoor humidity fluctuations and occasional condensation near windows. Plywood edges swell; particleboard delaminates. Solid wood or high-grade Baltic birch plywood (with sealed edges) performs reliably year after year. Below is a realistic, tested list—no specialty items required:
| Item | Specification | Why This Matters |
|---|---|---|
| Shelf Material | 1×8” solid poplar or maple (or ¾” Baltic birch plywood) | Poplar machines cleanly, stains evenly, and resists warping better than pine. Baltic birch has void-free layers and stable glue lines—critical for screw retention in floating mounts. |
| Bracing | 1×3” hardwood cleats (poplar or oak), cut to 12” lengths | Cleats screwed into wall studs provide primary support. Using hardwood ensures screws bite deep without splitting—even in older homes with inconsistent stud spacing. |
| Mounting Hardware | 3” #10 coarse-thread drywall screws + 3½” lag screws (⅜” diameter) | Drywall screws anchor cleats to studs; lags secure the shelf directly into the same studs through the cleats—dual-point load distribution prevents pull-out. |
| Finishing | Water-based polyurethane (matte or satin) | Oil-based finishes yellow over time, clashing with white snowscapes. Water-based dries fast, doesn’t amber, and resists fingerprints from frequent seasonal adjustments. |
| Tools | Clamp-style corner square, pocket-hole jig (optional but recommended), orbital sander (120–220 grit), stud finder with AC detection | A clamp square guarantees perfect 90° alignment during assembly. AC detection avoids drilling into electrical wires hidden behind corners—a common and dangerous oversight. |
Step-by-Step Construction: From Layout to Level
Building this shelf takes one focused afternoon—no power tools required beyond a drill and sander—but precision saves hours of rework. Follow this sequence exactly:
- Map Your Wall Anatomy: Use a stud finder to locate and mark *every* stud along both walls forming the corner—not just the first two. Corners often have doubled or staggered studs. Mark centers in pencil, then verify with a small (⅛”) pilot hole. Note any obstructions (electrical boxes, pipes) within 12” of the corner.
- Design the Shelf Dimensions: Standard depth is 8–10”. Width per arm: measure from corner to nearest obstruction (window, door, outlet). Subtract ¼” for expansion gaps. Example: Left wall has 32” clear space → cut left arm to 31¾”. Right wall has 28” → right arm to 27¾”.
- Cut & Miter the Shelf: Set your miter saw to exactly 45°. Cut both ends so they meet precisely at the corner point. Test-fit on a flat surface—no gaps should be visible at the seam. Sand miters smooth with 180-grit paper to ensure flush contact.
- Install Cleats: Hold a 1×3 cleat vertically against the left wall, aligned with the top edge of your planned shelf height (typically 42–48” from floor for optimal viewing). Drill pilot holes, then secure with two 3” screws into each stud. Repeat on the right wall—ensuring both cleats sit at identical heights using a laser level. Double-check with a 4-ft level across both cleats.
- Mount the Shelf: Apply wood glue to the mitered seam and clamp tightly. Pre-drill countersunk holes every 8” along the underside where cleats contact the shelf. Lift shelf into place, aligning its back edge with cleat tops. Drive 3½” lag screws through shelf into cleats—do not overtighten. Wipe excess glue immediately.
- Finish & Seal: Lightly sand entire shelf with 220-grit. Wipe with tack cloth. Apply two thin coats of water-based polyurethane, sanding lightly between coats with 320-grit. Let cure 48 hours before placing village pieces.
Real-World Case Study: The Anderson Family’s 12-Year Village Display
The Andersons inherited a hand-painted German Christmas village in 2012—delicate porcelain buildings with intricate copper roofs. For years, it sat on a folding table in their sunroom, vulnerable to drafts and accidental bumps. In 2019, they built a floating corner shelf using the method above: poplar wood, dual-stud cleats anchored into three studs per wall, and matte polyurethane. They added a 1” recessed ledge along the front edge to conceal a 12V LED strip (wired to a plug-in transformer hidden in the adjacent closet). Twelve winters later, the shelf shows no sag, no finish wear, and zero movement in the buildings—even after annual disassembly and reassembly. Crucially, the corner placement allowed them to install a small, battery-operated fog machine (mounted discreetly on the ceiling above) that creates gentle mist drifting down between the buildings. “It’s not just about holding things up,” says Sarah Anderson. “It’s about creating an environment where the village feels alive—not like a collection on a shelf.” Their key insight? They routed a ¼” groove along the shelf’s back edge to nest a flexible silicone gasket—eliminating dust accumulation behind the buildings and making cleaning effortless.
Pro Tips for Seamless Village Integration
A great shelf disappears so the village shines. These details make the difference between “nice” and “magical”:
- Wire Management: Drill a ⅜” access hole at the back corner of the shelf, angled downward into the wall cavity. Feed low-voltage LED wires through it, then route them behind baseboards to a nearby outlet. Never staple wires to wood—they degrade under heat and friction.
- Terrain Anchoring: Glue cork or foam-core terrain pieces to the shelf with PVA wood glue (not hot glue, which becomes brittle). This prevents shifting during seasonal moves and dampens vibrations from foot traffic.
- Lighting Strategy: Use warm-white (2700K) LEDs only. Cool white creates clinical glare that ruins the cozy, candlelit illusion. Place lights beneath eaves—not directly on roofs—to cast soft, directional shadows.
- Seasonal Protection: After New Year’s, cover the entire shelf with breathable muslin (not plastic)—it blocks dust while allowing moisture exchange. Store batteries separately to prevent leakage corrosion.
“Floating corner shelves for Christmas villages succeed when they’re engineered like cabinetry—not decor. The joint must be rigid, the mounting redundant, and the finish invisible. Anything less compromises decades of collecting.” — Michael Torres, Custom Holiday Display Designer, 28 years in residential holiday installations
Frequently Asked Questions
Can I mount this shelf into drywall only—no studs?
No. Drywall alone cannot safely support the sustained weight and torque of a loaded village shelf. Even toggle bolts fatigue over seasonal temperature cycles. If studs are inaccessible (e.g., in a rental), install a full-height plywood backer panel anchored into at least four studs, then mount the shelf to the panel. This distributes load across a larger area.
What’s the best way to hide the seam where the two shelf arms meet?
Sand the mitered joint until seamless, apply a thin bead of wood filler tinted to match your stain, then sand again once dry. For poplar or maple, use a grain-penetrating dye stain (not pigment-based) before finishing—this colors the wood fibers themselves, making the seam vanish under the final polyurethane coat.
How do I prevent my village buildings from sliding on a smooth shelf surface?
Apply strips of 3M™ Felt Pad Tape (1/8” thick) to the bottom of each building base. It grips firmly without residue, absorbs minor vibrations, and lifts structures just enough to allow airflow underneath—preventing moisture buildup that can cloud painted details.
Conclusion: Build Once, Celebrate Every Year
This isn’t a project about cutting wood or driving screws. It’s about creating a permanent stage for tradition—where generations gather, stories are told, and childhood memories take physical form in miniature streets and glowing windows. A floating corner shelf does more than hold objects; it declares intention. It says your village matters enough to warrant thoughtful architecture, careful engineering, and enduring materials. You’ll spend less time adjusting crooked buildings and more time watching grandchildren trace rooflines with wonder. You’ll stop worrying about accidental bumps and start noticing how light catches the curve of a ceramic chimney at dusk. The shelf becomes part of the ritual—not the setup, but the setting. So choose your wood deliberately. Measure your walls twice. Anchor into studs, not hope. And when you step back after the final coat dries, don’t just see a shelf. See twelve months of anticipation, built to last.


 浙公网安备
33010002000092号
浙公网安备
33010002000092号 浙B2-20120091-4
Comments
No comments yet. Why don't you start the discussion?