
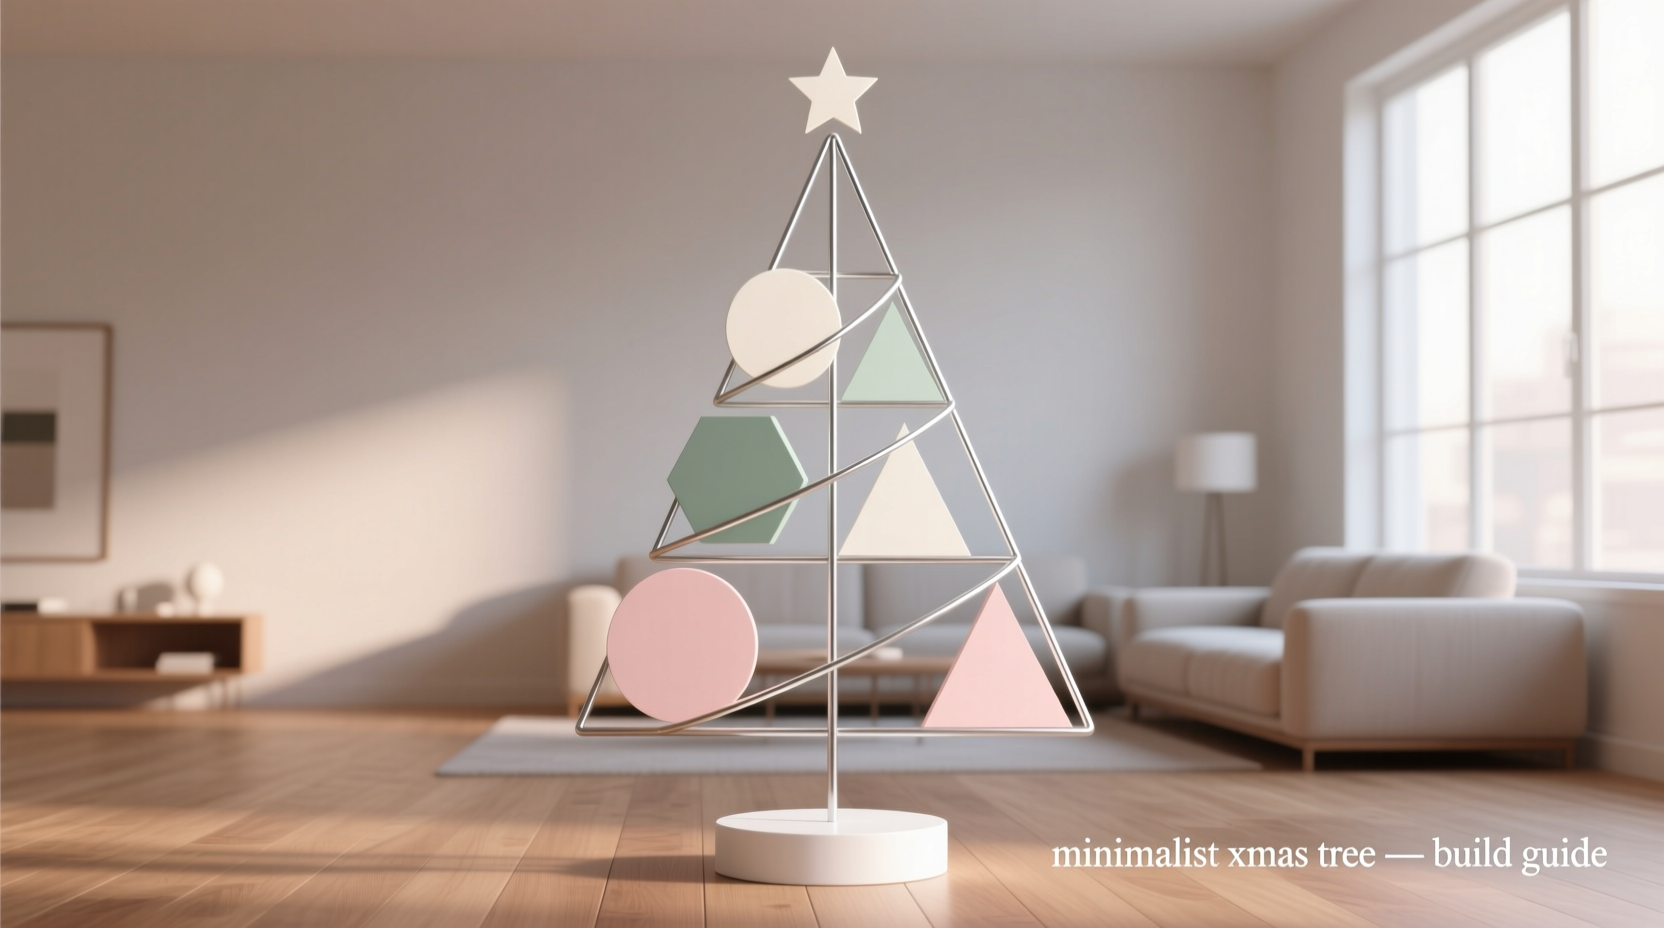
A minimalist Christmas tree is not an absence of celebration—it’s a distillation of intention. In homes where floor space is limited, design sensibility is paramount, or visual clutter feels emotionally draining, the traditional evergreen can feel at odds with daily life. Enter the geometric wire tree: a sculptural, reusable, and deeply personal alternative. Built from bent steel, brass, or copper wire and defined by clean angles and open volumes—tetrahedrons, hexagonal prisms, inverted cones, or stacked triangles—this tree carries no pine scent, sheds no needles, and asks only for thoughtful placement and deliberate adornment. It’s architecture for the holidays: precise, quiet, and full of presence.
This approach emerged not from trend-chasing but necessity—from urban apartments in Tokyo and Berlin, from designers who refused to compromise aesthetics for tradition, and from makers who saw holiday decor as an extension of interior philosophy. Unlike mass-produced alternatives, a hand-built geometric tree grows with you: its scale, material finish, and ornamentation evolve across years. It becomes heirloom infrastructure—not just seasonal decoration, but a frame for memory-making.
Why Geometric Wire Works for Modern Holiday Aesthetics
Minimalism in holiday design isn’t about austerity; it’s about editing for resonance. A wire tree succeeds where others fail because it operates on three foundational principles: spatial honesty, structural integrity, and adaptive expressiveness.
First, it acknowledges volume without occupying it. Its open lattice allows light to pass through, reflects ambient glow, and visually recedes in tight rooms—making ceilings feel higher and corners feel intentional. Second, its rigidity eliminates the need for heavy stands or water reservoirs. A single 3/8-inch steel base rod driven into a weighted concrete or marble plinth provides stability for even a 6-foot form. Third, it invites participation: ornaments become curated punctuation—single glass baubles suspended at apex points, dried botanicals wired to mid-edges, or LED micro-bulbs threaded along vertices.
Crucially, this method rejects disposability. A well-annealed brass or stainless-steel form lasts decades. When finishes tarnish, they deepen rather than degrade—patina becomes part of the story, not evidence of wear.
Essential Materials & Tools: Precision Over Quantity
Success hinges less on abundance and more on calibration. Every material choice affects weight distribution, visual rhythm, and long-term durability. Below is the non-negotiable core kit—no substitutions unless explicitly tested for tensile strength and thermal expansion compatibility.
| Item | Purpose | Recommended Spec | Why It Matters |
|---|---|---|---|
| Wire | Primary structural element | 12-gauge (2.05 mm) stainless steel or annealed brass | 12-gauge balances rigidity (won’t sag under ornament load) and bendability (no hydraulic press required). Avoid aluminum—it fatigues after repeated shaping. |
| Bending Jig | Consistent angle replication | DIY hardwood jig with 30°, 45°, 60°, and 90° notches + steel pin anchors | Hand-bending freehand yields inconsistent geometry. A jig ensures identical angles across all struts—critical for symmetry. |
| Wire Cutters | Clean severing | Compound-lever cutters rated for hardened steel | Standard cutters deform 12-gauge wire ends, creating burrs that snag thread or scratch surfaces. |
| Soldering Setup | Permanent node joining | Butane torch + silver-bearing solder (95% tin/5% silver) + flux paste | Electrical solder melts too easily; silver-bearing solder flows at 430°F and creates joints stronger than the wire itself. |
| Base Assembly | Stability anchor | 3″-diameter blackened steel rod × 12″ long + 8-lb poured concrete base (8″ × 8″ × 2″) | Weight must equal 3× total tree mass. A 48″ tree weighs ~3.2 lbs → base needs ≥9.6 lbs. Concrete prevents tipping; steel rod resists torque. |
Optional—but highly recommended—additions include a digital protractor for real-time angle verification, a jeweler’s file for deburring cut ends, and matte-black heat-shrink tubing (1/8″ ID) to conceal solder joints where visual continuity matters most.
Step-by-Step Construction: From Flat Wire to Three-Dimensional Form
Building a geometric tree is iterative, not linear. You construct modular units first, verify dimensional accuracy, then assemble. Rushing assembly before unit validation guarantees asymmetry. Follow this sequence precisely:
- Design & Scale Drafting: Sketch your chosen geometry (e.g., tetrahedral stack: 3 tiers of equilateral triangles, each rotated 60° from the one below). Calculate strut lengths using trigonometry: for a 36″ tall tree with 24″ base, lower tier struts = 24″, middle = 18″, top = 12″. All angles = 60°.
- Wire Cutting & Deburring: Cut six 24″ pieces (lower tier), six 18″ (middle), six 12″ (top). File both ends flat and smooth—no microscopic hooks.
- Angle Bending: Clamp jig securely. Insert wire into 60° notch. Apply steady pressure with gloved hands until wire contacts both notch walls. Repeat for all 18 pieces. Verify angles with digital protractor—reject any deviation >±0.5°.
- Tier Assembly: Arrange three bent wires into triangle. At each vertex, overlap ends by 1/2″. Apply flux, heat joint to 430°F (silver solder flows visibly), feed solder until capillary action draws it fully into seam. Cool naturally—no quenching.
- Vertical Integration: Drill three 1/4″ pilot holes in concrete base, spaced 120° apart. Insert steel rod. Thread lower-tier triangle onto rod, centering it 2″ above base. Suspend middle tier 8″ above lower using 3″ brass rods epoxied to inner vertices. Repeat for top tier at 16″. Final height: 36″ ± 1/8″.
This process takes 6–8 hours for a first-time builder but drops to under 3 hours with practice. The payoff is absolute repeatability: once calibrated, your jig produces identical trees season after season.
Real-World Application: The Stockholm Studio Apartment Case Study
In late 2022, architect Linnea Bergström faced a constraint common to Nordic urban living: her 32 m² studio had no storage for a traditional tree, and ceiling height was just 2.3 meters. Her solution—a 30″ tetrahedral tree built from brushed brass wire—became a functional centerpiece. She mounted magnetic LED strips (3000K, 12V) along inner edges, their light diffused through frosted acrylic discs suspended at each vertex. Ornaments were eliminated entirely; instead, she wove dried silver birch twigs—cut to exact 15-cm lengths—through horizontal struts at 3-cm intervals.
The result? A tree that doubled as a room divider between sleeping and living zones, cast delicate shadow patterns at dusk, and required zero annual reassembly. “It’s not ‘less’,” she notes, “it’s *exactly* what the space asked for. No negotiation.” Bergström now teaches this method at Konstfack University, emphasizing that minimalism begins with listening to architectural limits—not imposing stylistic dogma.
“The strongest minimalist statements emerge from constraint, not choice. A wire tree isn’t a compromise—it’s the honest answer to ‘What shape does this room need to breathe?’” — Linnea Bergström, Architect & Educator, Konstfack University of Arts, Crafts and Design
Ornamentation Philosophy: Less Is Anchored, Not Empty
Adorning a geometric tree demands a shift from abundance to resonance. Each object must earn its place by interacting meaningfully with the structure—not hiding it, but activating it. This is where many DIY attempts falter: hanging standard ornaments creates visual noise that obscures the geometry.
- Single-point suspension: Use clear monofilament (0.18 mm) to hang one object per vertex—e.g., a single matte-black ceramic sphere (25 mm diameter) at each of the 12 apex points. Weight must be <15 g per point to avoid wire deformation.
- Linear integration: Wrap thin copper wire (28-gauge) around struts to secure dried lavender spikes or cinnamon sticks. Placement follows the 1:2:3 rule: 1 element at top vertex, 2 at middle ring, 3 at base ring.
- Light as material: String warm-white micro-LEDs (2 mm diodes, 20 cm spacing) along outer edges only—not crisscrossed. Current draw must stay under 0.5A to prevent heat buildup in solder joints.
- Avoid: Heavy glass balls, tinsel, ribbon bows, or anything requiring adhesive. These add unbalanced torque, obscure lines, or degrade wire coatings.
FAQ: Addressing Practical Concerns
Can I build this without soldering experience?
Yes—but with caveats. Mechanical joining (using brass split rivets or high-tensile cable clamps) works for trees under 30″. However, riveted joints loosen over time due to thermal expansion cycles. For longevity, invest in a $45 butane torch kit and practice soldering on scrap wire for 2 hours first. Silver-bearing solder requires only 90 seconds of heating per joint—far safer than gas torches.
How do I store it without warping?
Disassemble into tiers and store flat in archival cardboard trays lined with acid-free tissue. Never hang vertically—gravity induces creep in annealed metals over months. Label each tray with laser-printed geometry specs (e.g., “Tier 2: 60°, 18″, brass”). Reassembly takes 12 minutes using your jig as reference.
Is it safe around children or pets?
Yes—when built to spec. 12-gauge wire has zero flex under finger pressure; edges are filed smooth; bases weigh ≥3× tree mass. The only hazard is tripping over the base if placed in walkways—solution: recess the concrete base 1/2″ into flooring or mount it to wall studs via L-brackets. No exposed electrical components touch skin.
Conclusion: Your Tree, Your Terms
A geometric wire Christmas tree is more than a decorative object—it’s a declaration of values. It says your holidays honor clarity over chaos, craftsmanship over consumption, and quiet intention over inherited expectation. It doesn’t ask you to love less; it asks you to love with precision. Every angle you bend, every joint you solder, every ornament you choose becomes a stitch in a personal narrative—one that unfolds across seasons, adapting as your life evolves.
You don’t need a workshop or engineering degree to begin. You need patience for measurement, respect for material behavior, and the courage to let negative space speak. Start small: build a 12″ tabletop tetrahedron this weekend. Use it as a centerpiece for your holiday table. Notice how light moves through it at different times of day. Feel the weight of the brass in your hands—cool, dense, honest. That tactile truth is where minimalism begins: not in subtraction, but in attention.


 浙公网安备
33010002000092号
浙公网安备
33010002000092号 浙B2-20120091-4
Comments
No comments yet. Why don't you start the discussion?