
Creating a synchronized, visually stunning holiday lighting display using smart LED strips has become increasingly popular. However, achieving a seamless color transition across multiple strips—where hues shift uniformly and brightness remains consistent—is more complex than simply plugging them in. Without proper calibration, even high-quality smart lights can appear mismatched, with one strip glowing warmer or dimmer than its neighbor. This undermines the immersive effect many homeowners aim for during the holidays.
Calibration ensures that every segment of your display behaves identically under the same commands. Whether you're using RGB, RGBW, or addressable LEDs from brands like Philips Hue, Govee, LIFX, or custom WLED setups, small manufacturing variances, firmware differences, and environmental factors can lead to noticeable inconsistencies. With careful setup and attention to detail, these discrepancies can be minimized—or eliminated entirely—for a truly cohesive light show.
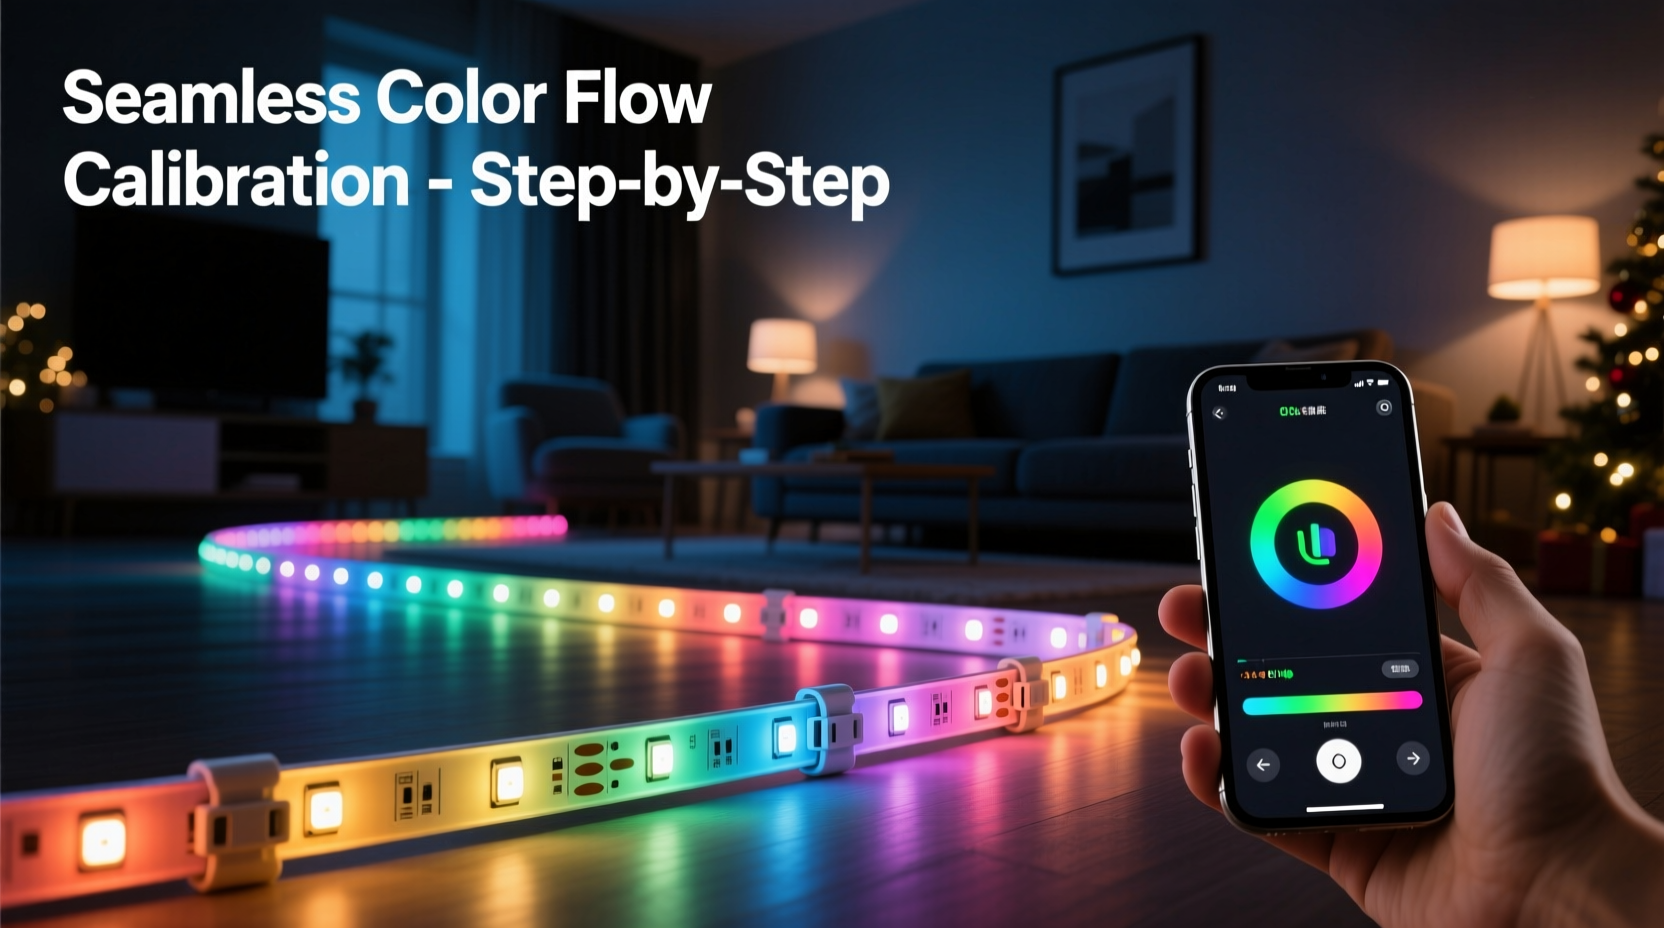
Why calibration matters for multi-strip displays
Smart LED strips are manufactured in batches, and while they may appear identical on paper, subtle variations in LED binning (the process of sorting LEDs by color temperature and output) mean that two supposedly \"white\" LEDs might emit slightly different shades. One may lean blue, another yellow. Similarly, brightness levels can vary due to resistor tolerances or power delivery fluctuations across longer runs.
When multiple strips operate side by side without calibration, these differences become glaringly obvious. A wave of red sweeping across your eaves might look smooth in theory, but in practice, it could stutter between warm and cool tones as it moves from one strip to the next. The human eye is highly sensitive to such inconsistencies, especially in low-light environments where holiday displays are most visible.
Proper calibration aligns all strips to a common visual standard. This means matching not just static colors, but also dynamic effects like breathing, chasing, and music synchronization. It’s the difference between a DIY project and a professionally designed installation.
“Even 5% variance in color temperature across strips breaks immersion. Calibration isn’t optional if you want a unified display.” — Daniel Reeves, Smart Lighting Systems Engineer
Step-by-step guide to calibrating multiple smart light strips
Follow this structured approach to ensure all your smart light strips produce a harmonized visual experience. While specific steps may vary slightly depending on your brand or control system, the underlying principles remain consistent.
- Group compatible strips together: Begin by ensuring all strips are of the same model and generation. Mixing different models—even within the same brand—can result in incompatible color gamuts or brightness ranges.
- Power each strip consistently: Use separate power supplies or inject power at regular intervals for long runs. Voltage drop causes dimming and color shifts toward the end of a strip.
- Update firmware: Check the manufacturer’s app or platform for available updates. Firmware improvements often include better color accuracy and synchronization features.
- Set uniform brightness limits: Manually adjust maximum brightness so no single strip overwhelms others. Start at 80% to allow headroom and reduce thermal stress.
- Test white balance first: Display pure white (255,255,255) on all strips simultaneously. Observe any tint differences—yellow, blue, or green casts—and note which units deviate.
- Use built-in calibration tools: Some systems (e.g., Govee’s Color Calibration mode or WLED’s palette adjustments) allow fine-tuning of individual color channels. Adjust red, green, and blue gains until whites match.
- Compare dynamic effects: Run a slow color cycle or rainbow wipe. Look for timing lags, hue jumps, or intensity flickers. Synchronize start times and speeds via the controller.
- Apply gamma correction if supported: Gamma settings affect how brightness transitions feel to the human eye. Matching gamma curves prevents one strip from appearing “smoother” than another.
- Document settings: Save calibrated profiles or presets so they can be restored after resets or reboots.
- Recheck periodically: LEDs degrade over time. Re-calibrate annually before the holiday season begins.
Tools and methods for advanced color matching
For users seeking precision beyond manual adjustment, several technical tools enhance calibration accuracy.
A digital colorimeter or spectrophotometer can measure actual chromaticity coordinates (x,y or u'v') emitted by each strip. These devices connect to smartphones or computers and provide objective data instead of relying on subjective vision. Apps like Luxi or software such as CalMAN (for pro setups) enable side-by-side comparison of CIE color points.
Alternatively, use reference images displayed on a calibrated screen placed behind the lights. Match the strip’s output to known values—for example, D65 white point (6500K)—by tweaking RGB sliders until visual parity is achieved.
If using open-source platforms like WLED, leverage custom palettes and HSV/HSL adjustments. You can define exact hue offsets per strip to compensate for drift. For instance, if Strip B consistently renders reds 10° cooler than Strip A, apply a +10° hue bias in its configuration.
| Tool | Purpose | Best For |
|---|---|---|
| Colorimeter (e.g., X-Rite i1D3) | Measures precise color output | Professional installations |
| WLED Palette Editor | Adjusts hue/saturation curves | Custom firmware users |
| Govee App Calibration Mode | Guided white balance tuning | Consumer-grade strips |
| Mobile Light Meter App | Compares relative brightness | Quick field checks |
Real-world example: Calibrating a rooftop perimeter display
Consider a homeowner installing 12 segments of 5-meter RGBWW LED strips around their roofline. Each strip connects to a central ESP32-based WLED controller via Wi-Fi. Initially, the rainbow chase effect shows visible banding—some sections flash brighter white, others lag in transition speed.
The installer first verifies that all strips are powered with local injection every 3 meters. After confirming stable voltage, they disable automatic brightness based on ambient light. Using WLED’s web interface, they navigate to the “Palette” tab and select “Custom” mode. They run a static white test and photograph each section with a DSLR in RAW format.
Using image analysis software, they identify that strips on the west-facing side have a higher blue channel output due to earlier sun exposure degrading phosphor layers. They create two separate palettes: one neutral for shaded areas, one with reduced blue gain for exposed zones. After uploading the corrected configurations and syncing effect settings globally, the final animation flows smoothly with no perceptible jumps.
This case illustrates how environmental wear and electrical design impact visual consistency—and why calibration must account for both hardware and context.
Checklist: Pre-deployment calibration routine
- ✅ Confirm all strips are same model/version
- ✅ Power each strip adequately (avoid daisy-chaining beyond specs)
- ✅ Update firmware on all controllers
- ✅ Set global brightness cap (e.g., 80%)
- ✅ Test static white output across all units
- ✅ Adjust color gains or use calibration mode to match whites
- ✅ Run slow rainbow cycle to check hue continuity
- ✅ Verify timing sync (no leading/lagging strips)
- ✅ Save and label calibrated profiles
- ✅ Document physical layout and assigned settings
Common pitfalls and how to avoid them
Many users assume plug-and-play functionality will deliver perfect results. In reality, overlooking key details leads to frustration and subpar outcomes.
Mixing old and new batches: Even identical product codes can hide revised internal components. Always buy all strips for a single project at once.
Ignoring power quality: Undervoltage causes brownish whites and weak blues. Use thick gauge wires and consider active power injection for runs over 10 meters.
Overlooking network latency: Wi-Fi congestion delays signal delivery. For large arrays, use wired Ethernet-to-WiFi bridges or dedicated RF protocols like Zigbee where supported.
Relying solely on apps: Mobile apps often compress color data. For critical work, access controllers directly via web UI or API for finer control.
“People focus on pixels and ignore physics. Voltage, heat, and aging matter as much as code.” — Lena Tran, Embedded Systems Designer
Frequently asked questions
Can I calibrate smart lights from different brands together?
Not effectively. Different manufacturers use distinct color spaces, PWM frequencies, and interpolation algorithms. While basic on/off sync may work through hubs like Home Assistant, true color fidelity requires homogeneous hardware.
Do I need special equipment to calibrate?
No. Most users achieve excellent results using only their eyes and the manufacturer’s app. However, for large or commercial displays, investing in a color meter improves accuracy and repeatability.
Why do my lights look different after a reset?
Some systems revert to factory defaults or auto-detect ambient light upon reboot. Always store your calibrated settings as a named preset and reapply it after maintenance.
Final thoughts: Elevate your holiday display with precision
A seamless color flow across multiple smart Christmas light strips transforms a simple decoration into an engaging visual experience. It signals care, craftsmanship, and attention to detail. While the process demands patience and methodical testing, the payoff is immediate: neighbors pause, passersby smile, and the spirit of the season shines a little brighter.
Start small if needed—calibrate two strips perfectly before expanding. Use documented settings, leverage available tools, and trust objective measurement when possible. Remember, perfection lies not in complexity, but in consistency.


 浙公网安备
33010002000092号
浙公网安备
33010002000092号 浙B2-20120091-4
Comments
No comments yet. Why don't you start the discussion?