
Christmas lighting has evolved far beyond a single string wrapped around a tree. Today’s displays often include synchronized LED matrices, animated inflatables, projection-mapped façades, and layered outdoor vignettes—all demanding reliable, organized, and invisible power delivery. Yet the unsightly tangle of power strips, extension cords, and surge protectors undermines even the most elaborate setup. Worse, haphazard concealment can create real safety hazards: overheating, moisture exposure, physical damage, or accidental disconnection. This isn’t about aesthetics alone—it’s about responsible electrical stewardship during peak seasonal load. Drawing from field experience with municipal light shows, professional holiday installers, and residential electricians, this guide delivers actionable, code-conscious strategies that prioritize safety first, durability second, and invisibility third.
Why Camouflage Matters—Beyond Aesthetics
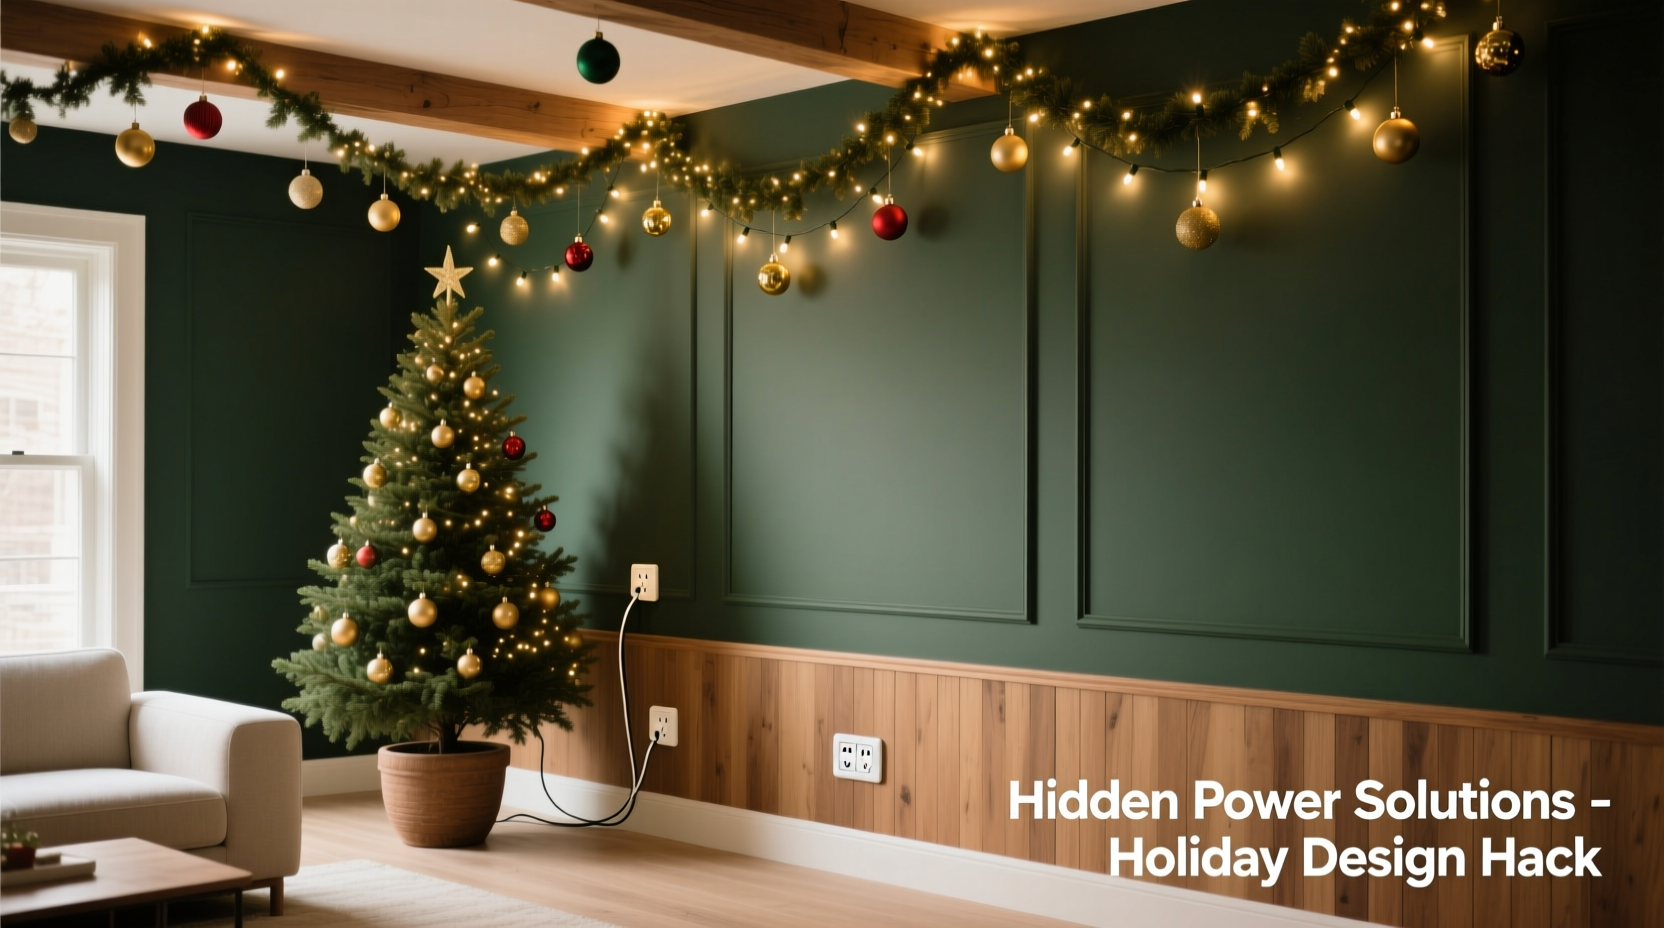
Camouflaging power strips isn’t merely decorative. It addresses three critical functional concerns. First, exposure to weather—rain, snow, freezing temperatures, and UV radiation—degrades plastic housings, corrodes terminals, and compromises insulation integrity. Second, foot traffic and lawn equipment pose constant mechanical threats: cords get stepped on, mowed over, or snagged by pet leashes or children’s toys. Third, visible clusters invite tampering, accidental unplugging, or mislabeling—especially problematic when managing 8–12 separate circuits for synchronized displays. The National Fire Protection Association (NFPA) reports that 41% of December electrical fires originate from improper use or placement of extension cords and power strips—not faulty devices themselves. Proper camouflage, therefore, is a risk-mitigation tactic grounded in electrical safety standards, not just curb appeal.
Five Proven Camouflage Methods—Ranked by Safety & Practicality
Not all concealment techniques are equal. Below is a hierarchy based on UL certification compliance, ease of maintenance, adaptability across indoor/outdoor settings, and long-term reliability. Each method includes real-world application notes and limitations.
- Natural-Element Integration: Burying low-voltage-rated outdoor power strips (UL 1449 Type 3SP) beneath 2–3 inches of mulch, gravel, or decorative river stones—only where the strip is certified for direct burial and installed with a GFCI-protected circuit. Requires careful labeling of access points and periodic inspection after heavy rain.
- Architectural Blending: Mounting weatherproof power hubs inside recessed soffit cavities, behind lattice panels, or within custom-built cedar enclosures that match existing trim. Best for permanent or semi-permanent setups; allows full airflow and tool-free access.
- Furniture & Fixture Repurposing: Using hollow-planter bases, faux-rock enclosures, or repurposed garden stools with removable lids as passive housings. Must include internal cord management, strain relief at entry/exit points, and a minimum ½-inch air gap between the strip and enclosure walls.
- Textile-Based Concealment: Wrapping industrial-grade braided conduit (not fabric sleeves) around grouped cords, then routing them along fence rails or deck beams using UV-stable zip ties. Avoids heat trapping while maintaining visual continuity.
- Strategic Relocation: Moving power distribution upstream—replacing multiple scattered strips with a single, centrally located, hardwired subpanel or weatherproof junction box fed by a dedicated 20-amp circuit. Most effective but requires licensed electrician involvement.
Do’s and Don’ts: Critical Electrical Safety Table
| Action | Do | Don’t |
|---|---|---|
| Heat Management | Leave 2 inches of clearance around all sides; use only strips with thermal cutoff and aluminum heat sinks. | Stack strips, cover with rugs or foam, or place inside unventilated plastic bins. |
| Cord Routing | Use cord channels with integrated strain relief; secure every 18 inches with UV-rated anchors. | Run cords across walkways without ramp covers or bury them directly in soil without conduit. |
| Moisture Protection | Install downward-facing outlets; apply dielectric grease to plug contacts; use IP66-rated enclosures. | Tape over outlets with duct tape or rely solely on “indoor-rated” strips outdoors—even under eaves. |
| Load Monitoring | Calculate total wattage per circuit (max 1,440W on 15A, 1,920W on 20A); use a Kill-A-Watt meter to verify. | Assume “all LEDs are low-wattage”—some animated displays draw 300–600W each at startup. |
| Labeling & Access | Mark each outlet with waterproof labels (e.g., “Garage Roof Lights,” “Front Porch Wreath”); ensure 90-degree access for plug removal. | Hide strips behind immovable objects or seal enclosures with screws you’ll lose before next season. |
A Real-World Example: The Suburban Front Yard Transformation
In Maple Grove, Minnesota, homeowner David R. managed a 3,200-light display spanning rooflines, shrubbery, and a 12-foot inflatable snowman. For three seasons, he used six daisy-chained indoor power strips tucked behind vinyl siding—until a late-November freeze cracked one housing, exposing live terminals to condensation. After consulting a certified holiday lighting technician, he re-engineered his system: a single UL-listed outdoor-rated hub (Tripp Lite SmartRack PDU) was mounted inside a ventilated cedar box built into his porch column. All cords entered through grommeted holes and were secured with stainless steel cable ties. Mulch concealed the final 18 inches of cord run to ground-level fixtures. He added color-coded outlet labels and a laminated circuit map taped inside the box lid. Total installation time: 3.5 hours. Zero outages or safety incidents over the next four seasons—and neighbors stopped asking, “Where do all those cords go?”
“Camouflage fails when it sacrifices serviceability. If you can’t inspect, test, and reset a power strip in under 90 seconds—without tools—you’ve hidden it too well.” — Carlos Mendez, CEDIA-Certified Holiday Lighting Integrator and NFPA 70E Instructor
Step-by-Step: Installing a Weatherproof Cedar Enclosure (Outdoor Use)
This method balances accessibility, durability, and seamless integration. Estimated build time: 2 hours (plus drying/curing).
- Gather Materials: 1×6 cedar boards (¾″ thick), exterior-grade plywood backing, stainless steel hinges & latch, IP66-rated outdoor power strip (e.g., GE Enbrighten Z-Wave Smart Plug Strip), silicone caulk (NSF 61 certified), UV-resistant mounting screws, and a cord channel kit with grommets.
- Measure & Cut: Size the box to accommodate your largest power strip plus 2″ side clearance. Standard depth: 4″ (allows cord coiling). Cut front panel with a ¼″ reveal for easy lid lift.
- Assemble Box: Screw sides to back panel using pocket-hole joinery or corner braces. Pre-drill all holes to prevent cedar splitting. Leave top and bottom open for airflow.
- Mount Securely: Anchor to a solid surface (brick, stucco, or structural wood) using masonry anchors or lag bolts. Ensure level orientation so water runs off—not pools.
- Install Power Strip: Mount strip vertically using supplied brackets. Feed cords through pre-drilled grommeted holes (minimum two: one for input, one for output groups). Seal grommets with silicone.
- Add Final Touches: Stain or seal cedar with transparent water-repellent (no film-forming polyurethane). Label outlets with laser-printed, laminated tags. Attach a small magnetic key holder inside lid for spare fuses or smart-plug remotes.
Essential Checklist Before Powering Up
- ☑ Verify GFCI protection is active on every circuit feeding outdoor strips (test monthly with GFCI tester)
- ☑ Confirm total connected load is ≤80% of circuit rating (e.g., ≤1,440W on 15A)
- ☑ Inspect all cords for nicks, abrasions, or cracked insulation—replace immediately if found
- ☑ Ensure no power strip is placed on grass, gravel, or bare soil without a moisture barrier (e.g., rubber mat)
- ☑ Label every outlet with its dedicated display zone and maximum runtime (e.g., “Deck Railings – Max 8 hrs/day”)
- ☑ Install cord ramps at all driveway/walkway crossings (never rely on tape or bricks)
- ☑ Document your setup with photos and a simple wiring diagram stored digitally and printed inside enclosure
FAQ
Can I use a regular indoor power strip outside if I put it in a plastic storage bin?
No. Indoor strips lack moisture-resistant seals, UV-stabilized plastics, and thermal cutoffs designed for ambient temperature swings. Even in a “sealed” bin, condensation forms overnight, creating conductive paths. UL 1449-certified outdoor power strips undergo rigorous rain, dust, and thermal cycling tests—indoor units do not. Using them outdoors voids insurance coverage and violates NEC Article 400.8(1).
How many lights can I safely plug into one camouflaged power strip?
It depends entirely on wattage—not quantity. A single 100-bulb incandescent string draws ~400W; a 300-LED mini-string draws ~12W. Calculate total wattage: add all device labels (look for “W” or “VA”), then divide by voltage (120V). Example: 5 strings × 24W = 120W → well below a 15A circuit’s 1,440W limit. Always leave 20% headroom for inrush current during startup—especially with motors in inflatables or fans in blow molds.
Is it safe to paint a power strip to match my house color?
Never. Paint clogs ventilation slots, insulates heat sinks, and may contain solvents that degrade polycarbonate housings. Instead, choose a strip in black, white, or bronze—or use the cedar enclosure method above. If painting is unavoidable for temporary installations, use only matte, non-conductive, heat-resistant ceramic spray (rated to 200°C) and mask all vents, outlets, and status LEDs.
Conclusion
Camouflaging power strips isn’t about erasing electricity—it’s about honoring its presence with intention, respect, and precision. When done correctly, concealment becomes an act of care: for your home’s safety, your family’s peace of mind, and the longevity of your seasonal investment. You don’t need expensive gear or contractor-level skills—just awareness of load limits, commitment to weather-rated components, and a willingness to plan access before sealing anything away. Start small this year: pick one high-visibility strip and apply the cedar enclosure method or natural-element integration. Document what works. Note where airflow feels restricted or labeling gets confusing. Refine next season. Because the most beautiful Christmas displays aren’t defined by how many lights shine—but by how thoughtfully the power behind them is managed.


 浙公网安备
33010002000092号
浙公网安备
33010002000092号 浙B2-20120091-4
Comments
No comments yet. Why don't you start the discussion?