
Editing text within an image used to be a task reserved for graphic designers with advanced software skills. Today, thanks to intuitive tools and accessible platforms, anyone can modify text on a photo quickly and effectively—whether you're updating a social media post, correcting a typo in a meme, or designing promotional material. The key is knowing which tools to use and understanding the principles of seamless integration so that edited text looks natural and professional.
This guide walks through practical methods for changing text on pictures, from selecting the right software to matching fonts and colors for a polished result. Whether you're a beginner or looking to refine your workflow, these techniques will help you edit images with confidence and precision.
Choosing the Right Tool for the Job
The first decision in modifying text on an image is choosing the appropriate editing tool. Options range from mobile apps to desktop software and browser-based editors. Each has strengths depending on your needs: simplicity, precision, collaboration, or advanced features.
For casual edits, mobile apps like Canva or Adobe Express offer user-friendly interfaces and built-in templates. For more control—especially when removing existing text and replacing it—desktop programs such as Adobe Photoshop or GIMP provide powerful cloning and layering capabilities. Web-based tools like Photopea deliver near-Photoshop functionality without installation.
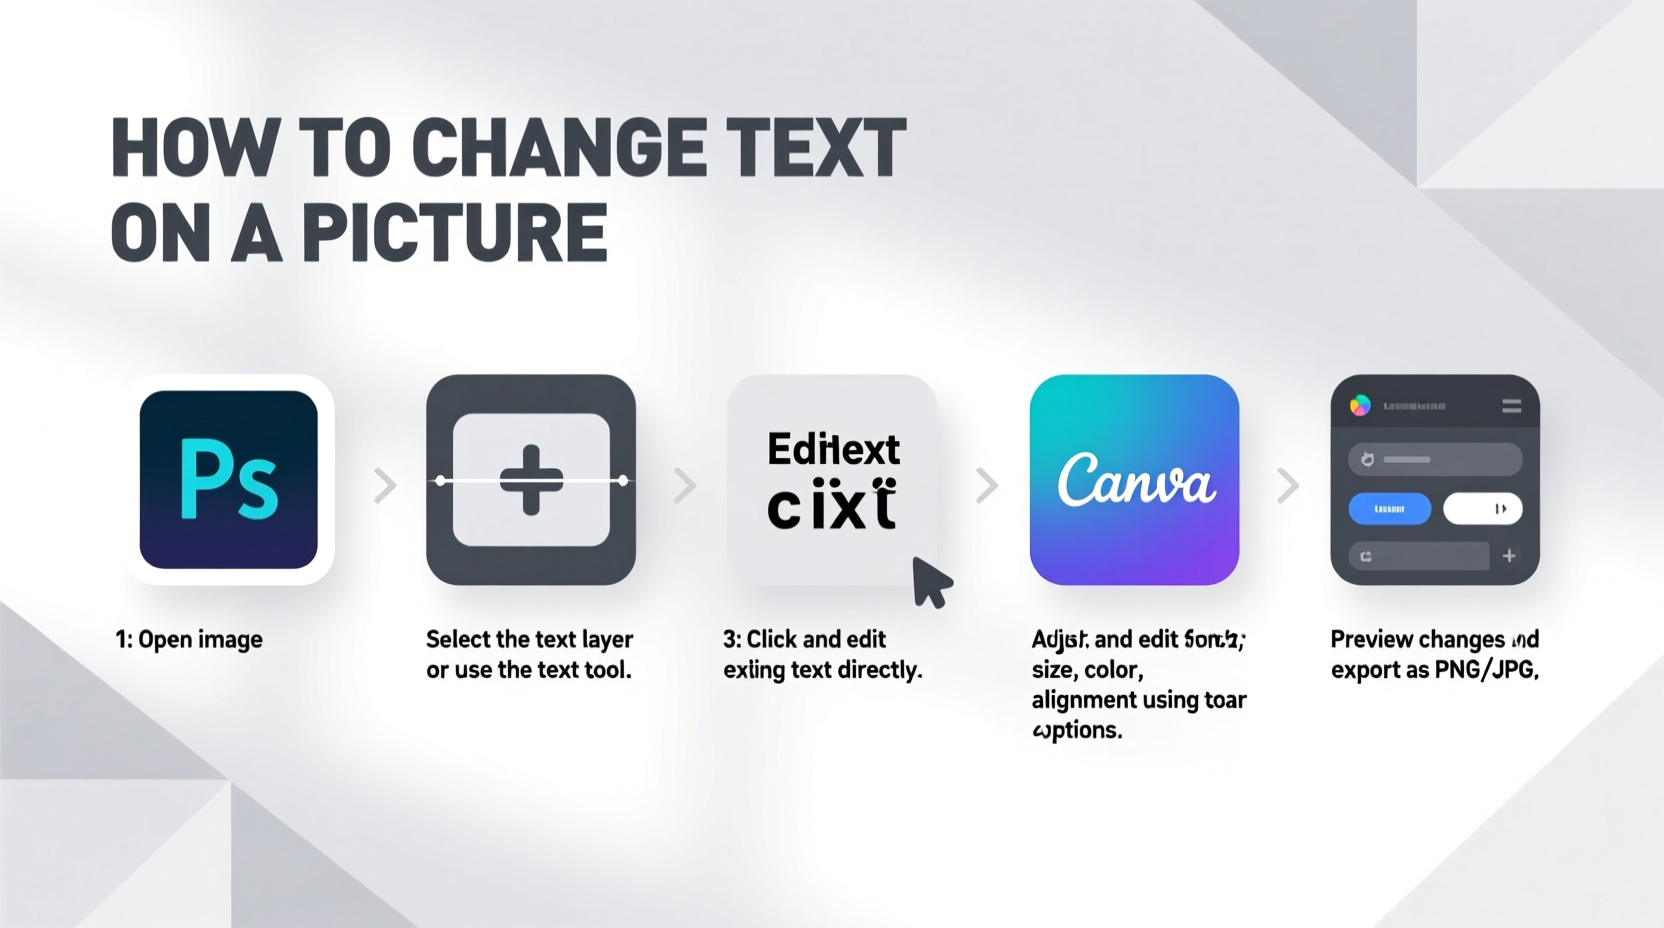
Step-by-Step Guide to Changing Text on a Picture
Follow this structured process to replace text in any image while maintaining visual consistency.
- Assess the Image: Determine whether the original text is overlaid (e.g., a caption) or part of the image itself (e.g., a sign in a photo). Overlaid text is easier to remove and replace.
- Select Your Editing Software: Choose based on complexity. Use Canva for simple replacements; opt for Photoshop or GIMP if background reconstruction is needed.
- Open the Image: Import the file into your chosen editor. Save a copy under a new name before making changes to preserve the original.
- Remove Existing Text: Use healing brushes, clone stamps, or content-aware fill to erase old text. In simpler cases, cover it with a shape that matches the background color.
- Add New Text: Select the text tool, click where the old text was, and type your replacement. Adjust font size and alignment carefully.
- Match Font and Style: Try to replicate the original font using tools like WhatTheFont or Font Squirrel’s Matcherator. If exact matching isn’t possible, choose a visually similar alternative.
- Adjust Color and Effects: Apply shadows, outlines, or blending modes to make the new text appear integrated. Use eyedroppers to sample surrounding colors.
- Review and Export: Zoom out to view the full image. Check for alignment issues or unnatural contrasts. Export in high quality, preferably PNG for transparency or JPEG for general sharing.
Real Example: Updating a Restaurant Menu Board Photo
A local café owner wanted to update prices on a digital menu board photo used across social media. The original image showed hand-lettered text painted on wood. Using Canva, they uploaded the image and covered outdated prices with brown rectangles mimicking the wood grain. Then, they added new text using a brush-style font closely resembling the handwriting. By slightly rotating and unevenly spacing letters, the edit looked authentic. Customers didn’t notice the change—proof that subtle attention to detail pays off.
Essential Tips for Seamless Text Replacement
- Zoom In: Work at 100–200% magnification to ensure pixel-level accuracy when erasing or placing text.
- Use Layers: Always place new text on its own layer. This allows non-destructive editing—you can move, resize, or delete without affecting other elements.
- Maintain Perspective: If text follows a curve or angle in the image (like on a bottle label), use warp or distortion tools to match the shape.
- Preserve Lighting: Add soft gradients or directional shading to mimic light sources in the scene. Flat text often stands out unnaturally.
- Test on Multiple Devices: View your final image on phone, tablet, and desktop screens to confirm readability and realism.
“Even small mismatches in font weight or letter spacing can break the illusion of authenticity. Spend extra time refining those details.” — Lena Torres, Digital Imaging Specialist at VisualEdge Studio
Do’s and Don’ts When Editing Text in Images
| Do’s | Don’ts |
|---|---|
| ✔ Use high-resolution originals for cleaner edits | ✖ Stretch low-quality images to add text—they’ll look blurry |
| ✔ Sample colors directly from the image using an eyedropper tool | ✖ Guess font styles—use identification tools instead |
| ✔ Keep backups of original files | ✖ Edit directly on the only copy of an image |
| ✔ Pay attention to anti-aliasing settings for smoother edges | ✖ Ignore file format limitations—JPEG doesn’t support transparency |
Checklist: Pre-Publish Review Before Sharing Your Edited Image
- ✅ Is the new text aligned with the original positioning?
- ✅ Does the font style and size match the context?
- ✅ Have I removed all traces of the old text cleanly?
- ✅ Are shadows, outlines, or effects consistent with the image lighting?
- ✅ Did I export in the correct format and resolution for intended use?
Frequently Asked Questions
Can I change text on a picture without Photoshop?
Yes. Free tools like Canva, Pixlr, Photopea, and Fotor allow you to add and edit text easily. While they may lack advanced removal features, combining them with basic retouching (like covering old text with shapes) makes edits achievable for most users.
How do I find the exact font used in an image?
Upload the image to online services like WhatTheFont (by MyFonts) or Font Squirrel’s Matcherator. These tools analyze letter shapes and suggest close matches. For best results, crop the image to focus only on the text and ensure clarity.
Why does my new text look fake or “pasted on”?
This usually happens due to mismatched lighting, font, or texture. To fix it, apply slight noise or grain to the text layer, adjust opacity subtly, or use blending modes like Multiply or Overlay to integrate it with the background. Also, avoid perfectly straight lines if the original text had natural variation.
Final Thoughts and Next Steps
Changing text on a picture doesn’t require years of design experience—just the right approach and tools. With practice, you’ll develop an eye for detail that makes even complex edits appear effortless. Start with simple projects, experiment with different software, and gradually build your skill set. Remember, the goal isn’t just to replace words but to maintain the image’s integrity so the edit feels invisible.


 浙公网安备
33010002000092号
浙公网安备
33010002000092号 浙B2-20120091-4
Comments
No comments yet. Why don't you start the discussion?