
Staying hydrated on the trail is non-negotiable. A poorly chosen water bottle can turn a rewarding hike into an uncomfortable slog—whether it leaks, adds unnecessary weight, or fails to keep your drink cool in summer heat. With countless options on the market, selecting the right one requires more than just picking the shiniest model. The ideal hiking water bottle balances durability, weight, and insulation while meeting your personal hydration habits and environmental conditions.
This guide breaks down the essential factors that matter most when choosing a hiking water bottle. From material comparisons to real-use scenarios, you’ll gain practical insights to make an informed decision that supports comfort, safety, and performance on every trek.
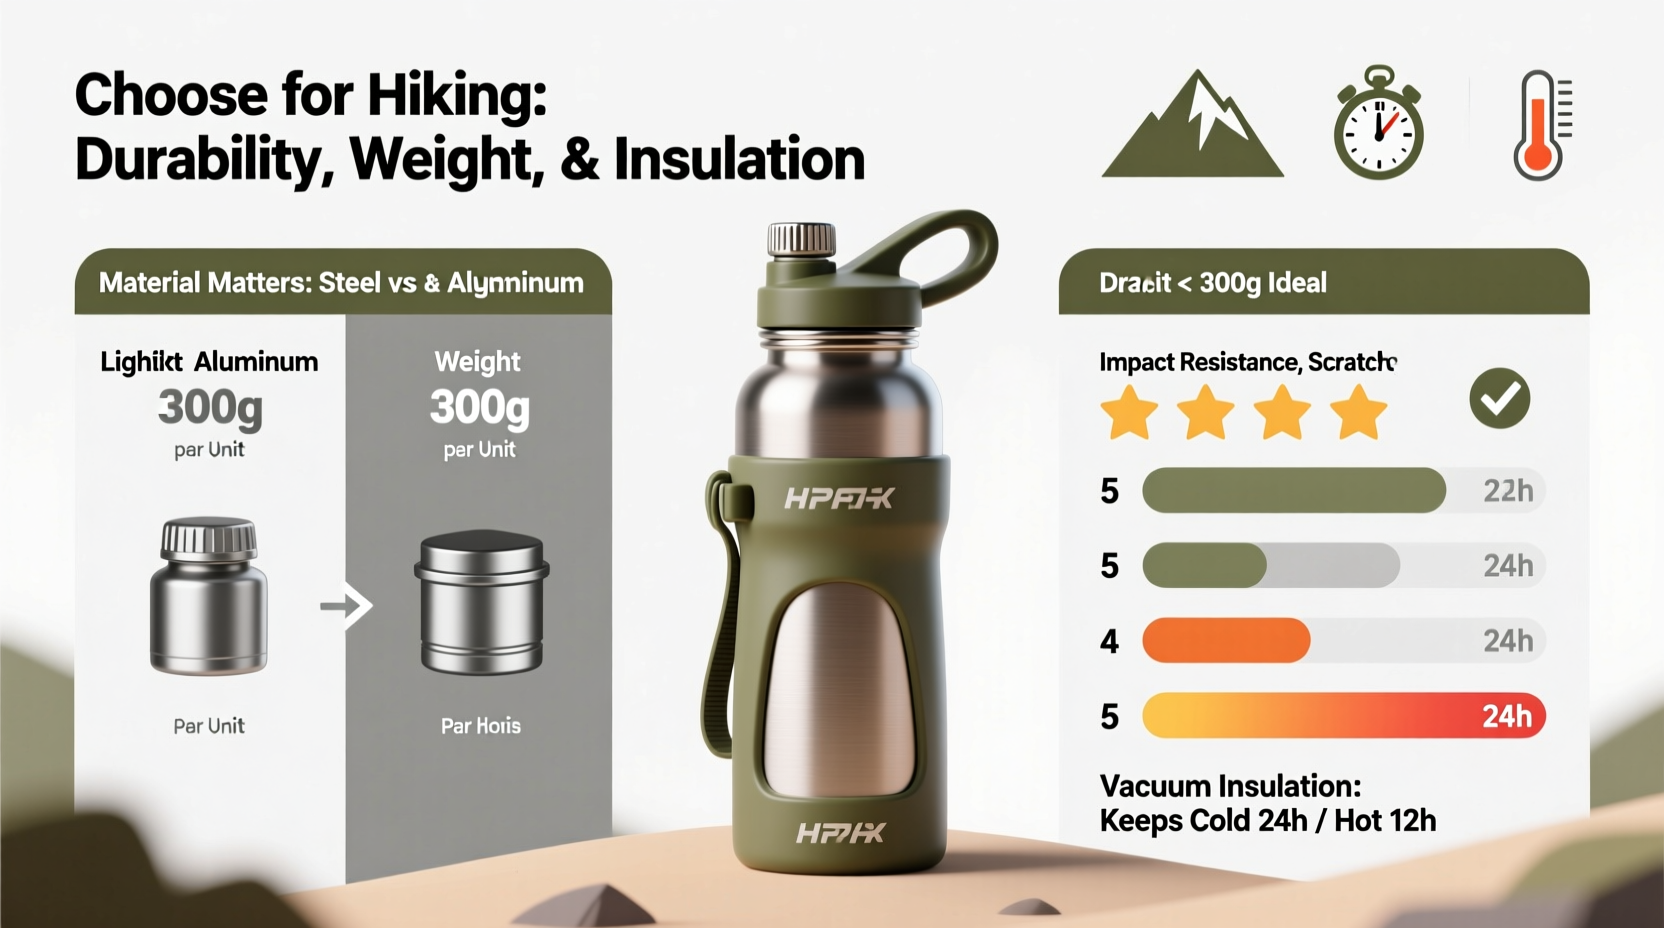
Durability: Surviving the Trail’s Harsh Conditions
Hiking exposes gear to constant jostling, drops, temperature swings, and UV exposure. Your water bottle must withstand all of it without cracking, leaking, or degrading over time. Durability isn’t just about surviving a single fall—it’s about consistent resilience across dozens of hikes.
Materials play a critical role. Stainless steel leads in toughness, resisting dents and scratches even after repeated impacts against rocks or backpack frames. It’s also non-reactive, meaning it won’t absorb odors or leach chemicals. However, cheaper stainless models may have thinner walls, increasing vulnerability to denting.
Plastic bottles made from Tritan or BPA-free copolyester are lightweight and impact-resistant but can scratch easily and degrade under prolonged sun exposure. They’re best suited for shorter hikes or as backup containers.
Aluminum bottles are lighter than steel but require internal linings to prevent metal taste and corrosion. These linings can chip over time, especially if dropped on hard surfaces, compromising both safety and longevity.
The Drop Test: What Real Users Experience
A 2022 field test conducted by Outdoor Gear Lab evaluated 15 popular hiking bottles by simulating real trail conditions—repeated drops from waist height onto granite, gravel, and packed dirt. Results showed that double-walled stainless steel bottles survived over 50 drops without structural failure, while polycarbonate models began showing cracks after 15–20 impacts. One hiker reported that her aluminum bottle developed a pinhole leak after three months of regular use on rocky trails in Colorado, despite no major drops.
“Durability isn’t just about strength—it’s about consistency over time. A bottle that lasts five years with minimal wear pays for itself in replacement costs and peace of mind.” — Daniel Reyes, Field Equipment Tester, Appalachian Trail Conservancy
Weight: Minimizing Load Without Sacrificing Function
Every ounce counts when you're carrying a pack uphill for miles. A heavy water bottle might seem trivial at first, but over a long day, excess weight contributes to fatigue, especially when multiplied across all your gear.
Water itself weighs about 1 kilogram per liter (2.2 lbs/gal), so the container should add as little extra mass as possible. Here's how common materials compare:
| Material | Average Weight (500ml / 17oz) | Lifespan Estimate |
|---|---|---|
| Stainless Steel | 380–450g (13–16 oz) | 5+ years |
| Tritan Plastic | 100–130g (3.5–4.5 oz) | 1–2 years |
| Aluminum (lined) | 180–220g (6–8 oz) | 2–3 years |
| Silicone Collapsible | 80–100g (3–3.5 oz) | 1 year (with care) |
Backpackers aiming for ultralight loads often favor collapsible silicone bottles or soft flasks, which weigh next to nothing when empty. However, they offer no insulation and limited drop protection. For thru-hikers or multi-day trekkers who refill frequently, a mid-weight stainless option strikes the best balance between robustness and load efficiency.
Real Example: John’s Pacific Crest Trail Experience
John, a thru-hiker who completed the 2,650-mile Pacific Crest Trail in 2023, started with two lightweight plastic bottles. By mile 800, both had cracked—one from freezing overnight, the other from being stepped on in his tent. He switched to a single 750ml stainless steel bottle, adding 10 ounces to his base weight but eliminating replacements and leaks. “The extra weight was noticeable for a week,” he said, “but after that, I didn’t feel it. What I did feel was relief knowing my water wasn’t going to spill or melt in the sun.”
Insulation: Keeping Water Cool (or Hot) When It Matters Most
Temperature control is crucial in extreme environments. In desert climates, uninsulated bottles can turn water into warm sludge within hours. In alpine zones, liquids may freeze overnight. Double-wall vacuum insulation—common in premium bottles—creates a thermal barrier that keeps cold drinks cold for up to 24 hours and hot ones hot for 12.
Not all insulated bottles perform equally. Performance depends on wall thickness, lid design, and seal quality. Look for bottles labeled “vacuum insulated” rather than just “insulated,” as only vacuum sealing provides true thermal separation.
Some hikers use insulated bottles year-round; others switch seasonally. In winter, pre-heating the bottle with hot water before filling helps maintain temperature longer. In summer, freezing a portion of the water overnight creates a cooling core that melts slowly throughout the day.
Insulation Comparison Chart
| Bottle Type | Cold Retention (hrs) | Heat Retention (hrs) | Best For |
|---|---|---|---|
| Vacuum Stainless Steel | 24 | 12 | All-season hiking |
| Single-Wall Stainless | 2–3 | 1–2 | Ultralight or short trips |
| Plastic (Tritan) | 2–4 | Not recommended | Summer day hikes |
| Silicone Collapsible | 1–2 | No | Packable backup |
Note that insulation adds weight and bulk. If you’re hiking in mild temperatures and refilling often, insulation may be unnecessary. But for remote areas with limited access to fresh water, maintaining drinkability through temperature control becomes a functional necessity—not a luxury.
Choosing Based on Hiking Style: A Step-by-Step Guide
Your ideal water bottle depends heavily on the type of hiking you do. Follow this step-by-step process to match your needs with the right product:
- Assess your typical hike length: Day hikes under 6 hours may only need 1L capacity. Overnight or multi-day trips demand larger volumes or multiple containers.
- Evaluate climate conditions: Hot/dry environments require insulation and higher capacity. Cold regions need freeze resistance—avoid glass-lined or thin-walled bottles.
- Determine refill availability: Frequent water sources allow smaller, lighter bottles. Remote routes call for larger, durable, insulated options.
- Consider pack compatibility: Check if your backpack has side pockets that fit wide-mouth bottles. Some narrow sleeves only accommodate slim plastic or soft flasks.
- Test grip and drinking mechanism: Screw-top lids are leakproof but slow. Flip-straw lids offer convenience but may fail under pressure. Wide mouths allow ice cubes and easy cleaning; narrow ones prevent spills but limit usability.
After narrowing options using these steps, prioritize features based on your top three concerns—e.g., durability > weight > insulation for rugged off-trail adventures.
Essential Checklist Before You Buy
- ✅ Is the bottle made from food-grade, BPA-free material?
- ✅ Does it pass drop tests or have strong user reviews for impact resistance?
- ✅ What is the empty weight, and does it fit your pack’s side pockets?
- ✅ If insulated, is it vacuum-sealed with verified temperature retention claims?
- ✅ Can it be cleaned easily? (Wide mouth = easier scrubbing)
- ✅ Is the lid design secure enough to prevent leaks during movement?
- ✅ Is it dishwasher-safe or compatible with common purification tablets?
Frequently Asked Questions
Can I put boiling water in my stainless steel bottle?
Yes, high-quality vacuum-insulated stainless steel bottles can safely hold boiling water. However, avoid sealing immediately after pouring—steam buildup can make opening difficult. Let it sit open for 30 seconds before closing.
Are insulated bottles worth the extra cost?
For hikers in extreme climates or those covering long distances between refills, yes. The ability to drink cool water in 90°F heat significantly improves hydration adherence and comfort. For casual urban hikes, the benefit may not justify the price or weight.
How do I prevent mold in collapsible bottles?
Rinse thoroughly after each use and dry completely before storing. Never store a collapsible bottle folded while damp. Use a bottle brush for deep cleaning, and consider a vinegar rinse once a month to inhibit microbial growth.
Expert Insight: Why Hydration Vessel Choice Matters Beyond Convenience
Dr. Lena Torres, a sports nutritionist specializing in outdoor endurance, emphasizes that hydration behavior is influenced by accessibility and palatability. “If your water is too warm, too hard to access, or smells like old plastic, you’re less likely to drink enough,” she explains. “A well-chosen bottle removes friction from hydration. That’s not just comfort—it’s injury prevention. Dehydration impairs judgment, coordination, and thermoregulation, all critical on remote trails.”
“The right bottle doesn’t just carry water—it encourages better habits.” — Dr. Lena Torres, Sports Nutrition Researcher
Final Recommendations by Use Case
- Day Hiking in Summer: 750ml vacuum-insulated stainless steel with flip lid (e.g., Hydro Flask, Yeti Rambler).
- Ultralight Backpacking: 1L BPA-free Tritan bottle or 750ml soft flask (e.g., Smartwater bottle or Hydrapak Seeker).
- Winter Mountaineering: Insulated stainless steel with wide mouth for adding hot liquids or breaking ice.
- Kid-Friendly Family Hikes: Durable plastic with straw lid and rubberized grip (e.g., CamelBak Chute Mag).
- Multi-Day Thru-Hiking: Two 1L durable bottles (one insulated, one collapsible backup) for redundancy and flexibility.
Conclusion: Make Your Next Bottle Work for You
Selecting the best water bottle for hiking isn’t about chasing trends or brand names—it’s about aligning function with your actual trail experience. Durability ensures reliability. Weight affects endurance. Insulation influences hydration quality. When all three are balanced according to your environment and goals, your water bottle becomes an invisible asset: always there, never failing, and quietly supporting your journey.
Don’t settle for a bottle that leaks, dents, or heats up too fast. Take inventory of your last hike—what frustrated you about your hydration setup? Use that insight to upgrade wisely. The perfect bottle won’t make the trail easier, but it will make staying hydrated effortless—and that makes all the difference.


 浙公网安备
33010002000092号
浙公网安备
33010002000092号 浙B2-20120091-4
Comments
No comments yet. Why don't you start the discussion?