
Beauty blenders are a staple in modern makeup routines for their ability to create a seamless, airbrushed finish. However, these porous sponges can quickly become breeding grounds for bacteria, mold, and leftover makeup if not cleaned regularly. When used with residue or microbes, they increase the risk of clogged pores, acne flare-ups, and skin irritation—especially for those with sensitive or acne-prone skin. Cleaning your beauty blender isn’t just about hygiene; it’s a crucial step in maintaining healthy, clear skin. This guide breaks down the science behind sponge contamination, provides detailed cleaning techniques, and outlines a sustainable routine to keep your tools—and complexion—in top condition.
Why Dirty Beauty Blenders Cause Breakouts
Beauty blenders are designed to absorb water and expand, which makes them ideal for blending foundation and concealer. But this same porosity allows them to trap more than just moisture—they soak up oils, dead skin cells, and residual makeup with every use. Over time, these trapped substances become a food source for bacteria like Staphylococcus aureus and fungi such as Candida, both of which are linked to skin infections and acne.
A 2017 study published in the Journal of Applied Microbiology found that over 90% of used makeup sponges tested contained harmful bacteria, with many users admitting they never cleaned their tools. The warm, damp environment inside an improperly stored sponge is perfect for microbial growth. When pressed against the face, these contaminants transfer directly into pores, triggering inflammation, blackheads, and cystic breakouts—particularly around the chin, jawline, and cheeks where foundation application is heaviest.
“Makeup sponges are one of the most overlooked sources of facial acne. If you’re breaking out despite a solid skincare routine, check your applicators first.” — Dr. Lena Torres, Board-Certified Dermatologist
Step-by-Step Guide to Deep Clean Your Beauty Blender
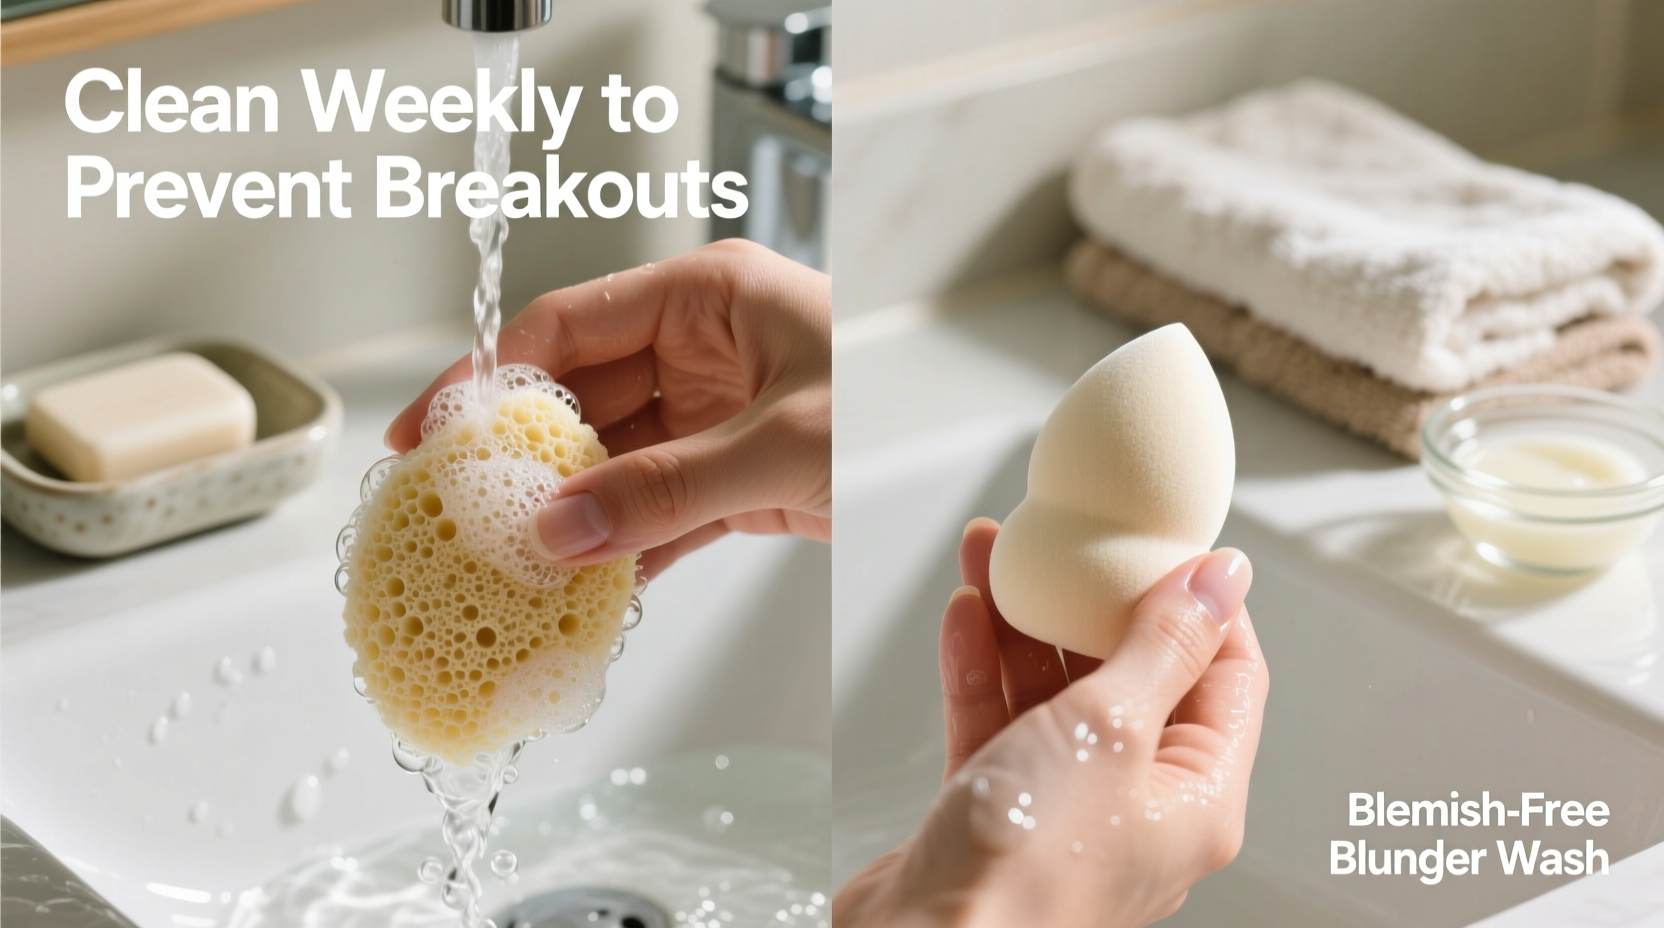
Regular cleaning prevents bacterial buildup and extends the life of your sponge. A deep clean should be done at least once a week for daily users, or after every 3–4 uses. Follow this proven method:
- Rinse under lukewarm water – Hold the sponge under running water until it expands fully. Avoid hot water, which can degrade the latex-free foam over time.
- Apply gentle cleanser – Use a dedicated sponge cleanser, baby shampoo, or mild liquid hand soap. These are effective without being overly harsh on the material.
- Squeeze and swirl – Gently squeeze the sponge repeatedly to force the cleanser through its core. Place it on a textured silicone cleaning mat or your palm and massage in circular motions to lift out debris.
- Rinse thoroughly – Continue rinsing until the water runs completely clear. Any lingering cloudiness means residual makeup or oil remains.
- Repeat if necessary – For heavily soiled sponges (especially after full-coverage foundation), repeat steps 2–4 to ensure all pigment is removed.
- Squeeze out excess water – Press gently between clean palms or with a towel. Do not wring aggressively—it can tear the foam.
- Air dry upright – Place the sponge on a ventilated surface, ideally in a well-lit bathroom with airflow. Never store it in a closed container while damp.
Do’s and Don’ts of Beauty Blender Care
Maintaining your sponge goes beyond washing. How you store, handle, and replace it plays a major role in skin health. Refer to this table for best practices:
| Do | Don’t |
|---|---|
| Clean after every 3–4 uses | Leave it in a wet makeup bag overnight |
| Use a non-comedogenic cleanser | Share your sponge with others |
| Store in a breathable container or holder | Use dish soap with strong degreasers |
| Replace every 3–6 months | Microwave or boil the sponge |
| Let it dry completely before reuse | Use when visibly discolored or crumbling |
Real Example: From Chronic Breakouts to Clear Skin
Sophie, a 28-year-old marketing professional, struggled with recurring jawline acne for over a year. Despite using non-comedogenic products and following a dermatologist-recommended skincare regimen, her breakouts persisted. Frustrated, she visited a dermatology clinic for further evaluation. After reviewing her routine, the practitioner asked, “When was the last time you cleaned your beauty blender?” Sophie admitted she rarely washed it—sometimes going weeks without cleaning.
She began washing her sponge weekly using a baby shampoo method and replaced it after noticing fraying edges two months later. Within three weeks, her jawline breakouts reduced significantly. “I couldn’t believe something so small made such a big difference,” she said. “I now keep two sponges on rotation—one dries while I use the other.”
This case illustrates how overlooked tools can sabotage even the most disciplined skincare efforts. Regular cleaning eliminated a persistent source of bacteria, allowing her skin to heal.
Alternative Cleaning Methods: Pros and Cons
While hand-washing is the gold standard, several alternative methods exist. Each has trade-offs in effectiveness, convenience, and sponge longevity.
- Sponge Cleansing Solutions – Commercial solutions like BeautyBlender Liquid Cleanser or Cinema Secrets Makeup Sponge Cleaner are formulated specifically for porous tools. They dissolve makeup efficiently and often contain antibacterial agents. However, they can be expensive over time.
- Soap and Water with Cleaning Mat – A cost-effective and thorough option. Silicone mats with ridges help scrub deep into the sponge. Ideal for home use but requires a few extra minutes.
- Makeup Brush Bars – Solid bars infused with cleansing oils and antiseptics. Swirl the wet sponge on the bar, then massage and rinse. Convenient for travel and eco-friendly, though some formulas may leave a waxy residue if not rinsed well.
- Vinegar and Baking Soda Soak – Mix one part white vinegar with three parts water and soak the sponge for 5–10 minutes. Add a teaspoon of baking soda for extra deodorizing power. Effective for disinfecting but should only be used occasionally—acidic solutions can weaken foam over time.
- Dishwasher or Washing Machine – Not recommended. High heat and agitation will destroy the sponge’s structure. Even mesh laundry bags don’t protect against breakdown.
Checklist: Weekly Beauty Blender Maintenance Routine
Stay consistent with this simple checklist to keep your sponge safe and effective:
- ☐ Use fresh sponge for application
- ☐ Rinse immediately after use (quick rinse removes 70% of buildup)
- ☐ Perform deep clean every 3–4 uses or weekly
- ☐ Inspect for discoloration, odor, or tears
- ☐ Allow 24 hours to dry fully before reuse
- ☐ Store in open-air holder or cup (never sealed)
- ☐ Replace every 3–6 months, or sooner if damaged
Frequently Asked Questions
Can I wash my beauty blender with face wash?
Yes, but only if it’s a gentle, sulfate-free formula. Harsh exfoliants or acne treatments (like salicylic acid or benzoyl peroxide) can degrade the sponge material over time. Stick to mild cleansers like baby shampoo or specialized sponge cleaners for best results.
How do I know when to replace my beauty blender?
Replace your sponge if it shows any of these signs: persistent odor after washing, visible dark spots or mold, thinning or tearing edges, or inability to bounce back when squeezed. A worn sponge won’t blend well and harbors more bacteria.
Is it safe to use a beauty blender every day?
Yes, daily use is fine—as long as you clean it regularly. Daily users should aim to deep clean at least once a week and rinse lightly after each use. Pairing frequent use with proper hygiene minimizes breakout risks significantly.
Conclusion: Make Cleaning Non-Negotiable for Clearer Skin
Your beauty blender should enhance your makeup—not compromise your skin. With consistent cleaning and mindful storage, you eliminate one of the most common yet invisible causes of breakouts. Think of your sponge not as a passive tool, but as an active part of your skincare ecosystem. What touches your face matters, down to the tiniest pore.
Start today: set a reminder to clean your sponge weekly, invest in a second one for rotation, and inspect it monthly for wear. Small habits compound into clearer, healthier skin over time. You’ve already put effort into choosing the right foundation and serums—don’t let an unclean applicator undo your progress.


 浙公网安备
33010002000092号
浙公网安备
33010002000092号 浙B2-20120091-4
Comments
No comments yet. Why don't you start the discussion?