
Cleaning your keyboard is essential for maintaining hygiene, performance, and longevity. However, many users hesitate to remove keycaps—especially on mechanical keyboards—because of the fear of losing tiny components or misplacing keys during reassembly. Dust, crumbs, oils from fingers, and bacteria accumulate over time, degrading both function and appearance. The good news is that with the right approach, you can thoroughly clean your keyboard while keeping every switch, stabilizer, and keycap exactly where they belong—both physically and mentally.
This guide provides a comprehensive, step-by-step method to disassemble, clean, and reassemble your keyboard without losing small parts. Whether you're using a full-sized desktop mechanical keyboard or a slim laptop model, these strategies will help preserve functionality and prevent frustration.
Why Cleaning Keyboard Keys Is Important
A dirty keyboard isn't just unsightly—it can affect typing accuracy, responsiveness, and even health. Over months of use, debris accumulates beneath and around keys. This buildup leads to sticky keystrokes, double-typing issues, and increased wear on internal mechanisms. In shared environments, keyboards harbor more germs than toilet seats, according to studies conducted by microbiologists at the University of Arizona.
Regular maintenance prevents long-term damage and extends the life of your device. But removing keycaps introduces risks: tiny springs, clips, and stabilizer bars are easily misplaced. The solution lies in organization, preparation, and technique—not avoiding cleaning altogether.
“Keyboards should be cleaned at least once every three months if used daily. For heavy typists or gamers, monthly cleaning helps maintain optimal performance.” — David Lin, Peripheral Maintenance Technician at TechCare Labs
Essential Tools and Supplies
Before starting, gather all necessary tools. Having everything ready ensures you won’t need to leave the workspace mid-process, reducing the chance of losing parts.
- Keycap puller – Specifically designed for safe removal without damaging plastic stems.
- Compressed air canister – Blows out dust and debris from under switches.
- Soft-bristle brush or microfiber cloth – For gentle scrubbing.
- Isopropyl alcohol (70% or higher) – Effective cleaner that evaporates quickly.
- Small container or tray – To hold removed keycaps in order.
- Tweezers or needle-nose pliers – Useful for retrieving dropped items.
- Paper towels or drying rack – For drying after washing.
- Camera or smartphone – To take reference photos before disassembly.
Step-by-Step Guide to Safely Remove and Clean Keycaps
Follow this sequence to minimize risk and maximize efficiency.
- Power down and unplug the keyboard. If it's wireless, turn it off and remove batteries. Never work on a powered device.
- Take a photo of the keyboard layout. Use your phone to capture top-down images from multiple angles. This visual reference aids accurate reassembly.
- Use compressed air first. Spray between keys at a 45-degree angle to dislodge loose debris. Hold the can upright to avoid propellant leakage.
- Remove keycaps systematically. Start from the top-left corner (Esc key) and move left-to-right, row by row. Avoid pulling large keys like Shift, Enter, or Spacebar first—they have stabilizers that require extra care.
- Place each keycap into a labeled section. Use a divided container or place them on a sheet of paper marked with row numbers.
- Soak keycaps in warm, soapy water. Mix mild dish soap with lukewarm water. Soak for 10–15 minutes. For deeper stains, add a denture tablet.
- Scrub gently with a soft brush. Focus on underside stems and corners where grime collects. Do not use abrasive pads.
- Rinse and dry completely. Lay keycaps on a towel or drying rack. Allow at least 2–3 hours for full evaporation before reattaching.
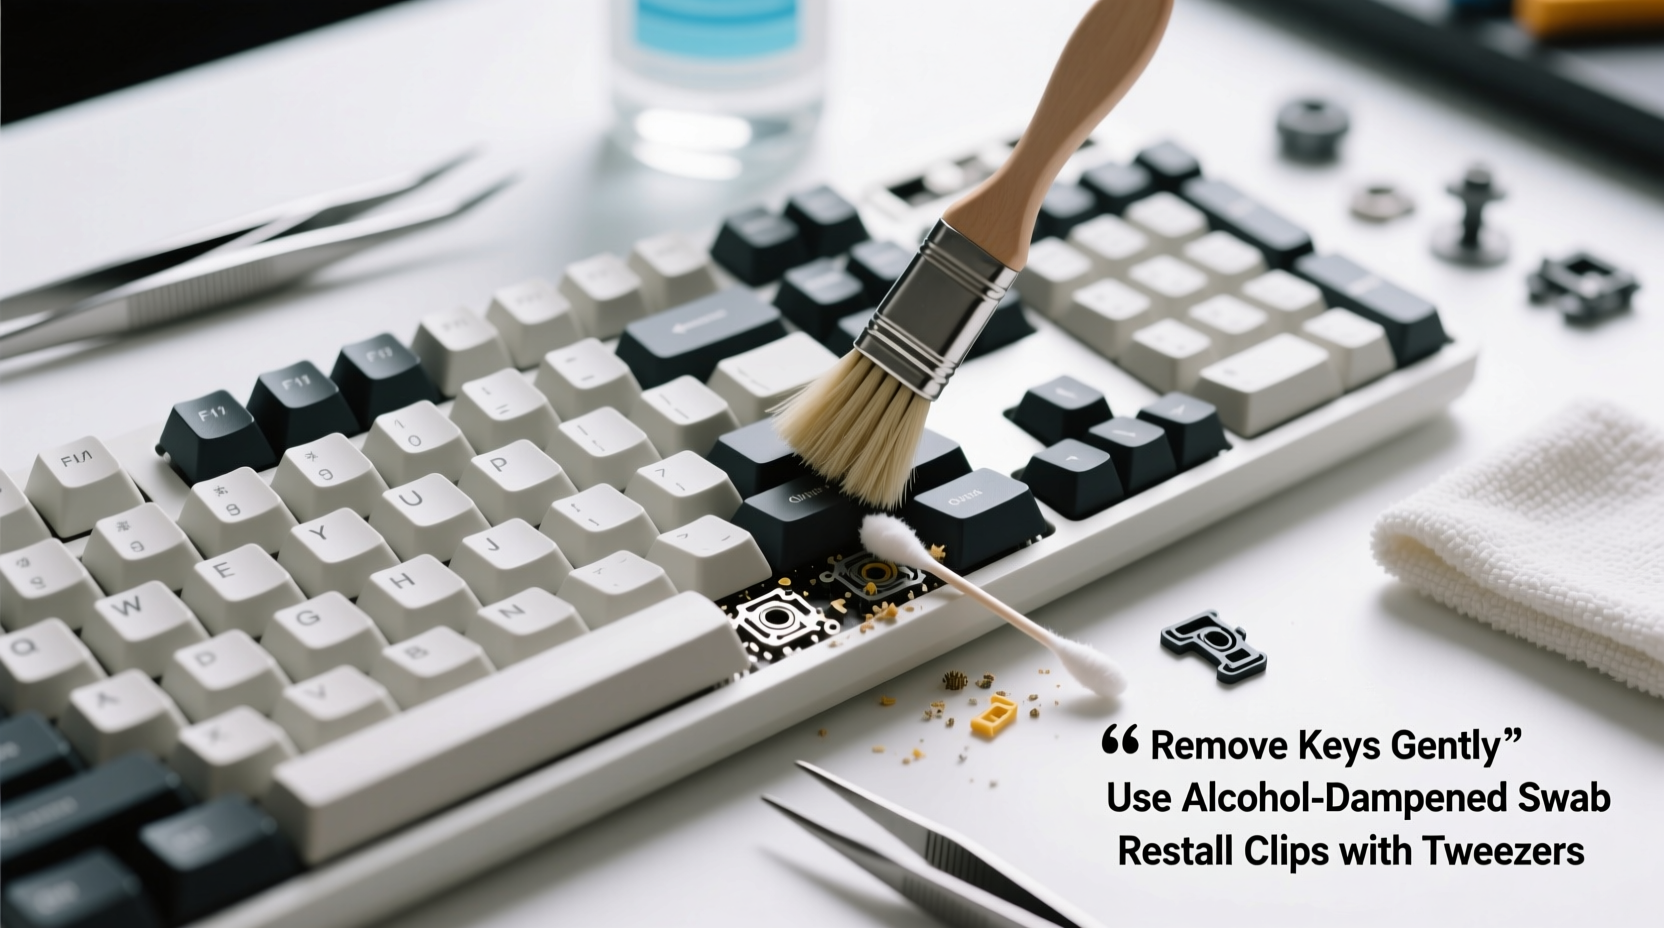
- Clean the keyboard base. Dampen a cloth with isopropyl alcohol and wipe exposed areas. Use cotton swabs for tight spaces. Let it dry fully.
- Reattach keycaps using your reference photo. Begin with corner keys and work inward. Press down firmly until each clicks into place.
Special Care for Large Keys with Stabilizers
Keys such as Backspace, Enter, Shift, and especially the Spacebar use stabilizer bars to ensure even pressure across their length. These consist of metal wires, plastic housings, and sometimes spring mechanisms. Removing them incorrectly can lead to loss or breakage.
To handle stabilizers safely:
- Use a wire-style keycap puller or insert the tool evenly under the key.
- Lift slowly and straight upward to avoid snapping stabilizer clips.
- If possible, do not remove the stabilizer bar itself unless visibly dirty or malfunctioning.
- If removal is necessary, photograph its routing path first. Some designs thread through multiple mounting points.
“On high-end mechanical keyboards, the stabilizers are precision-tuned. Reinstalling them backward or misaligned causes uneven sound and feel.” — Marcus Tran, Mechanical Keyboard Engineer at KeyForge Systems
Do’s and Don’ts When Cleaning Keyboard Keys
| Do’s | Don’ts |
|---|---|
| Label containers for keycaps by row or zone | Remove all keys at once without organization |
| Take photos before disassembling | Use excessive force when pulling keys |
| Allow keycaps to dry completely before reattachment | Submerge entire keyboard in liquid |
| Use isopropyl alcohol for spot-cleaning switches | Use bleach, ammonia, or window cleaners |
| Work on a clean, flat surface with good lighting | Disassemble near fans, vents, or open windows |
Real Example: Recovering From a Cleaning Mishap
Sarah, a freelance writer from Portland, decided to deep-clean her mechanical keyboard after noticing sluggish responses on her 'E' and 'R' keys. Eager to finish quickly, she pulled off all the keycaps and placed them loosely in a bowl. While washing them, her cat jumped onto the desk and knocked the bowl over. Tiny WASD keys rolled under furniture, and the spacebar stabilizer snapped apart unnoticed.
It took Sarah two days to recover most pieces, but she had to order a replacement spacebar kit online. Since then, she follows a strict protocol: she removes keys in rows, stores them in a pill organizer labeled “Row 1,” “Row 2,” etc., and always works inside a closed room away from pets. She now cleans one quadrant at a time and never removes more than 10–12 keys simultaneously.
Her experience underscores a critical point: patience and planning prevent costly mistakes. A little extra time spent organizing pays off in seamless reassembly.
Alternative Methods for Keyboards That Shouldn’t Be Disassembled
Not all keyboards allow safe keycap removal. Laptops, membrane keyboards, and some ultra-thin models use integrated designs where prying off keys may void warranties or cause permanent damage.
In these cases, use non-invasive techniques:
- Upside-down shaking: Turn the device off and tilt it at an angle while pressing keys to loosen particles.
- Adhesive putty: Press a small ball of electronics-safe cleaning putty into crevices to lift dirt.
- Damp microfiber swabs: Wrap a folded cloth around a plastic spudger or old credit card to reach between keys.
- Mini vacuum with brush attachment: Gently suction debris without touching sensitive contacts.
Never pour liquids directly onto any keyboard. Even water-resistant models aren’t immune to internal corrosion if moisture seeps beneath circuits.
Frequently Asked Questions
Can I wash keycaps in the dishwasher?
No. Dishwashers expose plastics to high heat and strong detergents, which can warp or cloud keycaps, especially those with printed legends. Hand washing with mild soap is safer and preserves integrity.
What should I do if a stabilizer comes apart?
Stabilizers often snap into modular pieces. If yours disconnects, lay it flat and examine how the stem, clip, and wire align. Reinsert the wire into the housing first, then clip it back into the PCB mount. Refer to your earlier photo for orientation.
How often should I clean my keyboard?
For daily users, perform light surface cleaning weekly and deep cleaning (with key removal) every 3–4 months. Gamers or office workers who eat near their desks may benefit from monthly deep cleans.
Checklist: Safe Keyboard Key Cleaning Process
- ☑ Power off and disconnect the keyboard
- ☑ Take clear reference photos of the layout
- ☑ Prepare tools: keycap puller, alcohol, brush, container
- ☑ Blow out debris with compressed air
- ☑ Remove keys in a logical sequence (row by row)
- ☑ Store keycaps in labeled sections
- ☑ Clean keycaps with soapy water; rinse and dry thoroughly
- ☑ Wipe down the keyboard base with alcohol-dampened cloth
- ☑ Inspect stabilizers on large keys
- ☑ Reattach keys using photos as a guide
- ☑ Test functionality before resuming regular use
Conclusion: Maintain Your Keyboard With Confidence
Cleaning your keyboard doesn’t have to be stressful or risky. By preparing properly, working methodically, and respecting the delicate nature of small components, you can keep your device looking and performing like new. The key to success isn’t speed—it’s systemization. Treat each keycap like a puzzle piece with a designated place, and you’ll never lose track again.
Whether you’re a casual user or a dedicated typist, taking control of your keyboard’s cleanliness improves both hygiene and performance. Apply these steps regularly, share your own tips, and make maintenance part of your digital self-care routine.


 浙公网安备
33010002000092号
浙公网安备
33010002000092号 浙B2-20120091-4
Comments
No comments yet. Why don't you start the discussion?