
Dust, crumbs, pet hair, and dried skin accumulate under laptop keys over time. This buildup can cause sticky keys, typing errors, or even long-term damage if moisture or conductive debris reaches the circuitry beneath. While it's tempting to blast compressed air or pry off keys immediately, doing so without proper knowledge risks harming sensitive internal components. Cleaning under keyboard keys requires precision, patience, and the right technique—especially since most laptop keyboards are not designed for full disassembly like mechanical desktop models.
The goal isn’t just cleanliness—it’s preserving functionality while extending your device’s lifespan. With care, you can remove grime from beneath keys without removing them at all, or do so safely when necessary. This guide walks through proven methods used by technicians and everyday users alike, backed by electronics safety standards and real maintenance experience.
Why Cleaning Under Keys Matters
A dirty keyboard does more than look unappealing. Debris trapped under keys interferes with their movement, leading to inconsistent actuation or double-typing. More seriously, dust mixed with moisture (from humid environments or accidental spills) can create minor electrical shorts. Over time, this accelerates wear on membrane switches and traces on the printed circuit board (PCB).
Laptops use low-profile scissor-switch mechanisms that rely on precise alignment and tension. These are fragile; improper handling during cleaning can bend stabilizer clips or detach rubber domes. Unlike desktop keyboards, most laptop keycaps cannot be easily replaced if broken.
“Over 30% of laptop repairs we see involve avoidable damage from improper cleaning attempts.” — Carlos Mendez, Senior Technician at TechCare Repair Labs
Essential Tools and Supplies
Before starting, gather non-conductive, soft tools that minimize risk. Avoid anything metal, abrasive, or moisture-heavy unless absolutely necessary and properly controlled.
| Tool | Purpose | Safety Notes |
|---|---|---|
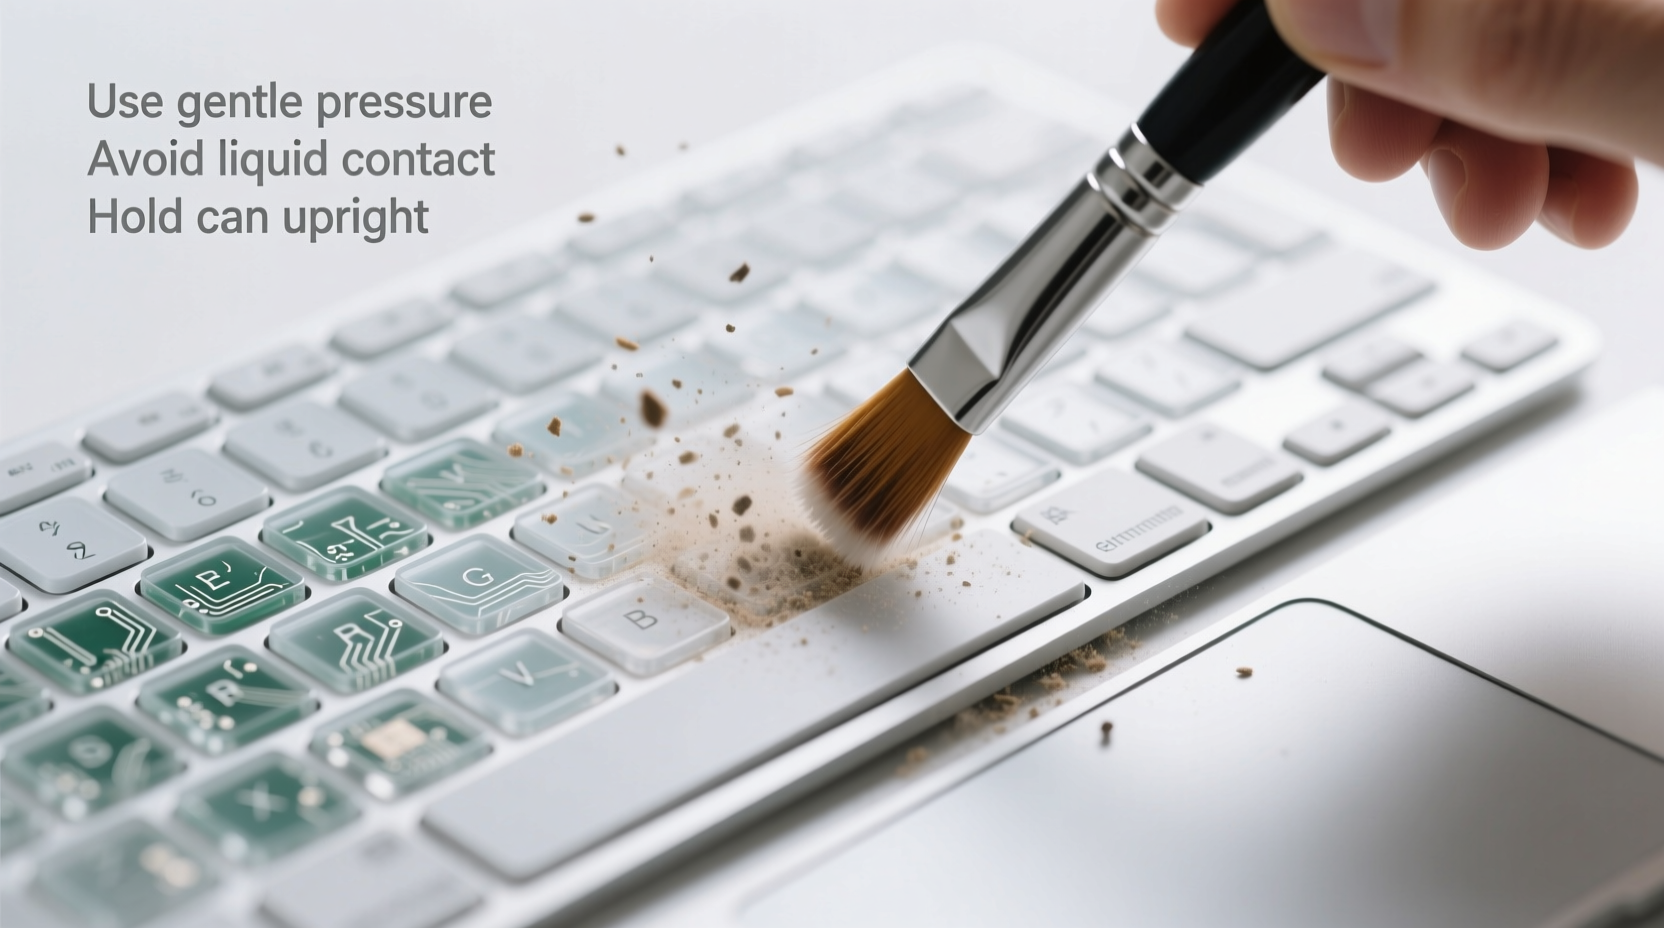
| Compressed air canister | Dislodges loose debris without contact | Hold upright; short bursts only to prevent condensation |
| Soft-bristled brush (e.g., clean toothbrush) | Loosens compacted dust around key edges | Natural bristles preferred; never use wet brushes |
| Lint-free microfiber cloth | Wiping surfaces and drying | No fibers left behind; safe for screens and keys |
| Plastic spudger or guitar pick | Gentle lifting of keycaps when required | Never use screwdrivers or metal tools |
| Isopropyl alcohol (70% minimum, ideally 90%) | Cleaning sticky residue or disinfecting | Apply only to cloth, never spray directly |
| Tweezers (anti-static preferred) | Removing visible lint or hair | Use with steady hand; avoid touching PCB |
Step-by-Step Guide to Safe Cleaning
Follow this sequence based on severity of buildup. Start conservatively—many issues resolve without removing keys.
- Power down completely: Shut down the laptop, disconnect the charger, and wait five minutes for residual power to dissipate.
- Shake gently: Hold the laptop at a 75-degree angle over a trash can and tap the back lightly. Gravity removes loose particles.
- Blow with compressed air: Use short, targeted bursts between and under keys at a 45-degree angle. Move in rows from top to bottom. Do not tilt the can—this prevents liquid propellant from spraying out.
- Brush carefully: Using the soft brush, make small circular motions around each key. Focus on corners where dust accumulates. Wipe the brush frequently on a paper towel.
- Inspect for stubborn debris: Shine a flashlight across the keyboard surface. Look for dark spots indicating compacted gunk. If visible, proceed cautiously.
- Use tweezers for fibers: Gently extract hairs or threads caught near key stems. Do not force anything stuck deep.
- Address stickiness (if present): Dampen a corner of the microfiber cloth with isopropyl alcohol. Rub around affected keys—do not let liquid seep underneath. Let dry fully (at least 10 minutes).
If these steps don’t resolve responsiveness issues, and you suspect deeper contamination, consider carefully removing the problematic keycap.
When and How to Remove Keycaps Safely
Key removal should be a last resort. It’s typically safe only for larger keys like Space, Shift, Enter, and Backspace, which have retention clips. Smaller keys (e.g., letter keys) are harder to reattach correctly.
- Insert the edge of a plastic spudger or flat guitar pick under one side of the keycap.
- Apply gentle upward pressure while watching for the hinge mechanism to release. Most keys lift diagonally.
- Remove the keycap slowly. Set it aside on a clean surface, convex side up.
- Inspect the underlying switch: Look for debris on the rubber dome or scissor clip assembly.
- Use a cotton swab slightly dampened with isopropyl alcohol to wipe the visible area. Never soak.
- To reinstall, align the keycap’s hooks with the scissor mechanism. Press down evenly until it clicks into place.
“Reattaching a keycap incorrectly is one of the most common causes of permanent failure. If it doesn’t snap smoothly, stop and reassess alignment.” — Lena Park, Electronics Maintenance Instructor at Northern Tech Institute
What Not to Do: Common Mistakes
Avoid these practices—they increase the risk of irreversible damage.
- Using water or household cleaners: Even small amounts can corrode circuits. Water conducts electricity and leaves mineral deposits.
- Blowing with your mouth: Moisture from breath encourages oxidation and mold growth under keys.
- Removing multiple keys at once: Increases chances of mixing up sizes or losing tiny parts.
- Using metal tools: Screwdrivers or knives can scratch PCBs or short components.
- Soaking the keyboard: Some DIY videos suggest submerging laptop keyboards—this voids warranties and rarely ends well.
- Pressing keys immediately after cleaning: Allow at least 15–30 minutes for complete drying, especially if alcohol was used.
| Do | Don’t |
|---|---|
| Work in a dry, static-free environment | Clean in humid bathrooms or near open drinks |
| Use isopropyl alcohol on a cloth, not directly | Spray liquids near the keyboard |
| Test key function before and after | Assume everything works fine post-cleaning |
| Limit key removal to essential cases | Pull off every key “just to clean better” |
Real Example: Recovering a Sticky 'E' Key
Jamal, a college student, noticed his 'E' key started registering double inputs. He tried tapping it harder, then gave up and typed around it. After two weeks, the issue spread to adjacent keys. He brought the laptop to a campus repair kiosk.
The technician inspected it and found a mix of pencil shavings, eraser dust, and dried sweat had formed a sticky paste under the key mechanism. Without removing the cap, they used compressed air followed by a dry microfiber-wrapped toothpick to dislodge surface debris. Then, using a folded tissue corner dampened with 90% isopropyl alcohol, they wick-cleaned around the stem. After 20 minutes of drying, the key responded normally.
Jamal learned that daily light cleaning could have prevented the problem. He now keeps a small cleaning kit in his backpack and performs quick maintenance monthly.
Preventative Maintenance Checklist
Keep your keyboard clean between deep sessions with this routine:
- ✅ Wash hands before extended typing sessions
- ✅ Avoid eating or drinking near the laptop
- ✅ Use compressed air every 2–4 weeks
- ✅ Wipe keys weekly with dry microfiber cloth
- ✅ Store laptop in a protective case when traveling
- ✅ Keep devices away from pets and high-dust areas
Frequently Asked Questions
Can I use hand sanitizer to clean under keys?
No. Hand sanitizers contain glycerin, fragrances, and thickeners that leave sticky residues. They may also include lower concentrations of alcohol mixed with water, increasing conductivity risk. Stick to pure isopropyl alcohol (70–90%) applied via cloth or swab.
My laptop is under warranty—will cleaning void it?
Basic external cleaning will not void your warranty. However, evidence of liquid damage or physical tampering (like misaligned keys from forced removal) may lead manufacturers to deny claims. When in doubt, consult support before removing keycaps.
How often should I deep clean my laptop keyboard?
For average home or office use, a thorough cleaning every 3–6 months is sufficient. Heavy users, students, or those in dusty environments should aim for every 6–8 weeks. Immediate attention is needed if keys become unresponsive, sticky, or noisy.
Final Thoughts: Care Extends Lifespan
Your laptop’s keyboard is one of its most-used components—and one of the most vulnerable to neglect. Yet with minimal effort and the right approach, you can maintain smooth operation for years. The techniques outlined here prioritize safety, simplicity, and sustainability. You don’t need professional tools or advanced skills—just consistency and caution.
Electronics age faster when exposed to contaminants, but proactive care slows degradation significantly. Whether you're working remotely, studying, or creating content, a responsive, clean keyboard enhances both productivity and comfort.


 浙公网安备
33010002000092号
浙公网安备
33010002000092号 浙B2-20120091-4
Comments
No comments yet. Why don't you start the discussion?