
Gaming mice are precision tools, engineered for responsiveness, accuracy, and comfort during long sessions. Over time, dust, oils from skin, and debris accumulate on the surface and inside crevices, affecting both performance and longevity. However, improper cleaning can scratch the finish, degrade the coating, or damage sensitive optical sensors. Many users unknowingly harm their devices using abrasive cloths, harsh chemicals, or excessive moisture. Cleaning your gaming mouse correctly requires a balance of thoroughness and caution. This guide provides a comprehensive, safe approach to maintaining your mouse—preserving its function, appearance, and lifespan.
Why Regular Cleaning Matters
A gaming mouse is one of the most frequently touched peripherals. Every swipe, click, and drag transfers skin oils, sweat, and environmental dust onto its surface. These contaminants build up over time, especially around buttons, scroll wheels, and under the sensor lens. Beyond aesthetic concerns, grime can interfere with button responsiveness, cause tracking inconsistencies, and even lead to premature wear of internal components.
Manufacturers design gaming mice with high-durability materials, but no device is immune to neglect. A study by peripheral repair labs found that nearly 30% of reported mouse malfunctions were linked to poor maintenance rather than hardware failure. Regular cleaning not only prevents these issues but also ensures consistent DPI accuracy and reduces the risk of bacterial buildup—a concern for gamers who spend hours daily with their hands on the device.
What You’ll Need: The Right Tools
Using inappropriate tools is one of the most common causes of accidental damage during cleaning. Avoid household cleaners like Windex or paper towels—they may seem harmless but can strip coatings or leave residue. Instead, assemble a dedicated cleaning kit with safe, effective items:
- Microfiber cloth – Lint-free and non-abrasive, ideal for wiping surfaces without scratching.
- Compressed air – Removes dust and debris from tight spaces like button gaps and scroll wheels.
- Isopropyl alcohol (70%) – Effective at disinfecting and dissolving oils without damaging plastics or rubber grips.
- Cotton swabs (Q-tips) – Useful for reaching narrow areas around buttons and sensor housing.
- Soft-bristled brush – A clean makeup or electronics brush helps dislodge stubborn particles.
- Plastic spudger or guitar pick – Gently lifts debris without scratching.
Never use acetone, bleach, ammonia-based cleaners, or anything containing citrus extracts. These substances can cloud transparent surfaces, degrade soft-touch finishes, or corrode internal circuitry if they seep in.
Step-by-Step: Safe Cleaning Procedure
Follow this detailed process to clean your gaming mouse thoroughly while protecting its sensitive components.
- Power down and disconnect – Unplug the mouse from your computer or turn off the wireless connection. Never clean a powered-on device.
- Shake out loose debris – Hold the mouse upside down and gently tap it to dislodge crumbs or dust from button gaps.
- Use compressed air – Hold the can upright and spray short bursts into the spaces between buttons, around the scroll wheel, and near the sensor. Keep the nozzle at least an inch away to avoid forcing liquid into the housing.
- Clean the outer shell – Dampen a microfiber cloth slightly with isopropyl alcohol. Wipe the entire surface, applying light pressure. Focus on high-contact areas like the left and right buttons, side grips, and back curve.
- Tackle the scroll wheel – Roll the wheel slowly while wiping with a cotton swab dipped in alcohol. For textured wheels, use a soft brush to scrub grooves gently.
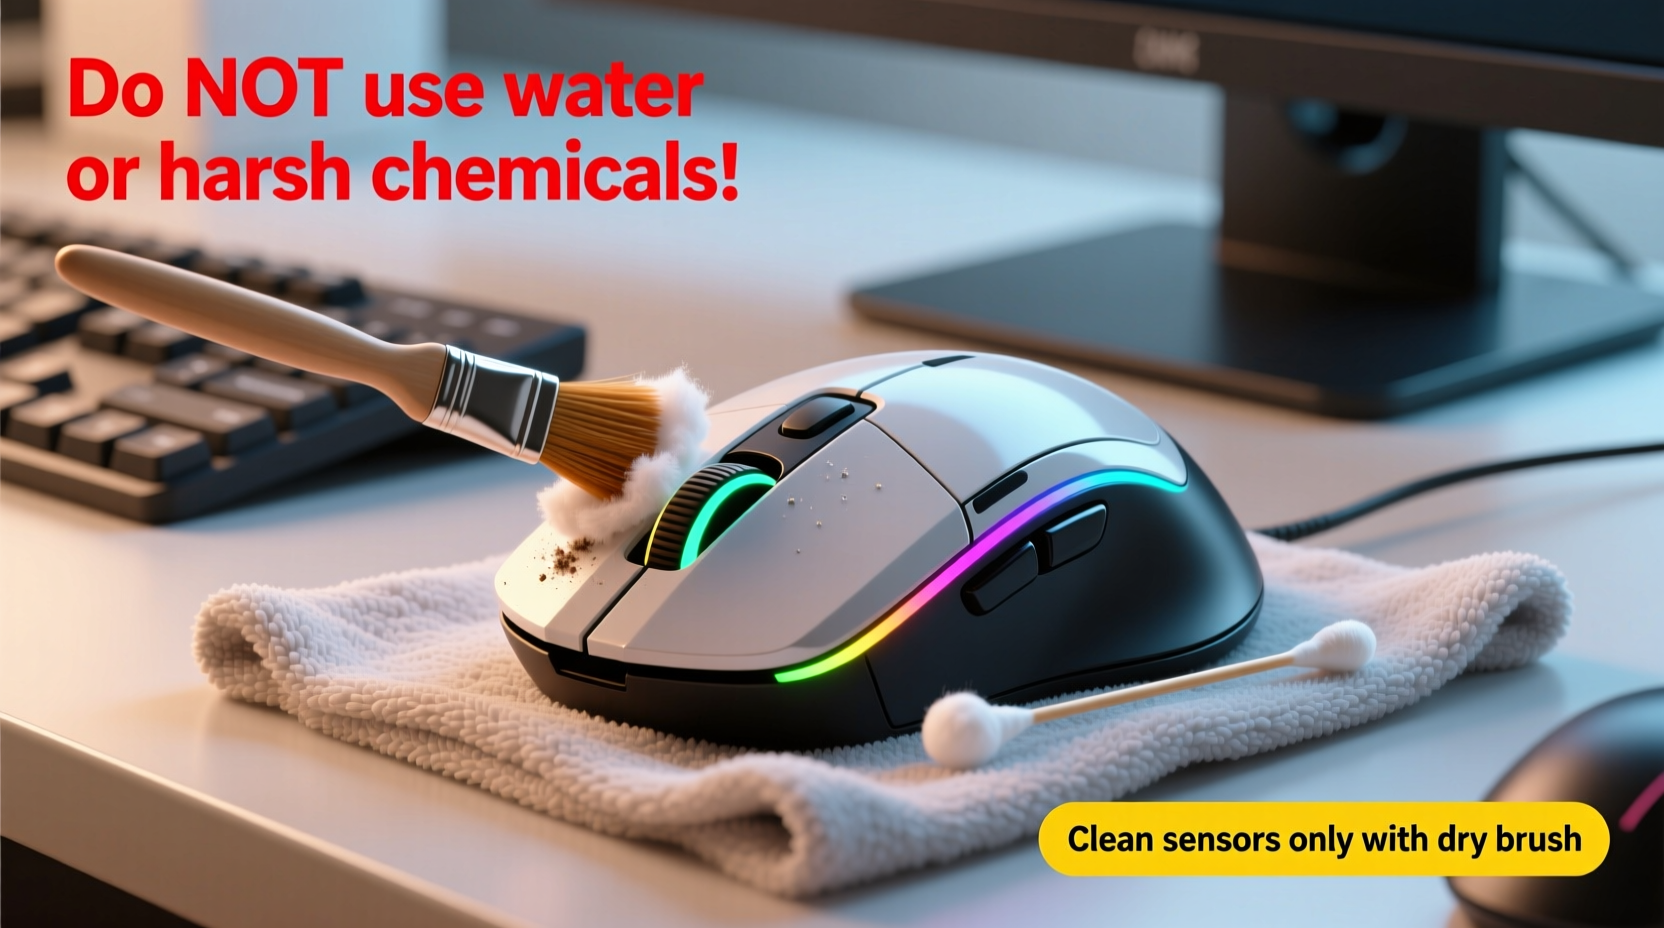
- Address the sensor lens – This is the most delicate part. Do not touch the lens directly with anything hard. Use a dry cotton swab to lightly sweep across the surface. If smudged, dampen the swab *very slightly* with alcohol and wipe in one direction. Let it dry completely before use.
- Dry and rest – Allow the mouse to sit for 5–10 minutes after cleaning to ensure all moisture evaporates, especially around buttons where liquid could seep inside.
For mice with removable side panels or modular switches, consult the manufacturer’s manual before attempting deeper disassembly. Most users should avoid opening the casing unless necessary.
Do’s and Don’ts: Protecting Finish and Sensors
The finish of a gaming mouse—whether matte, glossy, or rubberized—is vulnerable to chemical and mechanical damage. Similarly, the optical sensor relies on a clear lens and unobstructed light path. Follow this comparison table to avoid common pitfalls.
| Action | Do | Don’t |
|---|---|---|
| Cleaning solution | 70% isopropyl alcohol on cloth | Household cleaners, window sprays |
| Cloth type | Lint-free microfiber | Paper towels, rough fabrics |
| Sensor cleaning | Dry or slightly damp cotton swab | Fingernails, metal tools, direct spraying |
| Moisture level | Slightly damp cloth—never wet | Soaking the mouse or pooling liquid |
| Storage after cleaning | Upside down for 5 minutes to dry | Immediate reconnection while damp |
Real Example: Recovering a Sticky Mouse
Mark, a competitive FPS player, noticed his mouse was registering double-clicks and occasional lag during matches. At first, he assumed it was software-related and reinstalled drivers, but the issue persisted. After inspecting the device, he found a sticky film around the left-click button and visible grime in the scroll wheel. He followed a careful cleaning routine: disconnected the mouse, used compressed air, then wiped the shell with an alcohol-dampened microfiber cloth. He cleaned the sensor lens gently with a dry swab. After drying for ten minutes, the mouse responded perfectly again. Mark now cleans his mouse every two weeks and keeps a small cleaning kit beside his desk.
This case illustrates how minor buildup can mimic hardware failure. In many instances, what seems like a malfunction is simply preventable dirt accumulation.
“Over 60% of ‘faulty’ gaming mice we receive for repair are actually just dirty. A proper cleaning restores full function in most cases.” — Daniel Reyes, Senior Technician at PeripheralCare Labs
Special Considerations by Material and Design
Gaming mice come in various finishes, each requiring specific care:
- Matte-coated mice – Prone to “shine” if cleaned with oils or abrasive cloths. Use only alcohol and microfiber. Avoid silicone-based wipes.
- Rubberized grips – Can crack or peel if exposed to solvents. Clean with minimal moisture and never soak.
- Glossy surfaces – Show fingerprints easily but are less porous. Wipe with dry microfiber first, then dampen slightly if needed.
- Programmable button surrounds – Often have tight tolerances. Use compressed air before wiping to prevent debris from being pushed deeper.
Mice with RGB lighting require extra attention. While LEDs are sealed, moisture near diffusers or translucent zones can cause fogging or short circuits. Always apply cleaner to the cloth—not directly on the mouse—and avoid lingering near light-emitting areas.
Checklist: Monthly Gaming Mouse Maintenance
Use this checklist to maintain your mouse efficiently and consistently:
- ☐ Disconnect the mouse from the system
- ☐ Shake out loose debris
- ☐ Blow out dust with compressed air
- ☐ Wipe body with alcohol-dampened microfiber cloth
- ☐ Clean scroll wheel with cotton swab and brush
- ☐ Gently clean sensor lens with dry swab
- ☐ Inspect cable (if wired) for fraying or stiffness
- ☐ Allow 5–10 minutes to dry completely
- ☐ Reconnect and test tracking and buttons
Performing this routine monthly extends peak performance and reduces long-term wear. Pair it with cleaning your mousepad for optimal results.
Frequently Asked Questions
Can I use hand sanitizer to clean my gaming mouse?
No. Hand sanitizers often contain glycerin, fragrances, and higher concentrations of alcohol that can leave a sticky residue or degrade plastic finishes. Stick to pure 70% isopropyl alcohol applied via cloth or swab.
How do I know if the sensor is damaged after cleaning?
If the mouse exhibits erratic movement, fails to track on certain surfaces, or shows a flickering red light under the sensor, it may be damaged or still dirty. First, re-clean the lens carefully. If problems persist, try the mouse on another surface or computer. Persistent issues likely indicate internal damage requiring professional repair.
Is it safe to clean a wireless mouse differently than a wired one?
The cleaning method is the same, but extra caution is needed with battery compartments. Ensure the mouse is powered off and, if possible, remove batteries before cleaning. Never allow moisture near contact points. For charging contacts, use a dry swab only—no liquids.
Conclusion: Maintain Performance Through Smart Care
Your gaming mouse is an investment in precision and comfort. Keeping it clean isn’t just about appearance—it directly impacts responsiveness, accuracy, and durability. By using the right tools, following a safe procedure, and avoiding common mistakes, you preserve both the sensor integrity and the surface finish. A few minutes of regular maintenance can prevent months of degraded performance or the need for early replacement.


 浙公网安备
33010002000092号
浙公网安备
33010002000092号 浙B2-20120091-4
Comments
No comments yet. Why don't you start the discussion?