
Every year, over 50 million tons of electronic waste enter landfills globally—yet within that growing stream of discarded devices lies unexpected artistic potential. Circuit boards shimmer like stained glass. Copper wires coil with organic grace. LED remnants retain their luminous soul long after their original function ends. Transforming these materials into a Christmas tree topper merges sustainability with symbolism: light reclaimed, purpose renewed, tradition reimagined. This isn’t just upcycling—it’s quiet activism made festive. Below is a field-tested, safety-first methodology developed through three years of community workshops, maker fairs, and collaboration with e-waste educators. No soldering mastery required. No expensive tools needed. Just intention, curiosity, and respect for the materials’ history.
Why Tech Parts Make Meaningful Topper Materials
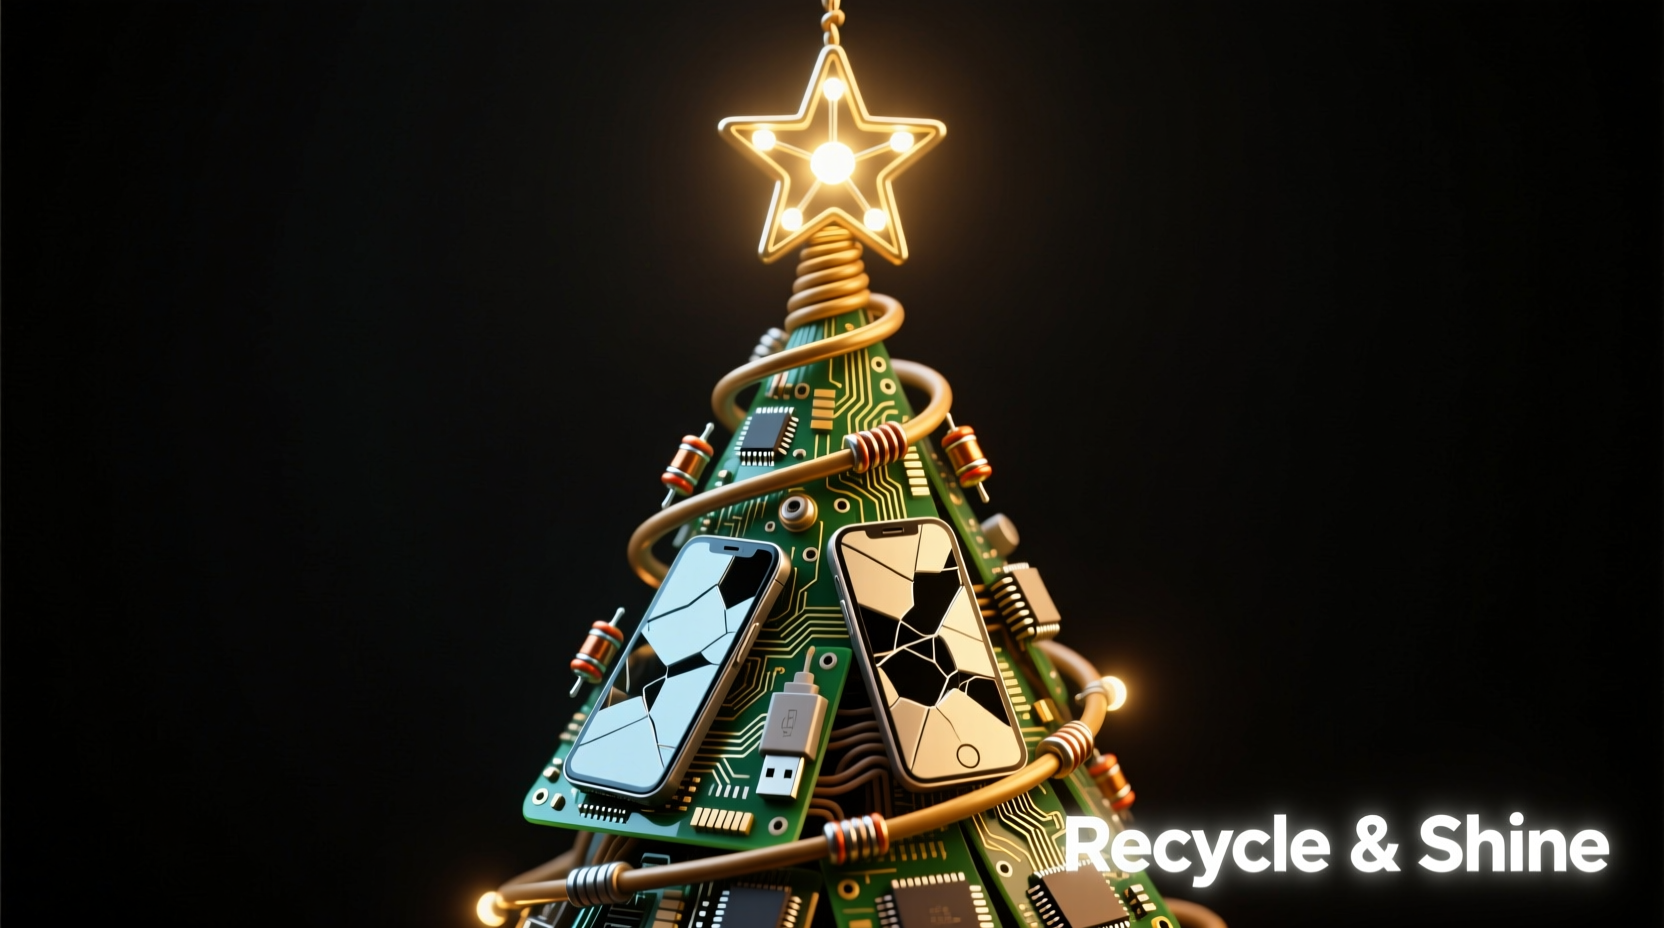
Unlike conventional craft supplies, recycled electronics carry narrative weight. A salvaged microcontroller from a broken printer speaks to precision; a heat-sink fin from a laptop evokes resilience; an old USB connector hints at connection itself. When mounted atop a tree, these elements become quiet metaphors: innovation rooted in reverence, progress tempered by responsibility. Technically, they also offer distinct advantages—rigid yet lightweight substrates (like FR-4 circuit boards), natural reflectivity (gold-plated traces, silver solder points), and built-in structural geometry (grids, vias, symmetry). Crucially, many components are already flame-retardant—critical for any item placed near live lights or dry pine needles. But this potential only materializes when handled with awareness: lead-free solder standards, proper insulation of conductive paths, and avoidance of lithium batteries or capacitors that retain charge. As Dr. Lena Torres, materials scientist and co-founder of the Urban E-Waste Collective, explains:
“Reclaimed tech isn’t ‘junk waiting for art.’ It’s engineered material with known thermal, electrical, and chemical properties. Honoring those properties—not overriding them—is where true creativity begins.” — Dr. Lena Torres, Materials Scientist & E-Waste Educator
Essential Safety & Sourcing Guidelines
Before cutting or assembling, prioritize human and environmental safety. Electronics contain hazardous substances—including lead, beryllium oxide (in older heat sinks), brominated flame retardants, and residual electrolytes. Never sand, grind, or burn circuit boards indoors. Avoid sourcing from medical devices, military hardware, or anything labeled “classified” or “high-voltage.” Prioritize consumer-grade, post-consumer waste: old keyboards, broken calculators, obsolete routers, retired gaming consoles, and discarded smartphones (with batteries professionally removed).
Source ethically: Partner with local repair cafes, university e-waste drives, or certified recyclers who allow component harvesting. Avoid “bulk bin” suppliers whose origin and handling are unverifiable. One kilogram of mixed e-waste yields roughly 200–300 grams of usable non-hazardous top-per material (boards, housings, connectors) after sorting and cleaning—enough for 2–3 toppers.
Core Materials & Their Creative Potential
| Component Type | Best For | Preparation Required | Design Notes |
|---|---|---|---|
| Circuit Boards (green or brown FR-4) | Star frames, geometric crowns, layered halos | Wipe with isopropyl alcohol; remove large chips or sharp edges with fine sandpaper | Use copper traces as “lightning veins”; gold-plated pads catch ambient light beautifully |
| Heat Sinks (aluminum) | Modernist spires, abstract angel wings, minimalist cones | Soak in vinegar-water solution (1:3) for 15 minutes to remove thermal paste; rinse and dry completely | Polish gently with steel wool for soft sheen—or leave matte for industrial contrast |
| LEDs (disassembled from old remotes, chargers, or string lights) | Integrated illumination, star points, halo rings | Test with 3V coin cell; discard any that flicker erratically or show cracked lenses | White and warm-white LEDs blend best with traditional tree lighting; avoid blue-heavy clusters unless aiming for cyber-yule aesthetic |
| Wire Harnesses (multi-strand ribbon cable) | Twisted halos, woven crowns, cascading “light rain” effects | Strip outer jacket carefully; separate strands; twist or braid by hand | Copper strands oxidize naturally to verdigris—embrace it as patina, or seal with clear acrylic spray |
| Keyboard Keys (ABS plastic) | Miniature ornaments, lettered toppers (“JOY”, “PEACE”, “NXT”), textured accents | Soak in soapy water; scrub gently with soft brush; air-dry fully | Clear or translucent keys refract light; colored keys add joyful punctuation—group by hue for intentional gradients |
A Step-by-Step Assembly Process (No Soldering Required)
This method uses mechanical fastening and low-temp adhesives—accessible, reversible, and safe for home use. Total build time: 2–3 hours, including drying. Yields one 6–8 inch diameter topper suitable for trees up to 8 feet tall.
- Design & Template (20 min): Sketch your shape on paper—a five-pointed star, a stylized dove, a double helix, or an open circle. Trace onto cardboard. Cut out two identical templates. These will serve as alignment guides and structural backplates.
- Select & Arrange Components (30 min): Lay out chosen PCB fragments, heat sink pieces, and keys on one template. Play with negative space: let copper traces form radiating lines; cluster LEDs at focal points; use keyboard keys as “feathers” or “petals.” Photograph your layout before moving parts.
- Secure Base Layer (25 min): Apply E6000® craft adhesive (solvent-based, flexible, high-bond) sparingly to the back of each PCB piece. Press firmly onto the first cardboard template. Hold for 10 seconds per piece. Let cure 1 hour uncovered.
- Add Dimension & Light (40 min): Glue heat sink fins vertically along outer edges using hot glue (low-temp gun only). Embed tested LEDs face-up into recesses or behind translucent keys—connect each to a single CR2032 battery holder wired in parallel (not series) using pre-tinned stranded wire. Seal connections with heat-shrink tubing, not tape.
- Final Assembly & Mounting (25 min): Adhere second cardboard template over the back to sandwich components. Reinforce perimeter with 1/4-inch wide aluminum tape (conductive side inward, non-conductive outward). Insert a 6-inch wooden dowel (painted matte black) through center hole—glue securely. Wrap dowel base with braided wire for grip and aesthetics. Let cure overnight before mounting.
Real-World Example: The “Circuit Dove” Project
In December 2022, Portland-based educator Maya Chen led a workshop with 12 high school students using donated e-waste from a local library’s “Tech Amnesty Day.” Their goal: a symbolic topper representing peace through innovation. They selected a white ceramic capacitor (shaped like an olive branch), four intact LED diodes from a dismantled holiday light strand, and a curved fragment of motherboard traced into a wing silhouette. Rather than hiding solder joints, they highlighted them with metallic paint—turning functional connections into decorative rivets. The final dove stood 7 inches tall, battery-powered for 48 hours of continuous glow, and was displayed on the city hall tree. What resonated most wasn’t its appearance, but the story told during the unveiling: how one student recognized the capacitor’s origin as part of her late grandfather’s first computer—and how placing it atop the tree felt like honoring both memory and momentum. “It wasn’t about making something pretty,” Maya reflected. “It was about making something *true*.”
Creative Variations & Thematic Adaptations
One design framework unlocks endless expression. Consider these tested variations:
- The “Data Star”: Use only gold-fingered edge connectors from RAM modules. Arrange in concentric pentagrams, securing with clear epoxy. Illumination comes from a single central warm-white LED diffused through frosted acrylic.
- The “Recycled Angel”: Form wings from symmetrical heat sink fins; head from a polished CPU lid; halo from coiled Ethernet cable wrapped around thin brass ring. Attach tiny keyboard keys as “feathers” along wing edges.
- The “Zero-Waste Spiral”: A continuous 24-inch strip of de-soldered ribbon cable, tightly coiled from center outward, secured with stainless steel pins. No glue, no battery—pure form and texture.
- The “Retro Console Crown”: Arrange SNES cartridge shells (donated, cleaned, labels removed) in radial symmetry. Mount on circular PCB base. Embed red/green LEDs in cartridge slots for nostalgic pixel glow.
Frequently Asked Questions
Can I use parts from a microwave or power supply?
No. Microwave transformers, CRT yokes, and large electrolytic capacitors can retain lethal charges for days—even when unplugged. These belong exclusively in certified e-waste facilities. Stick to consumer devices with low-voltage DC circuits (under 24V).
How do I prevent short circuits if my topper includes live LEDs?
Three non-negotiable steps: (1) Power only via coin-cell battery holders—not wall adapters; (2) Insulate every exposed wire end with heat-shrink tubing or liquid electrical tape; (3) Test continuity with a multimeter before final assembly: there must be zero resistance between positive and negative leads anywhere except across the LED itself.
Will the topper withstand heat from incandescent tree lights?
Yes—if you avoid heat-sensitive plastics (like old phone casings) and keep active electronics >12 inches from bulbs. Modern LED tree lights emit negligible heat; if using vintage incandescents, mount the topper on a ceramic or wood adapter that creates physical separation. Never attach directly to metal tree poles near bulbs.
Conclusion: Light That Carries Legacy
A Christmas tree topper has always been more than decoration. It’s a declaration—the culmination of care, the focal point of gathering, the silent witness to stories told beneath its glow. When that topper is born from what was nearly discarded, it deepens the meaning without demanding perfection. It asks us to see value where systems declare obsolescence. To honor craftsmanship embedded in forgotten objects. To choose light—not just as illumination, but as intention. You don’t need a workshop, a degree, or a budget. You need a few safe components, 120 minutes of focused presence, and the willingness to let function evolve into symbol. Start small: rescue one circuit board this week. Trace its geometry. Notice where light catches a copper trace. Then build—not just a topper, but a reminder that renewal is always possible, especially during the darkest time of year.


 浙公网安备
33010002000092号
浙公网安备
33010002000092号 浙B2-20120091-4
Comments
No comments yet. Why don't you start the discussion?