
Transforming a tree into a luminous centerpiece in your garden or landscape is more than just wrapping it with lights—it’s about crafting an atmosphere. A gradient lighting effect, where brightness shifts smoothly from the top of the tree down to its base, mimics natural light transitions like sunrise or sunset. This technique adds depth, drama, and dimensionality to outdoor spaces. Whether for aesthetic enhancement, seasonal decoration, or architectural highlighting, achieving this look requires thoughtful planning, proper equipment, and strategic placement. Here’s how to do it effectively and beautifully.
Understanding Gradient Lighting: The Science and Aesthetics
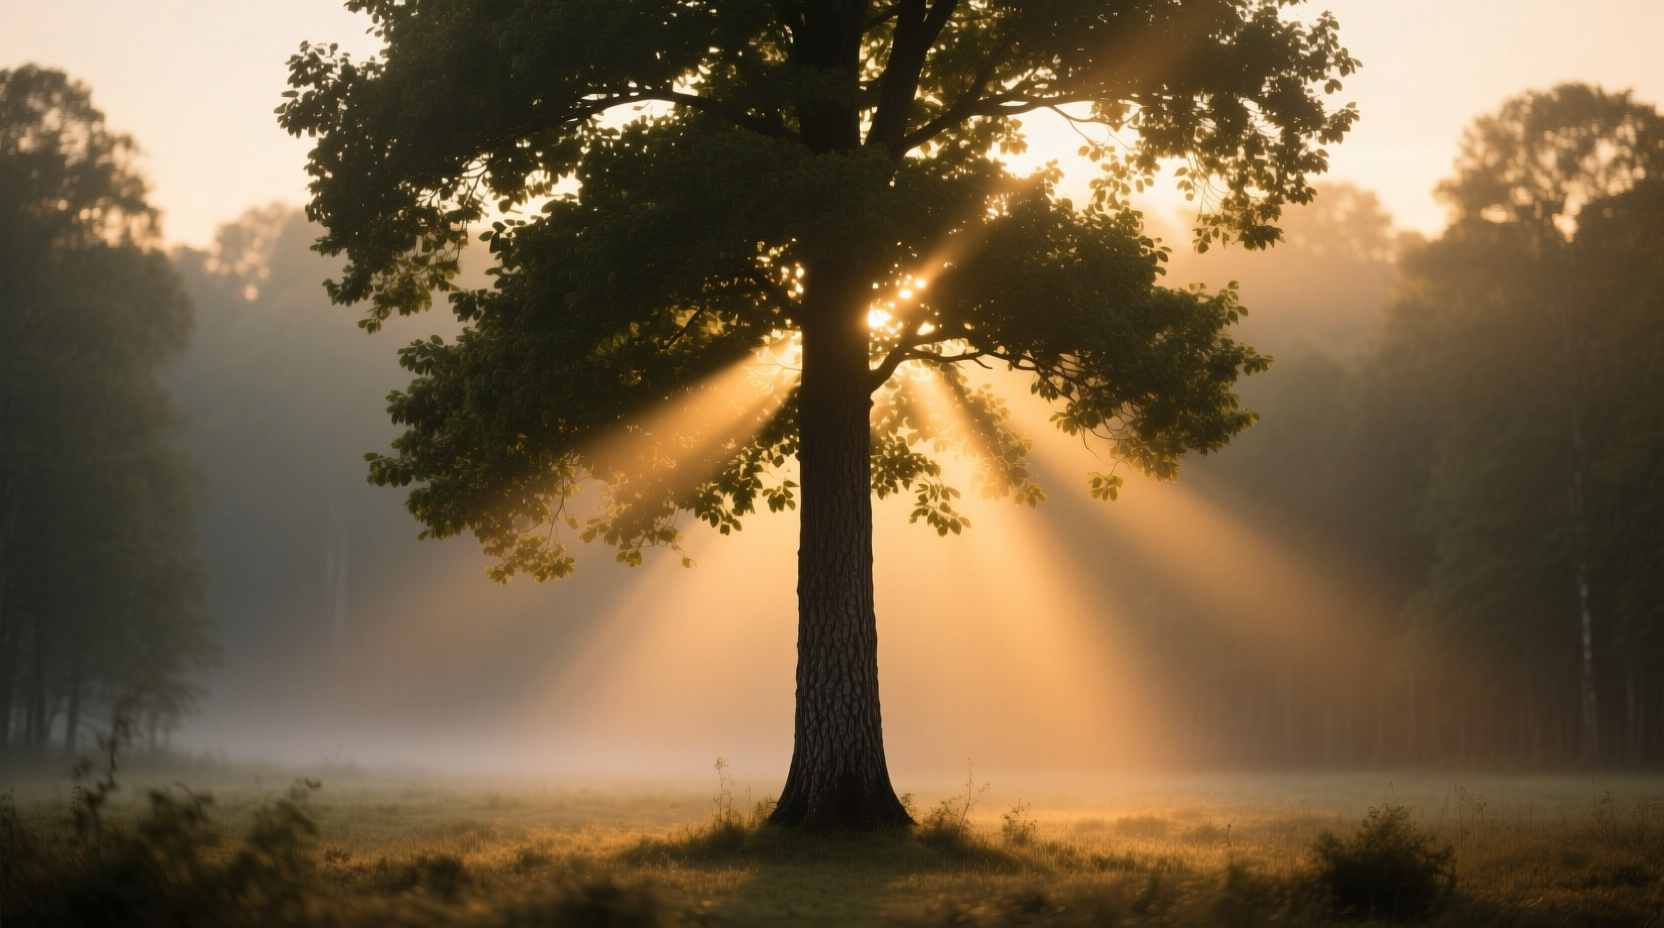
Gradient lighting involves a deliberate variation in light intensity or color temperature across a vertical or horizontal plane. In the context of a tree, a top-to-bottom gradient typically means brighter illumination at the crown that gradually softens toward the trunk and ground level. This replicates how sunlight filters through foliage during golden hour—stronger above, diffused below.
The human eye perceives contrast and movement in gradients as dynamic and organic. When applied to trees, this lighting method avoids the flat, “lit-up toy” appearance common with uniform string lights. Instead, it creates visual interest by emphasizing the tree’s form, height, and texture.
There are two primary types of gradients you can achieve:
- Brightness Gradient: Higher lumen output at the top, tapering off toward the base.
- Color Temperature Gradient: Warmer tones (2700K–3000K) near the ground, cooler (4000K+) at the top—or vice versa depending on desired mood.
Both rely on layered lighting design principles used by professional landscape architects and lighting designers.
“Lighting a tree isn’t about covering every branch—it’s about sculpting space with shadows and highlights.” — Lena Reyes, Outdoor Lighting Designer & Author of *Luminous Landscapes*
Step-by-Step Guide to Creating the Gradient Effect
Follow this structured process to achieve a seamless top-to-bottom gradient on any standalone tree, whether deciduous, evergreen, or ornamental.
- Assess the Tree Structure
Select a tree with strong vertical lines and visible branching patterns. Tall species like Italian cypress, red maple, or white birch work best due to their height and openness. - Determine Light Source Placement
Use upward-facing ground lights for lower sections and downward-hanging fixtures or canopy-mounted LEDs for upper zones. Avoid mid-canopy clusters that disrupt the flow. - Choose Dimmable, Adjustable Fixtures
Opt for LED spotlights, path lights, or rope lights with dimming capabilities. Smart bulbs allow remote control over brightness per zone. - Divide the Tree into Zones
Create three distinct lighting zones:- Top Zone (Crown): 90–100% brightness, focused upward or outward.
- Middle Zone: 50–70% brightness, indirect wash.
- Base Zone (Trunk & Ground): 20–40% warmth-focused glow.
- Install Lights Gradually
Start at the top. Use tree-safe fasteners (no nails or girdling ties). Hang directional mini-floods from sturdy upper branches. Then move downward, spacing lower-intensity fixtures farther apart. - Test and Adjust
View the tree from multiple angles after dark. Fine-tune angles and brightness until the transition appears smooth, not segmented.
Equipment and Materials Checklist
Having the right tools ensures both safety and precision. Use this checklist before starting your project.
- LED spotlights (narrow beam, 25°–40°)
- Low-voltage rope lighting (optional for trunks)
- Dimmable transformer or driver
- Weatherproof extension cables and connectors
- Tree-friendly mounting clips or silicone straps
- Voltmeter or multimeter (for voltage drop checks)
- Ladder or pole mount for high placements
- Timer or smart controller (for scheduling)
For larger installations, consider hiring an electrician to set up a dedicated low-voltage circuit. Most outdoor LED systems operate safely at 12V or 24V, reducing fire risk and complying with residential codes.
Choosing Between Color and Monochrome Gradients
You can enhance the gradient effect further by incorporating subtle shifts in color temperature or hue. While monochrome white gradients feel elegant and timeless, colored variations suit seasonal or artistic displays.
| Type | Best For | Implementation Tips |
|---|---|---|
| Cool-to-Warm White | Elegant evening ambiance, modern landscapes | Place 4000K+ at canopy, blend down to 2700K near base |
| Warm-to-Cool White | Dramatic, theatrical effects | Reverse gradient; use sparingly to avoid unnatural look |
| RGB Color Fade | Holidays, events, themed gardens | Program slow transitions (e.g., blue → green → yellow) |
| Single-Tone Dimming | Naturalistic, subtle enhancement | Stick to warm white; vary only intensity |
Avoid abrupt color changes. If using RGB LEDs, program them to fade smoothly over 10–30 seconds rather than jump between hues.
Real Example: Lighting a Mature Oak in Suburban Yard
In Austin, Texas, homeowner Marcus Tran wanted to highlight a 40-foot live oak shading his patio. He aimed for a moonlight-like effect—brighter at the top, fading gently into shadow below.
He began by mapping the major limbs and identifying anchor points for lights. Four narrow-beam LED spotlights (4000K, 350 lumens each) were mounted on adjacent posts, angled upward to graze the upper canopy. These operated at full power.
Inside the middle layer, he clipped flexible 24V rope lighting along two primary branches, dimmed to 60%. The rope was tucked beneath leaf clusters to diffuse the glow.
Near the base, two small well lights embedded in mulch cast a soft amber wash (2700K) directly onto the trunk. These ran at 30% brightness via a central dimmer.
After testing, Marcus adjusted one spotlight slightly to eliminate a hotspot. The final result? A tree that appeared softly illuminated from within, with no harsh lines or glaring spots—a true gradient achieved through zoning and control.
Common Mistakes and How to Avoid Them
Even experienced DIYers make errors when attempting gradient lighting. Watch out for these pitfalls:
- Over-lighting the trunk: Too much base illumination flattens depth. Keep lower zones subtle.
- Using non-dimmable bulbs: Without brightness control, gradients become stepped instead of smooth.
- Girdling branches with tight wraps: Never bind lights tightly around limbs—use loose loops or external mounts.
- Ignoring voltage drop: Long cable runs reduce power to distant fixtures, unintentionally creating a gradient—but an uneven one.
- Mixing incompatible color temperatures: Combining 3000K and 5000K bulbs without blending causes jarring transitions.
To prevent these issues, always test one section at a time and observe how light interacts with wind, foliage density, and surrounding surfaces.
Frequently Asked Questions
Can I create a gradient effect with solar-powered lights?
Yes, but with limitations. Solar models often lack dimming controls and consistent output. For reliable gradients, use grid-powered or battery-operated smart LEDs charged nightly. If using solar, choose premium units with adjustable brightness and dusk-to-dawn sensors.
How many lights do I need for a medium-sized tree?
It depends on density and desired effect. As a rule of thumb: 1 spotlight per 8–10 feet of height for accenting, plus 10–20 feet of rope light for trunks or interior branches. Start sparse—you can always add more.
Will this harm the tree?
Properly installed lighting poses no risk. Avoid piercing bark, ensure wires don’t constrict growth, and use cool-running LEDs. Incandescent or halogen bulbs generate heat and should never touch foliage.
Expert Insight: Professional Techniques Worth Emulating
Landscape lighting professionals use advanced methods to refine gradients beyond basic setups.
“We often use lens diffusion filters and baffles to soften edges between light zones. It’s not just about placement—it’s about how the light lands.” — Daniel Cho, Principal at Horizon Illumination Studio
Some pros also employ “layered timing,” where different zones turn on at staggered intervals (e.g., top lights activate at twilight, base lights come on 15 minutes later). This enhances the illusion of natural light sinking through the canopy.
Another pro tip: Aim lights slightly off-center. Direct frontal lighting flattens form. Angling them at 30–45 degrees creates shadows that emphasize texture and volume.
Final Thoughts and Call to Action
Creating a gradient lighting effect from top to bottom on a tree is a blend of art and engineering. It rewards patience, attention to detail, and a willingness to experiment. When done right, it turns a simple backyard feature into a living sculpture—one that changes with the night, season, and mood.
Begin with a single tree. Sketch your plan. Test brightness levels manually before permanent installation. And remember: less is often more. A gentle fade speaks louder than a blaze of light.


 浙公网安备
33010002000092号
浙公网安备
33010002000092号 浙B2-20120091-4
Comments
No comments yet. Why don't you start the discussion?