
Cutting an image with precision is essential for professional design, product photography, digital art, and web development. Whether you're isolating a subject from its background or preparing assets for a layout, accuracy ensures your final output looks polished and credible. Many beginners struggle with jagged edges, halo effects, or incomplete selections—but the right techniques can eliminate these issues. This guide walks through proven methods, tools, and best practices to help you achieve flawless image cuts across various software platforms.
Choosing the Right Tool for the Job
Different image-editing programs offer distinct cutting tools, each suited to specific types of images. Understanding which tool to use based on the subject’s complexity improves efficiency and quality.
| Software | Best Tool for Precision | Ideal For |
|---|---|---|
| Adobe Photoshop | Pen Tool, Select Subject, Refine Edge | High-resolution photos, complex shapes |
| GIMP | Paths Tool, Foreground Select | Free alternative with advanced control |
| Figma | Vector networks, Boolean operations | Digital mockups, UI elements |
| Canva (Pro) | Background Remover AI | Quick social media graphics |
| Photopea | Pen Tool + Layer Masks | Browser-based Photoshop alternative |
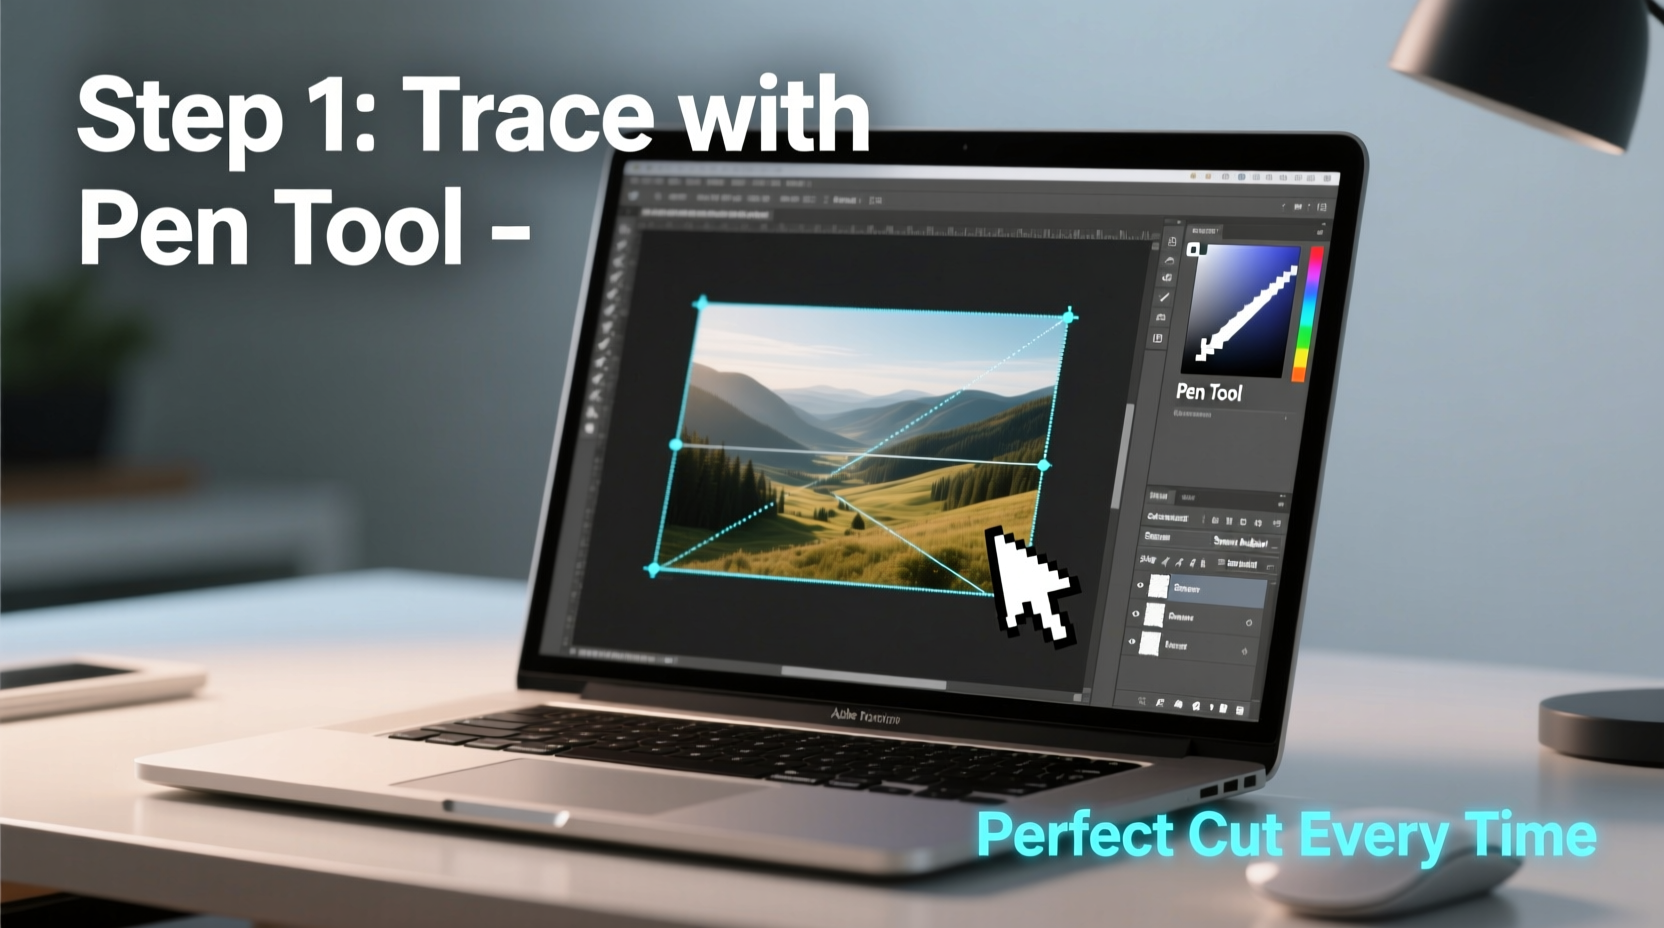
The Pen Tool remains the gold standard for pixel-perfect cuts because it allows manual path creation with anchor points and Bezier curves. While slower than AI-powered selection tools, it gives full control—especially useful for sharp-edged objects like jewelry, electronics, or architectural details.
Step-by-Step Guide to Precise Image Cutting
Follow this universal workflow to extract any subject cleanly, regardless of software. The process emphasizes non-destructive editing so you can refine your work without losing original data.
- Duplicate the Background Layer: Work on a copy to preserve the original. In most editors, right-click the layer and select “Duplicate Layer.”
- Select the Pen Tool (or Paths Tool): Choose the pen icon from the toolbar. Set it to “Path” mode, not “Shape,” so you can convert it into a selection later.
- Create Anchor Points Around the Subject: Click along the edge of the object to place points. For curves, click and drag to create directional handles that shape the curve smoothly.
- Close the Path: Return to the first point and click to close the loop. A small circle next to the pen cursor indicates closure.
- Convert Path to Selection: Right-click inside the path and choose “Make Selection.” Set feather radius to 0 px for sharp edges.
- Add a Layer Mask: With the selection active, click the mask button at the bottom of the Layers panel. This hides everything outside the path without deleting pixels.
- Refine the Edges: Use “Select and Mask” (Photoshop) or “Foreground Select” refinement (GIMP) to adjust edge smoothness, contrast, and shift edges inward or outward if needed.
- Check for Imperfections: Toggle the mask on/off or place the image over a contrasting background (e.g., black or red) to spot missed areas or halos.
This method works especially well for subjects with clearly defined borders—such as watches, bottles, or logos—where even a 1-pixel error can undermine professionalism.
Avoiding Common Mistakes
Even experienced editors sometimes make errors that compromise image quality. Awareness of frequent pitfalls leads to cleaner outcomes.
- Using the Lasso Tool for Detailed Work: The freehand lasso lacks precision and often results in wobbly lines. Reserve it for rough drafts only.
- Ignoring Anti-Aliasing Settings: When saving PNGs, ensure anti-aliasing is enabled to prevent jagged edges on curved surfaces.
- Deleting Instead of Masking: Permanent deletion removes flexibility. Always use masks so you can re-enter and edit later.
- Skipping Zoom Inspection: What looks clean at 100% may reveal gaps at 300%. Inspect every inch at high magnification.
- Overusing Auto-Selection Tools: AI selections are fast but often miss fine details like hair strands or transparent overlays. They should be starting points, not final outputs.
“Precision in image cutting isn’t about speed—it’s about intentionality. One well-placed anchor point beats ten rushed clicks.” — Lena Torres, Senior Digital Imaging Specialist at StudioFrame Inc.
Real Example: Cutting Out a Model for E-Commerce
A fashion brand needed to place a model wearing a sheer lace dress onto multiple colored backgrounds for their online store. Initial attempts using the Magic Wand left frayed edges and missing lace patterns due to low contrast between the dress and background.
The team switched to the Pen Tool in Photoshop. They zoomed to 400%, traced the outer silhouette, then created a secondary path for the intricate sleeve detail. After converting both paths to selections and applying a layer mask, they used Select and Mask to gently refine the semi-transparent edges. The result was a crisp, reusable asset that maintained fabric texture and depth—approved for immediate use across all marketing channels.
This case illustrates how patience and proper tool selection overcome challenges that automated tools cannot handle reliably.
Essential Checklist for Perfect Image Cuts
- All anchor points align perfectly with object edges
- No stray pixels or remnants of the old background
- Layer mask applied instead of erasing pixels
- Edges checked on both light and dark backgrounds
- File saved in appropriate format (PNG for transparency, JPEG for solid backgrounds)
- Resolution preserved (no downscaling unless required)
Frequently Asked Questions
Can I cut out hair or fur precisely?
Yes, but it requires combining tools. Start with Select Subject (AI), then switch to Select and Mask with the Refine Hair option in Photoshop. For finer control, paint detailed strands manually using a soft brush on a layer mask at high zoom.
What file format should I save my cut image in?
Use PNG if you need transparency (e.g., logos, isolated products). Use JPEG for smaller file sizes when the background is solid and doesn’t require transparency. TIFF is ideal for print workflows where lossless quality is critical.
Is there a way to automate precise cuts?
AI tools like Adobe Sensei, Remove.bg, or Photopea’s auto-segmentation can accelerate initial selection, but manual refinement is almost always necessary for perfection. Automation reduces time but doesn’t replace expertise.
Mastery Through Practice
Precision in image cutting separates amateur visuals from professional-grade work. While modern software offers powerful automation, true control comes from understanding the mechanics behind the tools. The Pen Tool may feel tedious at first, but mastery pays dividends in consistency, client trust, and visual impact.
Start with simple geometric shapes to build muscle memory, then progress to organic forms like plants, animals, or portraits. Over time, your ability to anticipate curves, manage anchor density, and refine edges will become second nature.


 浙公网安备
33010002000092号
浙公网安备
33010002000092号 浙B2-20120091-4
Comments
No comments yet. Why don't you start the discussion?