
A blender is one of the most frequently used appliances in modern kitchens. Whether you're whipping up smoothies, soups, or nut butters, its convenience makes it indispensable. But over time, the base—where the motor and electrical components reside—can accumulate dust, spills, and grime. Cleaning it improperly can lead to electrical shorts, reduced performance, or even permanent damage. Unlike the pitcher and blade assembly, which are often dishwasher-safe, the base requires careful handling. Knowing how to deep clean a blender base without compromising the motor unit is essential for both safety and longevity.
Dirt doesn’t just gather on visible surfaces. Spilled liquids can seep into crevices, sticky residues attract dust and insects, and moisture trapped near electrical contacts can corrode internal components. A neglected base not only looks unhygienic but may also become a breeding ground for bacteria. The good news is that with the right tools and techniques, you can thoroughly clean your blender’s base while keeping the motor and electronics fully protected.
Understanding Your Blender Base: What You’re Working With
The base of a blender houses the motor, control panel, drive socket (which connects to the blade), and internal wiring. It’s typically made of durable plastic or stainless steel, designed to withstand daily use. However, this enclosure is not waterproof. Most models are rated for splash resistance, not full immersion. Even small amounts of water entering the housing can short-circuit the motor or damage circuitry.
Manufacturers design blender bases with ventilation slots and rubber gaskets to manage heat and prevent debris ingress. Over time, these vents can clog with dust or food particles, reducing airflow and increasing the risk of overheating. The area around the drive socket—where the pitcher locks into place—is especially prone to buildup from leaking smoothies or oily ingredients like nut butters.
Before attempting any cleaning, consult your user manual. Some high-end blenders, such as Vitamix or Blendtec, have specific maintenance recommendations. Others may void warranties if disassembled improperly. Always unplug the blender before starting. This isn’t just a precaution—it’s critical. Electrical components remain energized until disconnected, and even residual current can pose risks during cleaning.
Step-by-Step Guide: Safe Deep Cleaning Process
Cleaning the blender base effectively involves multiple stages: preparation, surface cleaning, vent care, odor removal, and drying. Follow this detailed sequence to ensure a thorough yet safe clean.
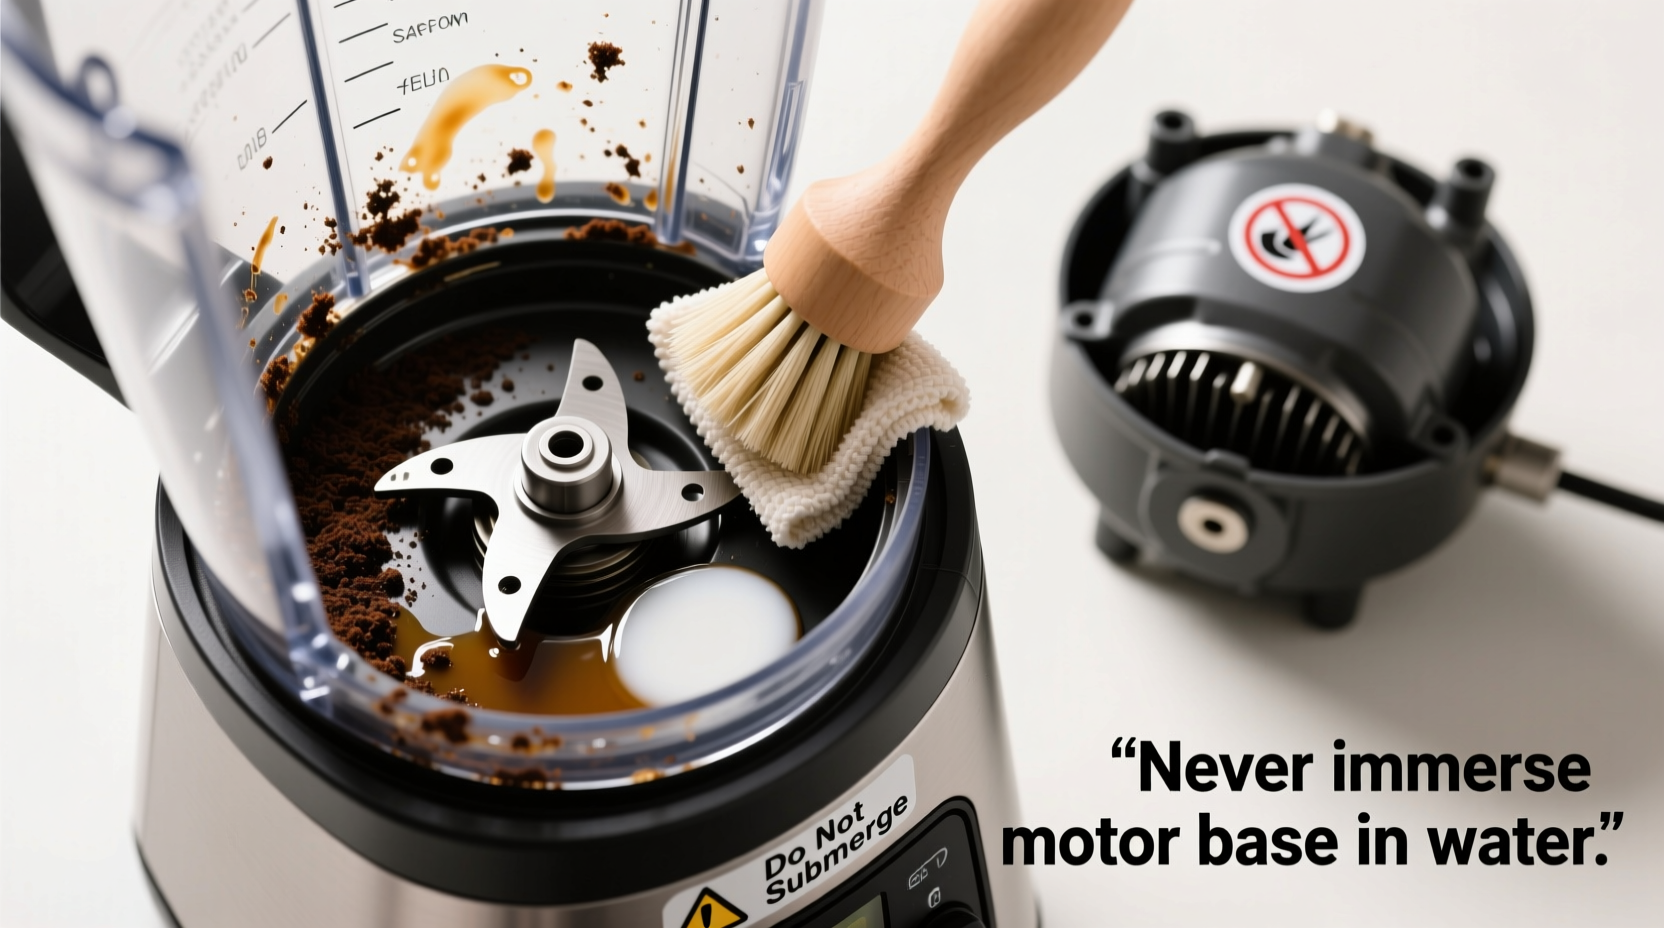
- Unplug and disassemble removable parts: Remove the pitcher, lid, and blade assembly. Wash these separately according to manufacturer instructions. Never submerge the base in water.
- Dampen a microfiber cloth with distilled water: Avoid tap water, which contains minerals that can leave residue. Wring the cloth until it’s barely damp—not wet.
- Wipe down the exterior: Gently clean the top, sides, and control panel. Pay attention to seams and buttons where grime collects. For sticky spots, add a drop of mild dish soap to the cloth.
- Clean around the drive socket: Use a cotton swab dipped in rubbing alcohol (70% isopropyl) to remove residue from the coupling mechanism. Alcohol evaporates quickly and disinfects without leaving moisture behind.
- Clear ventilation ports: Use a dry toothbrush or compressed air to remove dust and debris from cooling vents. Do not insert metal tools, as they could scratch or puncture internal insulation.
- Tackle stubborn stains or odors: If there’s a lingering smell, mix equal parts white vinegar and water in a spray bottle. Lightly mist a cloth (never spray directly) and wipe affected areas. Vinegar neutralizes odors and dissolves organic buildup.
- Dry thoroughly: Allow the base to air-dry for at least 30 minutes in a well-ventilated area. Place it upright to prevent moisture from pooling inside.
- Reassemble and test: Once completely dry, reattach the pitcher and plug in the unit. Run it briefly on low speed to confirm normal operation.
Do’s and Don’ts: Best Practices Table
| Do’s | Don’ts |
|---|---|
| Use a slightly damp microfiber cloth | Submerge the base in water or run it under a faucet |
| Clean monthly or after heavy use | Ignore sticky residues or spilled oils |
| Use rubbing alcohol on swabs for tight spaces | Insert sharp objects into vents or sockets |
| Unplug before cleaning | Use steam cleaners or pressure washers |
| Vacuum around vents with a brush attachment | Apply solvents like acetone or paint thinner |
Expert Insight: Why Motor Protection Matters
Blender motors generate significant heat during operation. Dust buildup acts as insulation, trapping heat and forcing the motor to work harder. According to Dr. Alan Torres, an appliance engineer with over two decades of experience in small kitchen electronics, “A dirty base can reduce a blender’s lifespan by up to 40%. Ventilation blockages cause thermal stress, leading to premature winding failure.”
“Many users think cleaning means wiping the outside. But neglecting internal airflow pathways is like driving a car with a clogged radiator. Eventually, something fails.” — Dr. Alan Torres, Appliance Systems Engineer
Torres emphasizes that routine maintenance is more effective than reactive fixes. He recommends checking vents every three months, especially in humid environments or homes with pets, where dander and hair increase debris accumulation.
Mini Case Study: From Sticky Mess to Spotless Performance
Sarah, a health coach in Portland, uses her high-speed blender daily for client meal prep. After six months, she noticed a burning smell during operation and reduced blending power. She assumed the motor was failing. Instead of replacing the $400 unit, she consulted the manual and inspected the base. Around the drive socket, she found a thick layer of dried almond butter mixed with dust. Vents were partially blocked, and the control dial felt gritty.
Following a cautious cleaning process—using isopropyl-soaked swabs, a soft brush, and vinegar-wiped surfaces—she removed all residue. After a full drying period, the blender operated smoothly again, with no odor and restored performance. Sarah now cleans the base monthly, preventing future issues. Her experience underscores how minor maintenance can save major expenses.
Checklist: Monthly Blender Base Maintenance Routine
- ✅ Unplug the blender from the outlet
- ✅ Remove pitcher, lid, and blade for separate cleaning
- ✅ Inspect drive socket for food buildup
- ✅ Wipe exterior with damp microfiber cloth
- ✅ Clean around buttons and seams with cotton swab
- ✅ Clear dust from ventilation ports using a soft brush
- ✅ Disinfect with alcohol swab in crevices
- ✅ Check for cracks or worn seals on the base
- ✅ Allow to air-dry completely before reuse
- ✅ Test operation at low speed post-cleaning
Frequently Asked Questions
Can I use disinfectant wipes on my blender base?
Yes, but with caution. Use only non-abrasive, alcohol-based wipes (like those designed for electronics). Avoid excessive moisture. Wipe gently and follow with a dry cloth. Never use bleach-based wipes, as they can corrode plastic and degrade seals over time.
Why does my blender smell bad even after cleaning the pitcher?
Odors often linger in the base due to trapped organic matter—especially in the drive socket or under control panels. Residual oils from nuts, dairy, or produce can spoil over time. To eliminate smells, clean with a vinegar-dampened cloth and allow extended air-drying. For persistent odors, place an open box of baking soda near the base overnight.
Is it safe to use compressed air on my blender base?
Yes, when used correctly. Hold the can upright and use short bursts to avoid moisture discharge. Keep the nozzle at least two inches from vents to prevent forcing debris deeper. Compressed air is excellent for removing dust without physical contact, reducing the risk of scratches or electrical damage.
Conclusion: Maintain Your Blender Like a Pro
Your blender’s performance depends as much on its base condition as on the sharpness of its blades. Regular, careful cleaning protects the motor, ensures efficient operation, and extends the appliance’s life. By treating the base with the same attention as the pitcher, you avoid costly repairs and maintain hygiene in your kitchen.
You don’t need special tools or expensive products—just consistency and caution. Implement a simple monthly routine, respect the limits of electrical components, and respond promptly to spills or odors. A clean blender base isn’t just about appearance; it’s about reliability, safety, and getting the most out of your investment.


 浙公网安备
33010002000092号
浙公网安备
33010002000092号 浙B2-20120091-4
Comments
No comments yet. Why don't you start the discussion?