
Blenders are kitchen workhorses—used daily for smoothies, soups, sauces, and more. But frequent use means residue builds up quickly, especially in hard-to-reach areas like the blade base and seal. Many people assume deep cleaning requires full disassembly, which can be intimidating or even void warranties on certain models. The good news: you don’t need to take your blender apart completely to achieve a thorough clean. With the right techniques and household ingredients, you can maintain optimal hygiene and performance safely and efficiently.
This guide walks through proven, non-invasive methods to deep clean your blender jar, blades, and gasket area—all without removing screws, seals, or motor components. Whether you own a high-end countertop model or a compact personal blender, these strategies will keep it fresh, odor-free, and functioning at its best.
The Risks of Full Disassembly
While some blenders are designed for easy breakdown, others aren't. Attempting to unscrew the blade assembly from the bottom of the jar may damage waterproof seals, strip threads, or compromise the unit’s integrity. Once compromised, moisture can seep into the motor base during operation, creating electrical hazards.
“Many customers bring in blenders with mold under the blade because they tried cleaning it themselves but didn’t reseal it properly.” — Carlos Mendez, Appliance Repair Technician with 12 years of experience
Additionally, manufacturers often warn against tampering with sealed blade units. Doing so could void your warranty. For these reasons, learning how to deep clean effectively without full disassembly is not just convenient—it's safer and smarter long-term maintenance.
Why Regular Deep Cleaning Matters
Even if your blender looks clean after rinsing, microscopic food particles cling to crevices around the blade housing and rubber gasket. Over time, this leads to:
- Odor buildup (especially from onions, garlic, or dairy)
- Bacterial growth and potential mold formation
- Reduced blending efficiency due to clogged blade movement
- Cross-contamination between ingredients
A study by the NSF International found that kitchen appliances like blenders rank among the top five germ hotspots in homes. Without regular deep cleaning, what should be a healthy tool becomes a source of contamination.
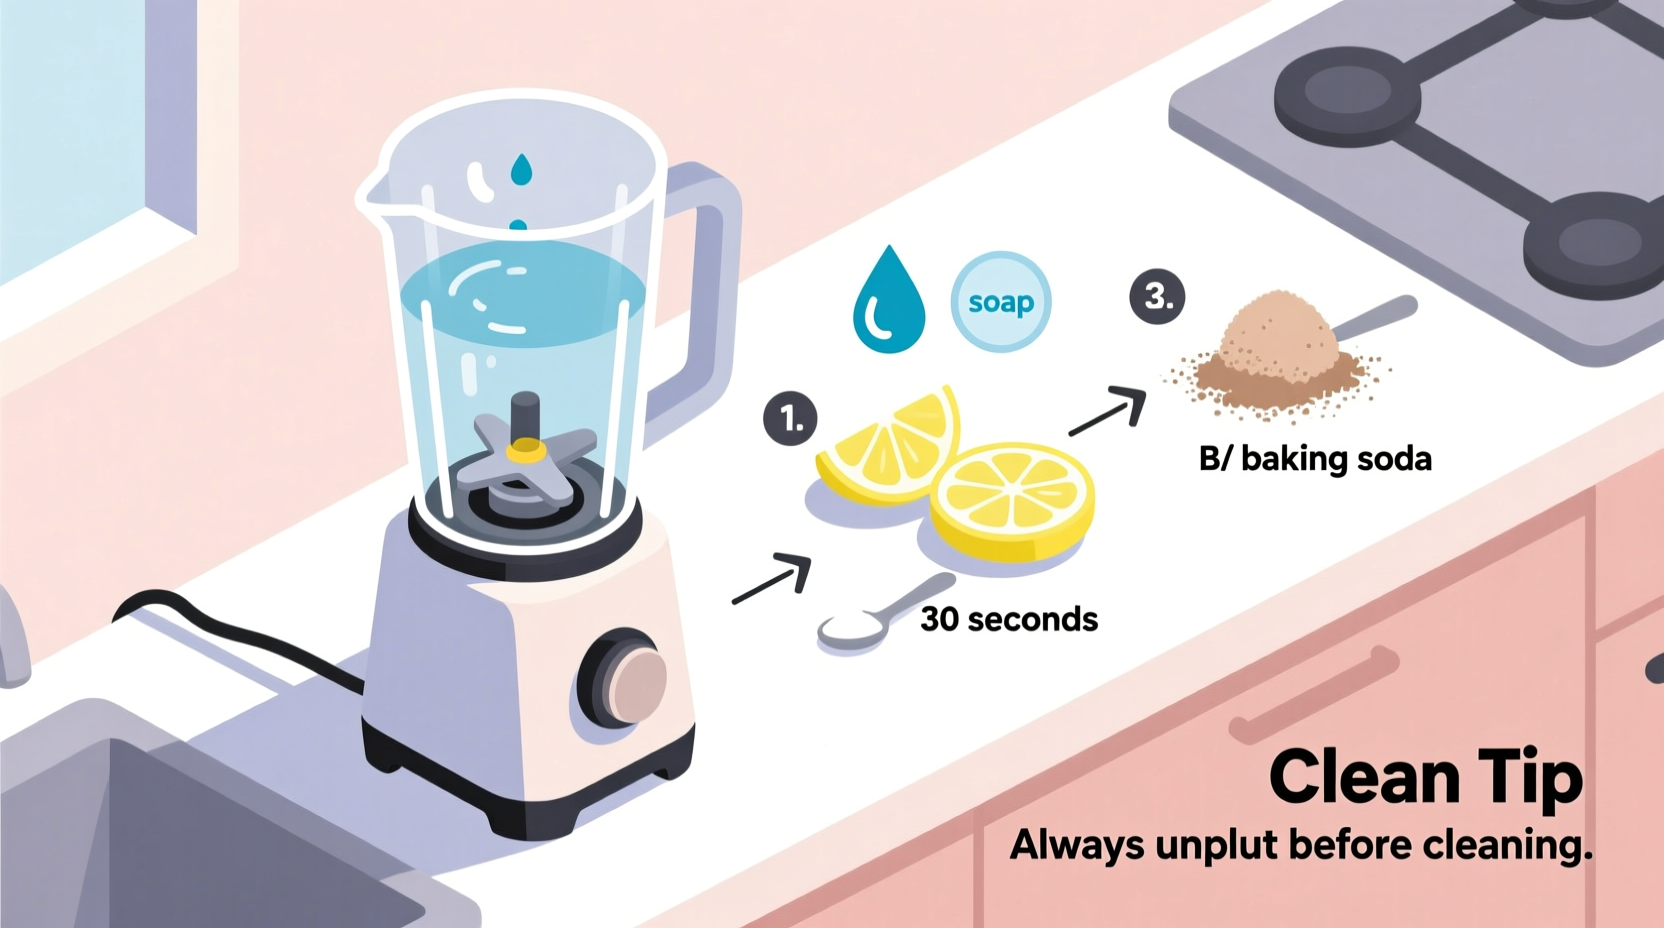
Step-by-Step Guide: Deep Cleaning Without Disassembly
You can achieve professional-level cleanliness using simple tools and natural cleaners. Follow this timeline-based process every 1–2 weeks, depending on usage frequency.
- Immediate Post-Use Rinse (Day 0): After each use, fill the blender halfway with warm water and run it on high for 15 seconds. This removes loose debris before it dries.
- Dry Wipe (Day 0): Empty the water and use a soft sponge or cloth to wipe down the interior walls and near the blade rim. Avoid poking fingers or utensils near the blades.
- Weekly Deep Clean (Every 7–14 Days): Use one of the following methods to eliminate stubborn stains, odors, and biofilm.
Method 1: Baking Soda & Warm Water Scrub Cycle
This gentle abrasive method lifts grime without scratching plastic or glass jars.
- Add 1 cup warm water to the blender jar.
- Sprinkle in 2 tablespoons of baking soda.
- Run the blender on high for 30–60 seconds.
- Pour out the mixture and rinse thoroughly.
- Wipe the rim and upper blade area with a damp microfiber cloth wrapped around a spoon handle for extra reach.
Method 2: Vinegar Soak & Blend
Vinegar naturally disinfects and dissolves mineral deposits and organic buildup.
- Mix equal parts white vinegar and warm water to fill half the jar.
- Let sit for 5 minutes to loosen residue.
- Blend on high for 45 seconds.
- Rinse well with fresh water.
- Follow with a lemon juice rinse (optional) to neutralize any lingering vinegar smell.
Method 3: Dish Soap & Hot Water Flush
Ideal for greasy residues from nut butters or oils.
- Add a few drops of dish soap and fill the jar halfway with hot (not boiling) water.
- Blend for 30 seconds.
- Empty and rinse 2–3 times with clean water to ensure no soap remains.
- Dry upside down on a rack to prevent moisture trapping underneath.
“Using real dish soap occasionally helps break down lipid films that water alone can’t remove.” — Dr. Lena Patel, Food Safety Microbiologist
Do’s and Don’ts When Cleaning Blenders
| Do’s | Don’ts |
|---|---|
| Use warm, not boiling, water to avoid thermal shock in glass jars | Submerge the motor base in water or run it under the tap |
| Clean immediately after use to prevent drying and staining | Use steel wool or harsh abrasives that scratch surfaces |
| Wipe the exterior and control panel with a damp cloth weekly | Force apart the blade assembly unless explicitly instructed by the manual |
| Let the jar air-dry completely before reattaching to the base | Store the blender with a lid on while still damp—this encourages mold |
| Run a cleaning cycle monthly even if used lightly | Use bleach or ammonia-based cleaners unless specified as safe by the manufacturer |
Mini Case Study: Reviving a Neglected Blender
Sarah, a busy mother of two, used her blender nearly every morning for smoothies. Over six months, she only rinsed it quickly after each use. Eventually, a persistent sour smell developed, and greenish specks appeared near the blade. Fearing mold, she considered replacing the $120 appliance.
Instead, she followed the vinegar-and-baking-soda method outlined here. She filled the jar with warm vinegar-water, blended for a minute, then repeated with a baking soda paste. After three rounds and an overnight soak with lemon slices, the odor vanished and the discoloration disappeared. Her blender now performs like new—and she avoids unnecessary waste and expense.
This case illustrates how minor neglect compounds over time, but also how effective non-disassembly cleaning can be—even for heavily soiled units.
Enhancing Results with Simple Tools
You don’t need specialty brushes, but a few low-cost items improve access to tight spaces:
- Flexible bottle brush: Reaches along the sides and near the blade collar.
- Microfiber cloth on a bent utensil: Wrap fabric around a spoon or chopstick to wipe the top edge of the blade housing.
- Straw cleaner brush (small diameter): Useful for clearing clogs in single-serve blender spouts.
Never insert anything sharp into the jar while the blade is attached. Even dull tools can degrade the seal or scratch surfaces where bacteria hide.
Checklist: Monthly Blender Maintenance Routine
Stay ahead of buildup with this quick checklist:
- ▢ Perform post-use rinse within 10 minutes of blending
- ▢ Wipe down outer jar and base weekly with a damp cloth
- ▢ Run a deep-cleaning cycle (vinegar, baking soda, or soapy water) every 1–2 weeks
- ▢ Inspect the rubber gasket area weekly for visible debris or cloudiness
- ▢ Air-dry completely before storing
- ▢ Check manufacturer guidelines for approved cleaning agents
- ▢ Replace the rubber gasket every 12–18 months if cracked or brittle
Frequently Asked Questions
Can I put my blender jar in the dishwasher?
Most modern blender jars and lids are dishwasher-safe—check your manual first. Place the jar upright on the top rack to avoid pressure damage. However, the blade assembly should never go in the dishwasher unless explicitly stated. Detergent and heat can corrode metal parts and degrade seals over time.
How do I know if mold has formed under the blade?
Signs include dark spots near the blade shaft, persistent musty smells, or cloudy film that doesn’t wash off. If suspected, perform a vinegar-blend cycle twice, then inspect visually. If discoloration remains, contact the manufacturer for guidance—do not attempt to pry open sealed units yourself.
Is it safe to use bleach to sanitize my blender?
Only if recommended by the manufacturer. In general, dilute bleach (1 tablespoon per gallon of water) can sanitize non-porous surfaces, but must be rinsed *extremely* well. Residual bleach can leach into food and cause health issues. Safer alternatives include white vinegar, hydrogen peroxide, or dedicated appliance sanitizers labeled food-safe.
Conclusion: Keep It Clean, Keep It Safe
Your blender doesn’t have to be taken apart to stay hygienic. With consistent care and smart cleaning habits, you can maintain peak performance and safety without risking damage or voiding warranties. The methods described—using common pantry staples like vinegar and baking soda—are cost-effective, eco-friendly, and accessible to anyone.
Deep cleaning without full disassembly isn’t a shortcut—it’s a sustainable practice that protects your investment and ensures every smoothie starts fresh. Make it part of your routine, and your blender will serve you reliably for years to come.


 浙公网安备
33010002000092号
浙公网安备
33010002000092号 浙B2-20120091-4
Comments
No comments yet. Why don't you start the discussion?