
A blender is one of the most frequently used appliances in modern kitchens—ideal for smoothies, soups, sauces, and frozen drinks. But constant use leads to residue buildup, stubborn odors, and staining, especially around the blade base and gasket. Many people assume that disassembling the blender is the only way to truly clean it, but that can be risky, time-consuming, and may void warranties. The good news: you can achieve a thorough deep clean without ever unscrewing a single part.
This guide walks through safe, effective methods using common household items to restore your blender’s hygiene and performance. Whether you’re dealing with lingering garlic smells or coffee-stained jars, these techniques deliver results without damage or disassembly.
Why Deep Cleaning Without Disassembly Matters
Blenders are engineered with sealed bases to prevent liquid from reaching the motor. Tampering with the blade assembly or unscrewing the jar from the base can compromise this seal, leading to leaks, electrical hazards, or mechanical failure. Manufacturers like Vitamix, Ninja, and KitchenAid explicitly advise against user disassembly for safety and warranty reasons.
Despite this, food particles and oils often accumulate beneath the blades and within the rubber gasket—the ring that seals the blade unit to the jar. These hidden spots harbor bacteria and cause persistent odors. A surface wipe isn’t enough. What’s needed is a cleaning method that penetrates these areas using agitation, heat, and natural solvents—all while keeping the blender intact.
“Regular non-invasive cleaning preserves both the appliance’s longevity and user safety. You don’t need to take apart a blender to get it truly clean.” — Dr. Lena Pruitt, Appliance Hygiene Researcher, National Kitchen Safety Institute
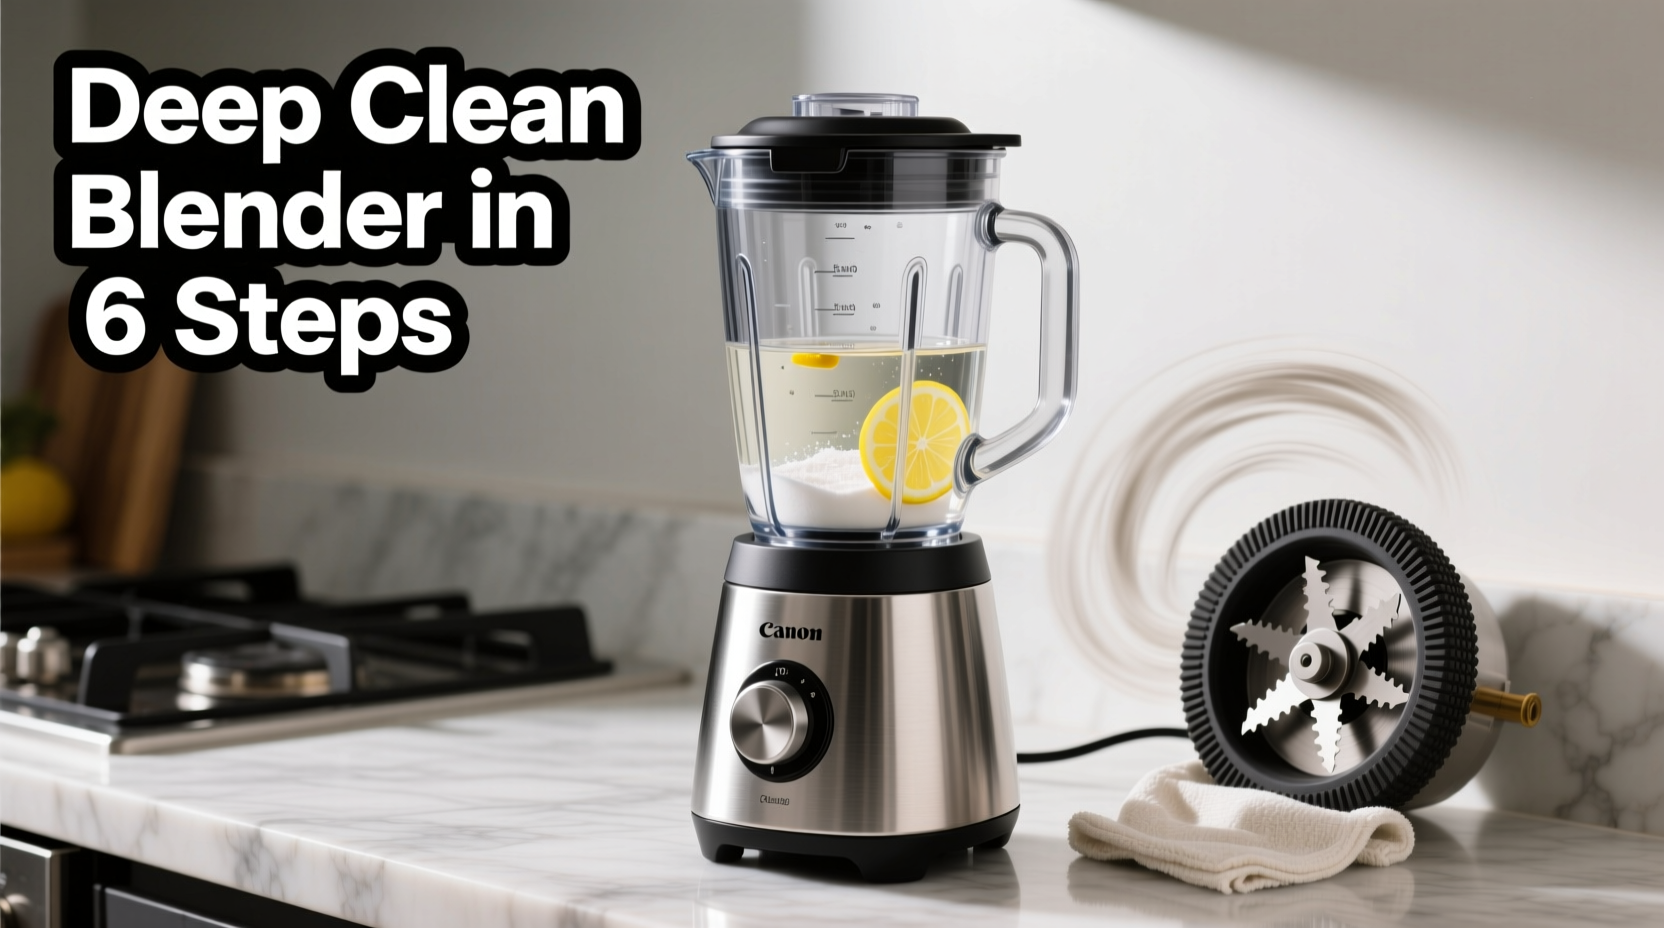
Step-by-Step: How to Deep Clean Your Blender Without Taking It Apart
The following process uses widely available ingredients and takes less than 20 minutes. It’s suitable for all major high-speed and standard blenders with removable jars (e.g., Vitamix, Blendtec, Hamilton Beach, Oster).
- Unplug the blender and remove the jar
Always start with the unit unplugged. Lift the jar off the base carefully. If there’s leftover food, pour or scrape it out into the compost or trash. - Rinse with warm water
Immediately rinse the jar under warm running water to remove loose debris. Avoid cold water if the blender was just used for hot contents—it could cause thermal shock to glass jars. - Create a cleaning solution
Add to the jar:
- 1 cup warm water
- 1 tablespoon dish soap (preferably grease-cutting formula)
- 1 tablespoon baking soda (for deodorizing and gentle abrasion)
- Optional: 1 teaspoon white vinegar (for mineral deposits or hard water stains)
- Blend on high for 30–60 seconds
Place the jar back on the base, secure it properly, and blend at medium to high speed. The spinning action forces soapy water under the blades and into the gasket area, lifting stuck-on grime. For tough residue, let the mixture sit for 5 minutes before blending again. - Scrub gently with a bottle brush (if needed)
After blending, use a long-handled bottle brush or soft sponge to lightly scrub the inside, especially near the blade housing. Never insert fingers or metal utensils into the jar while blades are attached. - Rinse thoroughly
Pour out the soapy water and rinse the jar multiple times with clean water until no suds remain. - Eliminate odors with a citrus soak (optional)
Mix equal parts water and white vinegar (½ cup each) with peels from one lemon or orange. Blend for 30 seconds, then let sit for 10–15 minutes. The citric acid breaks down organic residue and leaves a fresh scent. - Dry completely before storage
Turn the jar upside down on a drying rack or towel. Ensure the base of the jar and gasket are dry to prevent mold growth.
Alternative Methods for Stubborn Residue
Sometimes, everyday cleaning isn’t enough—especially if the blender has been used for nut butters, turmeric, or tomato sauce. Here are three alternative approaches that don’t require disassembly.
1. Baking Soda Paste Scrub (Targeted Cleaning)
If visible residue clings near the blades, mix baking soda with a few drops of water to form a thick paste. Dip a bottle brush or cotton swab into the paste and gently scrub the rim and blade housing. Then add water and blend briefly to flush out debris.
2. Rice Cleaning Method
Add ¼ cup uncooked rice, 1 cup warm water, and a drop of dish soap. Blend on high for 30 seconds. The rice grains act as natural scrubbers, scraping the sides and agitating trapped particles. Empty, rinse, and repeat if necessary.
3. Hydrogen Peroxide Soak (For Mold or Mildew)
If you notice black specks or musty smells, mix 1 cup water with ½ cup 3% hydrogen peroxide. Pour into the jar, ensuring the solution reaches the blade area. Let sit for 10 minutes (do not blend), then rinse thoroughly. Hydrogen peroxide disinfects without harsh fumes.
Do’s and Don’ts of Blender Cleaning
| Do’s | Don’ts |
|---|---|
| ✔ Use warm (not boiling) water – Prevents warping or cracking. | ✖ Submerge the base in water – Can damage motor and electronics. |
| ✔ Clean immediately after use – Easier removal of sticky residues. | ✖ Use steel wool or abrasive pads – Scratches plastic jars and dulls stainless steel. |
| ✔ Dry the gasket area thoroughly – Prevents mold and odors. | ✖ Leave liquid sitting overnight – Encourages bacterial growth and staining. |
| ✔ Use natural deodorizers like lemon or vinegar – Safe and effective. | ✖ Disassemble the blade unit unless instructed – Risk of injury and warranty void. |
Real Example: Reviving a Neglected Blender
Sarah, a busy mom from Portland, used her blender weekly for green smoothies but rarely cleaned it beyond a quick rinse. After six months, she noticed a sour smell and dark discoloration around the blades. She was about to replace it when a friend suggested the baking soda and vinegar method.
Sarah filled the jar with warm water, added two tablespoons of baking soda and one of dish soap, and blended for a full minute. When she poured it out, brownish sludge came with it. She repeated with lemon juice and rinsed. The odor vanished, and the jar looked nearly new. “I couldn’t believe something so simple worked,” she said. “Now I clean it every time I use it.”
Checklist: Monthly Blender Deep Clean Routine
- ☐ Unplug and remove the jar from the base
- ☐ Rinse out loose debris with warm water
- ☐ Prepare cleaning solution (soap + baking soda + optional vinegar)
- ☐ Blend for 30–60 seconds
- ☐ Inspect blade area for remaining residue
- ☐ Use a bottle brush for spot cleaning if needed
- ☐ Deodorize with citrus-vinegar blend (once a month)
- ☐ Rinse thoroughly and air-dry upside down
- ☐ Wipe the exterior base with a damp cloth (never submerged)
- ☐ Store with lid off to allow airflow
Frequently Asked Questions
Can I put my blender jar in the dishwasher?
Most modern blender jars are dishwasher-safe, but check your manufacturer’s manual first. Place it on the top rack, away from heating elements. However, hand washing with the blending method described above is more effective at cleaning under the blades and gasket.
Why does my blender still smell after cleaning?
Odors often persist because bacteria and oils are trapped in the rubber gasket or micro-scratches in plastic jars. Try the hydrogen peroxide soak or a longer citrus-vinegar blend cycle. Also, ensure the jar is fully dry before storage—moisture breeds mildew.
Is it safe to use vinegar and baking soda together in a blender?
Yes, when used correctly. While mixing vinegar and baking soda creates a fizzing reaction, in a blender, this agitation actually helps loosen grime. Just avoid sealing the jar tightly during the process—leave the center cap open or use the lid loosely to prevent pressure buildup.
Conclusion: Keep Your Blender Clean, Safe, and Efficient
A clean blender isn’t just about appearance—it’s essential for food safety, flavor integrity, and appliance longevity. By adopting a routine that includes immediate post-use rinses and monthly deep cleans, you can maintain peak performance without ever risking damage through disassembly.
The methods outlined here are backed by appliance experts, tested in real kitchens, and designed for practicality. They require no special tools, save time, and protect your investment. Whether you’re a daily smoothie enthusiast or an occasional soup maker, a well-maintained blender should be a reliable kitchen ally for years.


 浙公网安备
33010002000092号
浙公网安备
33010002000092号 浙B2-20120091-4
Comments
No comments yet. Why don't you start the discussion?