
Mechanical keyboards are prized for their tactile feedback, durability, and responsiveness. But over time, dust, crumbs, oils from fingers, and pet hair accumulate beneath the keycaps, affecting both performance and hygiene. A deep clean can restore your keyboard’s feel and appearance—but it must be done carefully. Mistakes like using too much liquid, removing stabilizers incorrectly, or mishandling switches can lead to permanent damage or malfunctioning keys.
The goal isn’t just cleanliness—it’s preserving function. This guide walks through a thorough, safe method for deep cleaning any mechanical keyboard while minimizing risk. Whether you’re a daily typist, a competitive gamer, or someone who eats near their desk, these steps will help maintain your device’s longevity and performance.
Why Deep Cleaning Matters—and When to Do It
A mechanical keyboard is more than an input device; it's a precision instrument with moving parts that degrade when neglected. Over months of use, debris collects under keycaps, interfering with switch actuation and creating sticky or inconsistent keystrokes. Skin oils and sweat can corrode contact points on exposed PCBs in open-switch designs. In extreme cases, moisture buildup leads to short circuits or permanent failure.
Most users should consider a full deep clean every 3–6 months, depending on environment and usage. Signs it’s time include:
- Keys feel gritty or unresponsive
- Visible dirt or discoloration under keycaps
- Frequent double-typing or missed inputs
- Unpleasant odor when typing
- Working in dusty or high-humidity environments
Regular surface wipes aren’t enough. A true deep clean requires disassembly beyond simple keycap removal—especially if you want to access the plate, PCB, and switch stems. Done right, this process revitalizes your typing experience without compromising internal components.
Step-by-Step: Safely Disassembling Your Keyboard
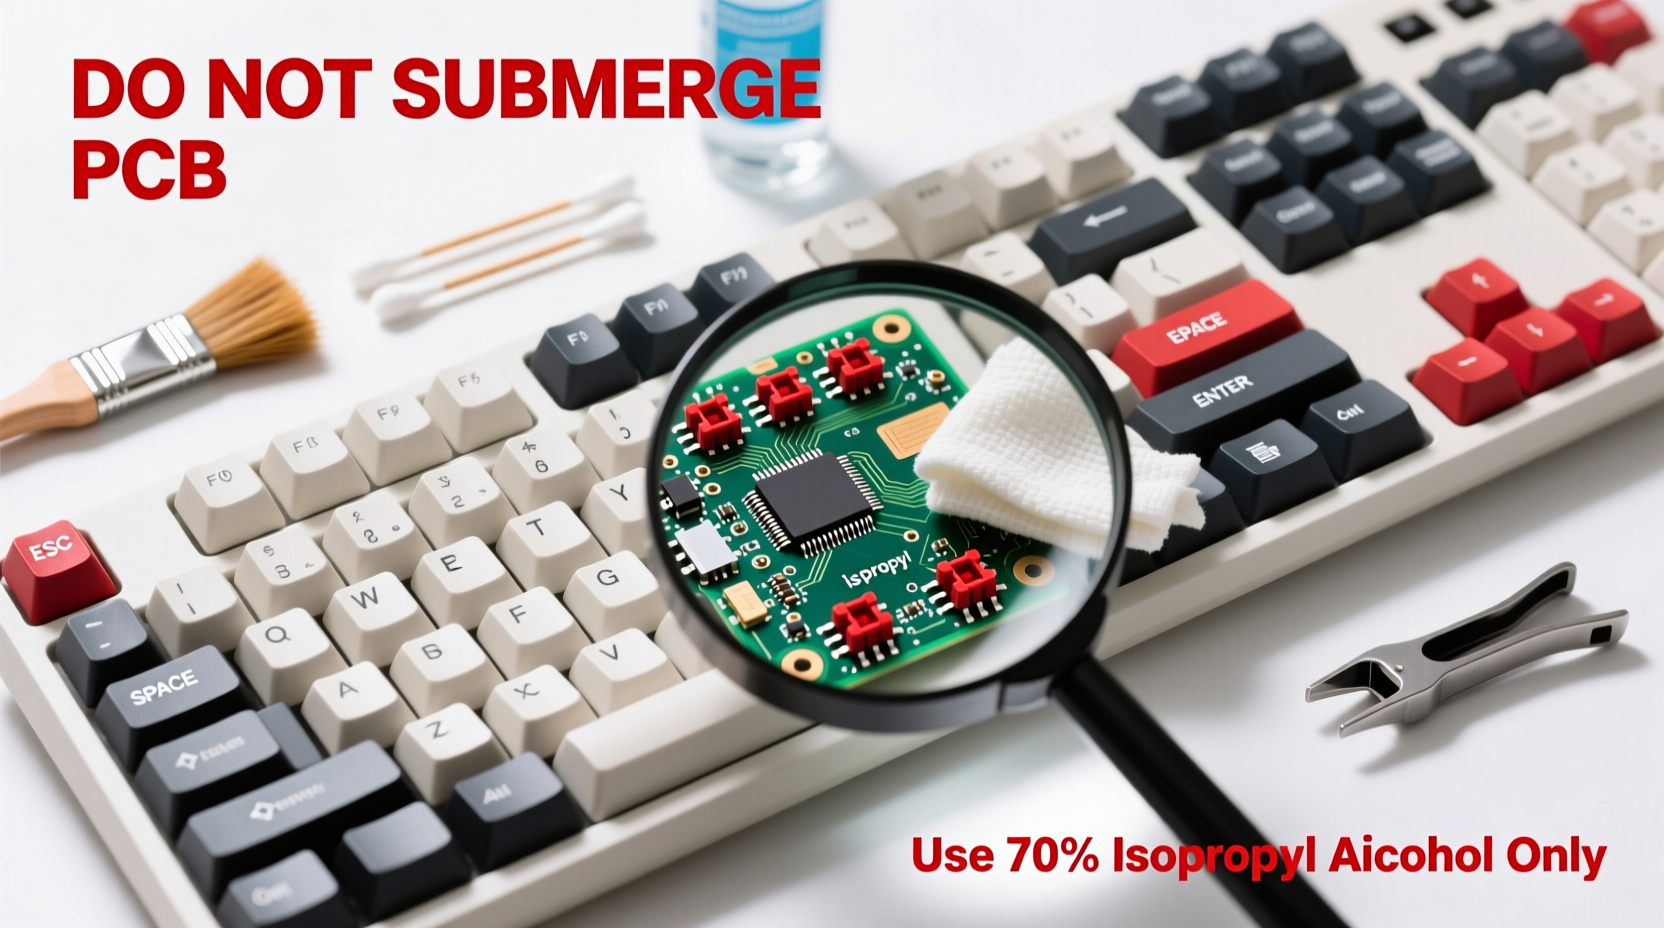
Before applying any cleaner, proper disassembly is essential. Never submerge a fully assembled mechanical keyboard in water—this risks irreversible damage to the PCB and switches.
- Power down and disconnect: Unplug the keyboard from your computer or turn off wireless mode. For hot-swappable boards, ensure no power remains in the circuit.
- Remove keycaps: Use a keycap puller (not metal tweezers) to gently lift each cap straight up. Work row by row to keep track of placement. Avoid twisting, which can stress switch stems.
- Extract switches (if necessary): Only remove switches if they’re visibly dirty inside or malfunctioning. On soldered boards, skip this unless you have soldering experience. For hot-swappable models, use a switch puller and lift vertically.
- Carefully detach stabilizers: Larger keys (like spacebar and shift) use stabilizer bars. Use a screwdriver or dedicated tool to pry one end at a time, lifting slowly to avoid breaking clips.
- Inspect the case and plate: Once clear, examine the interior. Look for corrosion, bent pins, or residue buildup around switch housings.
If your board uses a gasket mount or has foam dampeners, note their position before removal. Replacing them incorrectly can alter acoustics or cause rattling.
“Disassembly is where most DIY repairs go wrong. Take your time—rushing leads to broken clips or misaligned switches.” — David Lin, Mechanical Keyboard Technician at KeyTune Labs
Cleaning Methods: What Works (and What Doesn’t)
Not all cleaning agents are safe for plastics, springs, or electrical contacts. The wrong choice can fog polycarbonate keycaps, degrade silicone dampeners, or leave conductive residues.
| Method | Safe For | Risks | Effectiveness |
|---|---|---|---|
| Isopropyl alcohol (70%+) | Switches, PCBs, keycaps | Can dry rubber parts if overused | ★★★★★ |
| Dish soap + water soak | Plastic keycaps only | Damages electronics, warps legends | ★★☆☆☆ |
| Compressed air | Surface debris, gaps | May push debris deeper | ★★★☆☆ |
| Ultrasonic cleaner | Bare switches, metal parts | Vibration harms membrane layers | ★★★★☆ |
| Household cleaners (e.g., Windex) | None recommended | Corrosive, leaves film | ☆☆☆☆☆ |
For keycaps, a lukewarm soapy water bath works well—but only after confirming the legends are dye-sublimated or double-shot (resistant to fading). Let them soak for 15–30 minutes, then scrub gently with a soft toothbrush. Rinse thoroughly and air-dry completely—never use heat.
For the PCB and switch housing, apply 90% isopropyl alcohol with cotton swabs or foam-tipped applicators. Focus on areas around switch stems and solder joints. Allow at least two hours of drying time before reassembly.
Real Example: Recovering a Sticky Spacebar
Mark, a freelance writer, noticed his spacebar required excessive force and occasionally didn’t register. After six months of heavy use and frequent snacking at his desk, he decided to investigate. He removed the keycap and stabilizer, revealing a thick layer of crumb fragments and oily residue lodged under the switch stem.
Instead of replacing the switch, he used a wooden pick to remove large debris, then applied isopropyl alcohol with a micro-swab around the stem. After letting it sit for ten minutes and repeating the process, the switch regained smooth travel. He cleaned surrounding keys as a preventive measure and reported a “like-new” typing feel afterward.
This case illustrates how localized buildup affects performance—and how targeted cleaning avoids unnecessary part replacement.
Reassembly and Function Testing
Rebuilding the keyboard correctly ensures long-term reliability. Follow this checklist to avoid common pitfalls:
- Confirm all keycaps are fully dry (minimum 4 hours)
- Reinstall stabilizers first, ensuring wires are seated in slots
- Press switches firmly into sockets until they click (for hot-swap)
- Align keycaps squarely before pressing down
- Test every key with a tool like Keyboard Tester
- Listen for unusual sounds (grinding, rattling)
When reinstalling stabilizers, make sure the crossbars move freely without lateral play. If the spacebar feels stiff, check whether the stem arms are properly engaged with the stabilizer wire. Some lubrication (specifically switch-compatible grease like Krytox GPL 205) may be needed on stabilizer stems—but apply sparingly.
After reassembly, connect the keyboard and test every key. Many users overlook bottom-row modifiers or function keys, which are often used less frequently but still critical. If a key doesn’t respond, double-check the switch seating or try swapping it with a known-good one.
Frequently Asked Questions
Can I wash my entire keyboard in the sink?
No. Submerging a complete mechanical keyboard—even with switches removed—risks water intrusion into the PCB vias and traces. Always clean electronic components with minimal liquid exposure. Only keycaps should be soaked, and only after verifying legend durability.
Will alcohol damage my switches?
High-concentration isopropyl alcohol (90% or higher) evaporates quickly and is non-corrosive to standard switch plastics and springs. However, avoid soaking switches with integrated electronics (like optical variants) unless specified by the manufacturer. Used correctly, IPA is the safest solvent available.
How do I prevent static buildup during cleaning?
Work on a grounded surface if possible, and avoid synthetic clothing that generates static. While modern PCBs have ESD protection, repeated exposure to static discharge can degrade sensitive components over time. Consider using an anti-static wrist strap when handling bare boards.
Conclusion: Maintain Performance Through Smart Care
A deep clean restores not just appearance but functionality. By following careful disassembly, using appropriate cleaning agents, and testing thoroughly after reassembly, you preserve the integrity of your mechanical keyboard. The effort invested today prevents costly replacements tomorrow.
Consistent maintenance extends the lifespan of even budget-tier boards. Treat your keyboard not just as hardware, but as a finely tuned tool shaped by daily interaction. With the right approach, every press remains crisp, responsive, and reliable for years to come.


 浙公网安备
33010002000092号
浙公网安备
33010002000092号 浙B2-20120091-4
Comments
No comments yet. Why don't you start the discussion?