
Tile floors and walls are durable, attractive, and widely used in kitchens and bathrooms. But over time, the grout lines between them can become stained, discolored, and grimy due to moisture, mold, soap scum, and everyday wear. Commercial cleaners often contain harsh chemicals that may damage surfaces or irritate sensitive skin and lungs. The good news? You don’t need expensive products to restore your grout to its original condition. With common household ingredients like baking soda, vinegar, hydrogen peroxide, and dish soap, you can deep clean grout safely and effectively—without spending a fortune.
Why Grout Gets Dirty and How to Prevent It
Grout is porous by nature, meaning it absorbs liquids and stains easily. In high-moisture areas like showers and kitchen backsplashes, this absorption leads to mildew, mold, and discoloration. Foot traffic, spills, and airborne grease compound the issue. Even with regular mopping, grout tends to trap dirt deep within its structure, making surface cleaning ineffective.
Prevention starts with proper maintenance. Wiping down tiled surfaces after use, ensuring good ventilation, and sealing grout every 6–12 months can significantly slow down deterioration. However, when grout has already darkened or developed stubborn buildup, a deep clean is necessary.
Essential Household Items for Deep Cleaning Grout
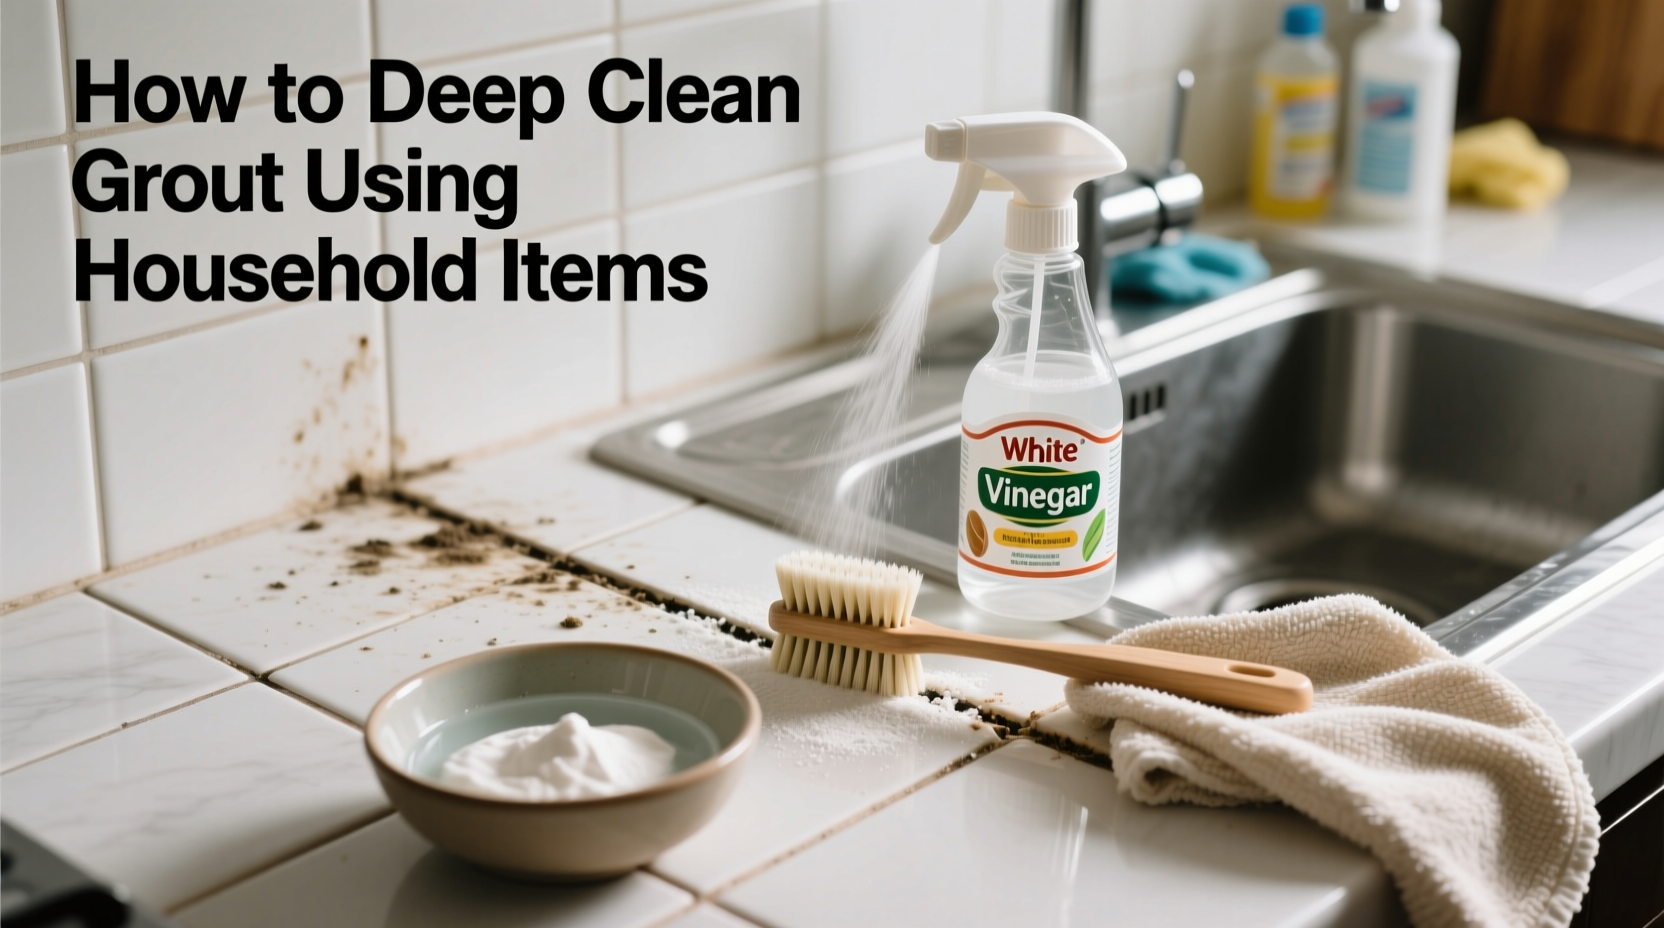
You likely already have everything you need under your sink. These pantry and cleaning staples are powerful when combined correctly:
- Baking Soda – A gentle abrasive that lifts dirt without scratching tile.
- White Vinegar – Natural acid that dissolves mineral deposits and kills mold.
- Hydrogen Peroxide (3%) – Disinfects and bleaches stains without chlorine.
- Dish Soap (like Dawn) – Breaks down grease and helps lift oily residues.
- Old Toothbrush or Grout Brush – Reaches into narrow lines for scrubbing.
- Spray Bottle – For even application of liquid solutions.
- Microfiber Cloth or Sponge – For wiping and polishing.
Avoid using bleach unless absolutely necessary—it can degrade grout over time and produce toxic fumes when mixed with vinegar. Stick to safer alternatives that deliver comparable results.
Step-by-Step Guide to Deep Clean Grout
Follow this detailed process to achieve professional-level results using only household supplies. This method works on wall and floor tiles made of ceramic, porcelain, or stone, as long as the grout is not cracked or crumbling.
- Clear and Prep the Area
Remove rugs, shower curtains, and any obstacles. Sweep or vacuum the floor to eliminate loose debris. For walls, wipe off dust with a dry cloth. - Pre-Clean Surface Grime
Mix 1 tablespoon of dish soap with 2 cups of warm water. Use a sponge to scrub the entire tiled surface. Rinse with clean water and let dry completely. This removes surface oils and prepares grout for deeper treatment. - Create a Cleaning Paste
In a small bowl, mix ½ cup of baking soda with ¼ cup of hydrogen peroxide. Stir until it forms a thick paste. For extra cleaning power, add 1 teaspoon of dish soap. This mixture gently abrades while disinfecting and lifting stains. - Apply the Paste to Grout Lines
Using an old toothbrush or grout brush, work the paste directly into the grout lines. Focus on one section at a time (e.g., 2 ft x 2 ft) to avoid the paste drying too quickly. Be thorough—press the bristles into crevices where mold hides. - Let It Sit for 10–15 Minutes
Allow the solution to penetrate. Hydrogen peroxide bubbles slightly, helping to lift embedded dirt. Do not let it dry completely; if it starts cracking, mist lightly with water. - Scrub Again and Rinse
After waiting, scrub the same area again with the brush. Then rinse with a damp cloth or sponge. For floors, use a wrung-out mop. Repeat across all sections. - Tackle Stubborn Stains with Vinegar Spray (Optional)
For remaining dark spots or mildew, fill a spray bottle with undiluted white vinegar. Spray directly onto affected grout. Wait 5 minutes, then blot or dab with a cloth. Do not mix vinegar and hydrogen peroxide in the same step—they react and lose effectiveness. - Dry and Inspect
Use a dry microfiber towel to wipe down the area. Check for lingering stains. If needed, repeat the baking soda-peroxide treatment once more before final drying.
This full process typically takes 30–60 minutes depending on the size of the tiled area. Patience and consistent scrubbing yield the best outcomes.
Do’s and Don’ts of Grout Cleaning
| Do’s | Don’ts |
|---|---|
| Test cleaning solutions on a small, hidden area first. | Never use steel wool or metal scrapers—these scratch tiles. |
| Use soft-bristle brushes to avoid damaging grout. | Avoid mixing vinegar and bleach—creates dangerous chlorine gas. |
| Seal grout after cleaning to protect against future stains. | Don’t oversaturate grout with water—can weaken it over time. |
| Clean regularly to prevent heavy buildup. | Don’t skip ventilation—open windows or run fans during cleaning. |
| Wear gloves to protect your hands from prolonged exposure. | Avoid abrasive powders like comet on colored grout—they may fade it. |
Real Example: Reviving a 10-Year-Old Shower
Sarah, a homeowner in Portland, had put off cleaning her bathroom shower for years. The grout between the tiles was nearly black in spots, especially near the base and corners. She tried store-bought sprays with little success. Frustrated, she decided to try a homemade method using ingredients she already had.
She started by mixing baking soda and hydrogen peroxide into a paste, applied it with an old electric toothbrush, and let it sit for 15 minutes. After scrubbing and rinsing, she noticed immediate improvement. For darker areas, she followed up with a vinegar spray. After two rounds of treatment over two weekends, the grout was restored to a light gray color. Sarah then sealed the grout with a $10 silicone-based sealer from the hardware store. Two years later, with monthly wipe-downs, the grout remains clean and mold-free.
“I couldn’t believe how well it worked,” she said. “It took effort, but I saved money and avoided harsh fumes.”
“Natural cleaning agents like baking soda and vinegar are underrated. When used properly, they match or exceed many commercial products—especially for porous materials like grout.” — Dr. Lena Torres, Environmental Health Scientist at Green Home Institute
When to Seal Grout (and How To)
Cleaning is only half the battle. Unsealed grout will quickly reabsorb moisture and stains. Sealing creates a protective barrier that repels water and makes future cleaning easier.
Wait 24–48 hours after deep cleaning to ensure grout is completely dry. Then apply a penetrating grout sealer using a small foam brush or applicator bottle. Work slowly along each grout line, avoiding excess on the tile surface. Wipe away any overflow immediately with a lint-free cloth.
Most sealers require 24 hours to cure. Reapply every 6 to 12 months, depending on foot traffic and moisture exposure. Test effectiveness by dripping water on the grout—if it beads up, the seal is intact. If it soaks in, it’s time to reseal.
Frequently Asked Questions
Can I use lemon juice instead of vinegar?
Lemon juice is acidic and can help clean grout, but it’s less effective than vinegar and may leave a sticky residue. Additionally, citrus can degrade grout over time and isn’t recommended for routine use.
How often should I deep clean grout?
In high-use areas like showers and kitchen backsplashes, aim to deep clean every 3–6 months. Light surface cleaning (with soapy water) should be done weekly to maintain appearance and hygiene.
Will baking soda scratch my tiles?
No, baking soda is a soft abrasive and safe for glazed ceramic, porcelain, and most stone tiles. However, avoid using it on unsealed natural stone like marble or limestone, which can be etched by alkaline substances.
Checklist: Deep Clean Your Grout in 8 Steps
- ☐ Clear the area and remove loose debris
- ☐ Pre-wash tiles with soapy water
- ☐ Mix baking soda and hydrogen peroxide into a paste
- ☐ Apply paste directly to grout lines using a brush
- ☐ Let sit for 10–15 minutes (don’t let dry)
- ☐ Scrub again and rinse thoroughly
- ☐ Spot-treat stubborn areas with vinegar (separately)
- ☐ Dry completely and consider sealing within 48 hours
Conclusion: A Cleaner Home Starts in the Details
Deep cleaning grout doesn’t require expensive tools or toxic chemicals. With simple household items and a bit of elbow grease, you can transform dingy, stained tile lines into clean, bright seams that enhance your space. The key is consistency—regular maintenance prevents the buildup that makes deep cleaning overwhelming. Once restored, sealing and routine wiping keep grout looking fresh for months.
Whether you’re preparing for guests, increasing your home’s value, or simply reclaiming pride in your living environment, taking the time to care for overlooked details like grout makes a visible difference. Start small, follow the steps, and experience the satisfaction of a truly deep-cleaned surface—all without leaving your kitchen cabinet.


 浙公网安备
33010002000092号
浙公网安备
33010002000092号 浙B2-20120091-4
Comments
No comments yet. Why don't you start the discussion?