
Air fryers have become kitchen staples for their speed, efficiency, and ability to produce crispy meals with minimal oil. But like any frequently used appliance, they accumulate grease, food residue, and odors over time. While many turn to chemical cleaners for a quick fix, these can leave behind toxic residues or damage non-stick surfaces. The good news: you can achieve a thorough deep clean using only natural, household ingredients. This guide walks through safe, effective, and environmentally friendly methods to restore your air fryer to like-new condition—without exposing yourself or your family to harmful substances.
Why Avoid Harsh Chemicals in Appliance Cleaning?
The interior of an air fryer is in direct contact with the food you consume. Residual cleaning agents can transfer to your meals, especially when exposed to high heat. Many commercial degreasers contain alkaline compounds, solvents, or synthetic fragrances that may cause respiratory irritation or long-term health concerns with repeated exposure.
Additionally, chemical cleaners can degrade the non-stick coating on baskets and trays. Once this coating begins to flake, it not only reduces performance but also introduces potentially harmful particles into your food. According to the Environmental Working Group (EWG), prolonged use of abrasive or caustic cleaners on cookware increases the risk of surface deterioration and chemical leaching.
“Non-stick surfaces require gentle care. Harsh scrubbing or strong solvents compromise their integrity and safety.” — Dr. Lena Peterson, Materials Safety Researcher at GreenHome Institute
Natural cleaning alternatives are not only safer—they’re often just as effective when used correctly. With common pantry items like vinegar, baking soda, and lemon, you can dissolve grease, neutralize odors, and sanitize surfaces without risking contamination.
Essential Tools and Supplies for Chemical-Free Cleaning
You don’t need specialized products to deep clean your air fryer. Most tools are likely already in your home. Here’s what to gather before starting:
- Baking soda (sodium bicarbonate)
- White distilled vinegar
- Lemon or citrus peels
- Soft sponge or non-abrasive cloth
- Mild dish soap (plant-based, fragrance-free preferred)
- Microfiber towel
- Small bowl or container
- Toothbrush (old, soft-bristled)
- Warm water
Step-by-Step Deep Cleaning Process
Cleaning your air fryer thoroughly involves multiple stages: disassembly, soaking, scrubbing, deodorizing, and drying. Follow this timeline for best results. Allow approximately 60–90 minutes from start to finish, including drying time.
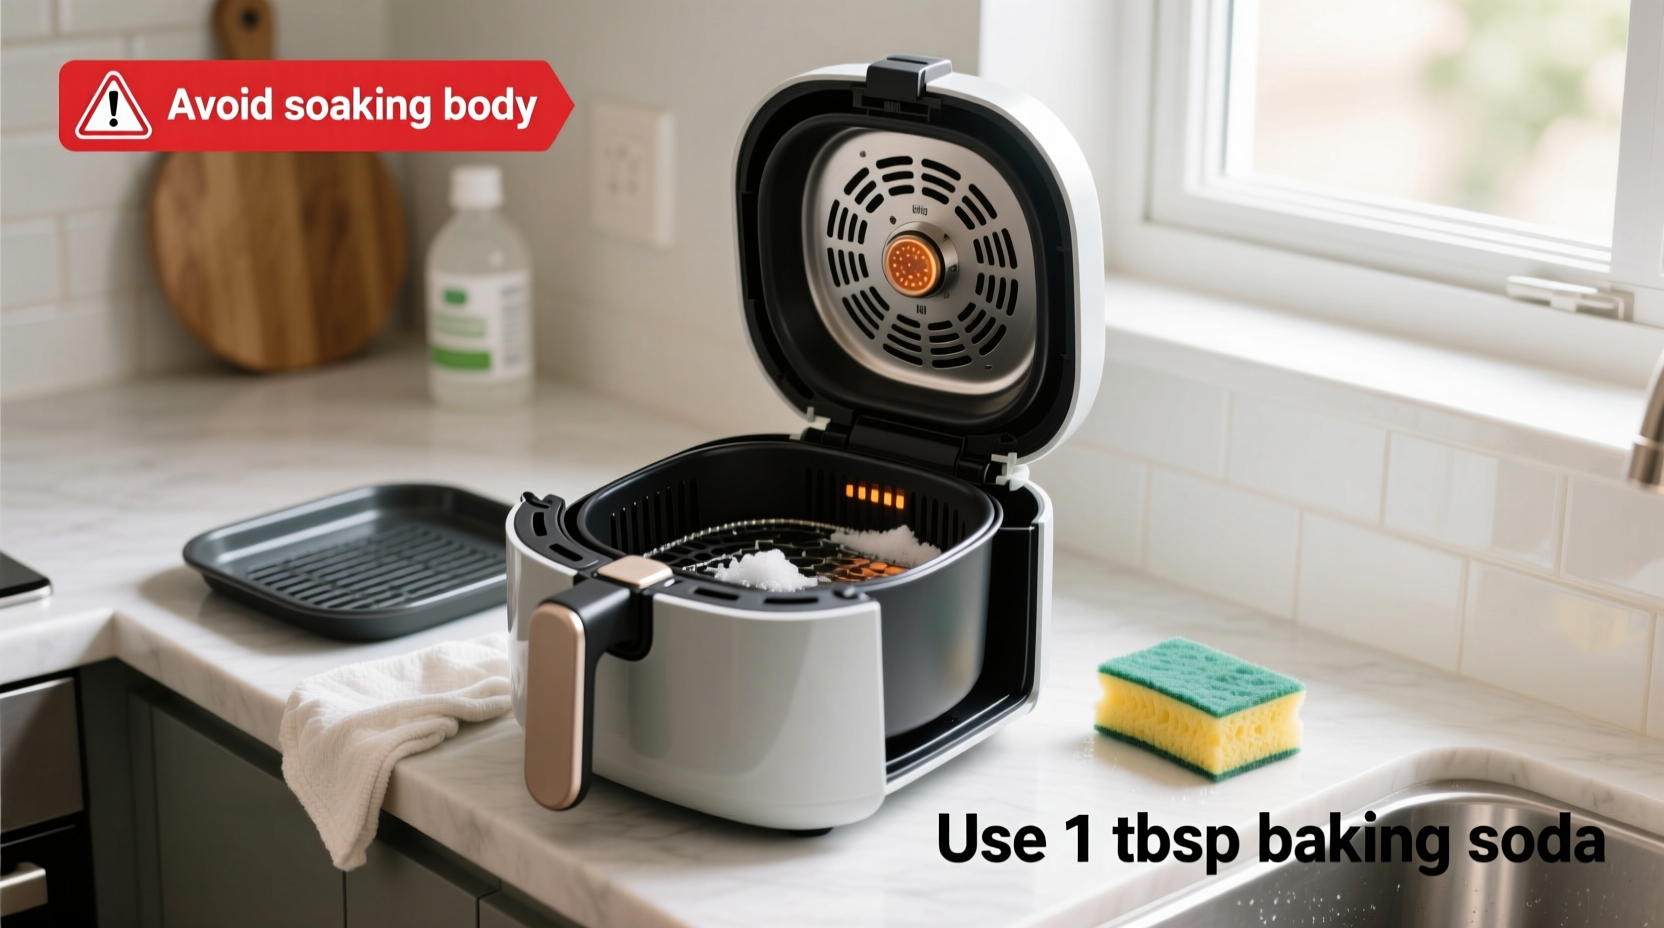
- Unplug and cool completely: Always disconnect the unit and wait until it reaches room temperature. Never submerge the main heating base in water.
- Disassemble removable parts: Remove the basket, tray, rack, and any other detachable components. Refer to your model’s manual if unsure.
- Soak basket and accessories: Fill a sink or basin with warm water and add 1 tablespoon of mild dish soap. Soak parts for 15 minutes to loosen stuck-on food.
- Create a baking soda paste: Mix 3 tablespoons of baking soda with 1–2 tablespoons of water to form a thick paste. Apply it generously to greasy areas inside the basket and on stubborn spots.
- Gently scrub: Use a soft sponge or toothbrush to work the paste into crevices. Focus on corners and under wire racks where debris accumulates.
- Rinse and inspect: Rinse all parts under warm running water. Repeat scrubbing if needed.
- Clean the interior chamber: Dampen a microfiber cloth with white vinegar and wipe down the inside walls, heating coil guard, and fan area. Avoid direct contact with electrical components.
- Deodorize with steam: Place a heat-safe bowl with 1 cup of water and 2 tablespoons of white vinegar (or lemon juice) in the basket. Run the air fryer at 350°F (175°C) for 10 minutes. This loosens residue and eliminates lingering smells.
- Dry thoroughly: Air-dry all parts on a clean towel for at least 30 minutes. Ensure no moisture remains before reassembling.
- Wipe exterior: Use a vinegar-dampened cloth to clean the outside, control panel, and handle. Dry immediately.
Do’s and Don’ts: Air Fryer Cleaning Best Practices
| Do’s | Don’ts |
|---|---|
| Use warm, soapy water for removable parts | Submerge the main unit in water |
| Apply baking soda paste for tough grime | Use metal scrubbers or abrasive pads |
| Run a vinegar steam cycle monthly | Ignore the heating element cover |
| Wipe down after every 3–5 uses | Store while still damp |
| Check manufacturer’s cleaning guidelines | Use bleach or oven cleaner |
This table highlights critical behaviors that preserve both hygiene and hardware longevity. Consistency matters more than intensity—a light wipe-down after regular use prevents buildup that requires aggressive cleaning later.
Mini Case Study: Reviving a Neglected Air Fryer
Sarah, a busy parent of two, used her air fryer nearly daily for six months but never performed a deep clean. Over time, she noticed a smoky smell during operation and uneven cooking results. Food began sticking despite oil sprays, and the basket looked dull and stained.
After reading about natural cleaning methods, she decided to try the baking soda and vinegar approach. She soaked the basket, applied a paste, and ran a 10-minute steam cycle with lemon juice. To her surprise, dark grease deposits lifted easily, and the odor disappeared. After drying and reassembling, her air fryer heated more evenly and produced crispier results. Sarah now schedules a full clean every four weeks and wipes the interior weekly.
Her experience reflects a common pattern: frequent use without maintenance leads to diminished performance. A single deep clean restored functionality and renewed confidence in the appliance’s safety.
Alternative Natural Cleaning Methods by Ingredient
Different natural agents offer unique benefits depending on the type of residue. Understanding their properties helps you choose the right method for each situation.
- Vinegar: Acetic acid breaks down mineral deposits and grease. Ideal for deodorizing and sanitizing. Mix with water (1:1) for wiping or use full-strength for steaming.
- Baking Soda: Mildly abrasive and alkaline, it lifts oils and neutralizes acids. Perfect for scrubbing without scratching. Combine with water or vinegar (use separately, not simultaneously).
- Lemon Juice: Citric acid dissolves grime and leaves a fresh scent. Use in steam cycles or diluted sprays. Also helps remove hard water marks.
- Dish Soap: Plant-based formulas cut through grease safely. Choose fragrance-free versions to avoid leaving scents that transfer to food.
Monthly Maintenance Checklist
To keep your air fryer in top condition, follow this simple checklist once per month—or more often with heavy use.
- ✔ Unplug and cool the unit completely
- ✔ Remove and wash basket, tray, and accessories
- ✔ Scrub with baking soda paste on stubborn areas
- ✔ Wipe interior with vinegar-soaked cloth
- ✔ Run a 10-minute steam cycle with vinegar or lemon
- ✔ Clean control panel with damp microfiber cloth
- ✔ Inspect heating element for debris or blockages
- ✔ Dry all components fully before reassembly
- ✔ Store with the basket slightly open to prevent moisture buildup
Mark your calendar or set a reminder. Regular maintenance prevents the need for intensive cleaning sessions and extends the life of your appliance by years.
Frequently Asked Questions
Can I put my air fryer basket in the dishwasher?
Some models are dishwasher-safe, but check your user manual first. Frequent dishwashing can wear down non-stick coatings over time. Hand washing with gentle soap and a soft sponge is generally recommended for long-term care.
How often should I deep clean my air fryer?
A full deep clean is recommended every 4 to 6 weeks with regular use (3+ times per week). If you cook greasy foods like bacon or wings frequently, consider cleaning every 2–3 weeks to prevent smoke and odor buildup.
Is vinegar safe for the heating element?
Do not apply vinegar directly to the heating coil or fan mechanism. Instead, use a well-wrung cloth to gently wipe around the area. The steam method allows vaporized vinegar to sanitize without direct contact.
Conclusion: Clean Smarter, Not Harder
Your air fryer works hard to deliver healthy, delicious meals—return the favor with thoughtful, chemical-free care. By relying on simple, natural solutions like baking soda and vinegar, you protect both your appliance and your household’s well-being. These methods are cost-effective, eco-conscious, and highly effective when applied consistently.
Deep cleaning doesn’t have to be a chore. With the right routine, it takes less than an hour and pays off in better performance, longer lifespan, and peace of mind. Start today: unplug your air fryer, gather your supplies, and give it the refresh it deserves. Your future self—and your next batch of crispy fries—will thank you.


 浙公网安备
33010002000092号
浙公网安备
33010002000092号 浙B2-20120091-4
Comments
No comments yet. Why don't you start the discussion?