
A well-fitted sports watch doesn’t just look better—it performs better. Whether you're tracking workouts, monitoring sleep, or navigating daily errands, a Sanda sports watch should sit snugly on your wrist without slipping or pinching. Yet many users overlook one of the most critical aspects of comfort: proper band adjustment. A poorly sized band can lead to inaccurate heart rate readings, skin irritation, or even losing the device during activity. The good news? Adjusting and customizing your Sanda watch band is simple, requires minimal tools, and can be done in minutes. This guide walks you through everything from removing links to choosing alternative straps that match your lifestyle.
Understanding Your Sanda Watch Band Type
Sanda sports watches typically come with two common band types: silicone rubber straps with pin-and-tapered spring bars or metal bracelets with removable links. Knowing which type you have determines your adjustment method. Silicone bands are standard on most entry-level and fitness-focused models, offering flexibility and sweat resistance. Metal bands, often seen on premium variants, provide a sleeker aesthetic but require precise link removal for sizing.
The key components to recognize are:
- Spring bars: Small metal pins that connect the strap to the watch head.
- Lugs: The protruding ends of the watch case where the band attaches.
- Adjustment holes: Pre-drilled slots in rubber/silicone bands for incremental tightening.
- Link screws or pins: Found on metal bands; some use micro-screws, others friction pins.
Identifying your band type ensures you apply the correct technique and avoid damaging the clasp or lugs.
Step-by-Step Guide to Adjusting a Silicone Band
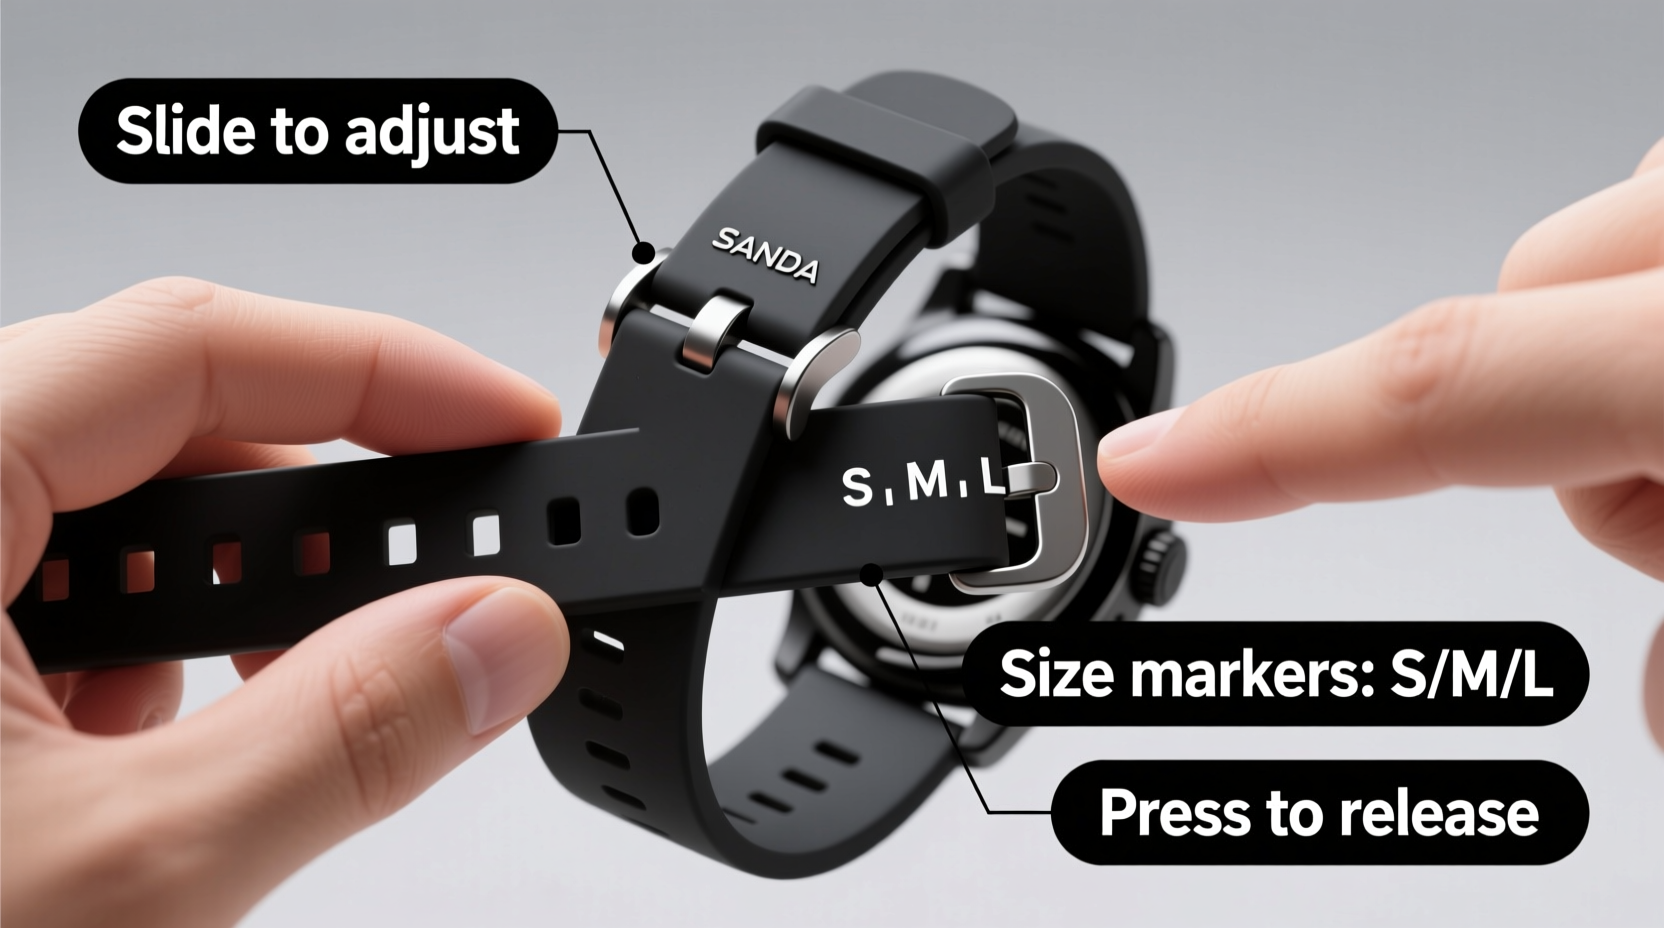
If your Sanda watch has a flexible silicone strap, adjustment usually involves repositioning the clasp into a different hole. While this seems straightforward, improper handling can stretch or tear the material.
- Flip the watch over and locate the series of small holes along the band’s length.
- Unbuckle the clasp and slide it off the current hole.
- Gently pull the excess band section through the rear keeper loop.
- Reinsert the clasp prong into the desired hole—closer to the watch head for a tighter fit, farther for looser wear.
- Secure the band back through the front keeper and test the fit.
Some models feature micro-adjustable butterfly clasps or ratcheting systems. These allow fine-tuning after initial hole selection, ideal for fluctuating wrist sizes due to temperature or activity.
Removing Links from a Metal Band: A Precise Process
Metal bands offer durability and elegance but must be sized correctly. Too loose, and the watch spins; too tight, and it cuts off circulation. Most Sanda metal bracelets use push-pin construction, meaning tiny pins hold each link together and can be pushed out with a tool.
What You’ll Need:
- Fine-tipped spring bar removal tool or small nail punch
- Soft cloth or pad (to protect the watch face)
- Small container (to catch removed pins and links)
- Tweezers (optional, for handling small parts)
Steps to Remove Links:
- Place the watch face-down on a soft surface.
- Identify the links marked with arrows indicating direction of pin ejection.
- Use the tool to gently press the pin outward. Apply steady pressure—do not hammer.
- Once the pin is partially ejected, pull it the rest of the way with tweezers.
- Remove the necessary number of links from both sides for symmetry.
- Reconnect the remaining bracelet by inserting the pin back through the links and securing it fully.
It's crucial to maintain balance. Removing more links from one side than the other will misalign the clasp and affect aesthetics and function.
| Wrist Size (inches) | Recommended Number of Links to Remove | Clasp Fit Check |
|---|---|---|
| 5.5 – 6.0 | 4–6 | Snug but allows slight movement |
| 6.1 – 6.7 | 2–3 | Comfortable with no gap |
| 6.8 – 7.5 | 0–1 | Watch stays in place during motion |
| 7.6+ | None (standard fit) | No excess sliding |
“Improper link removal is the top reason customers return watches claiming ‘poor fit.’ Taking time to size it right prevents discomfort and enhances sensor accuracy.” — Daniel Ruiz, Wearable Device Technician
Customization Options Beyond Stock Bands
While adjusting the original band improves fit, customization opens doors to greater comfort and personal style. Many users upgrade to third-party straps designed for breathability, reduced weight, or all-day wear.
Popular alternatives include:
- Nylon NATO straps: Lightweight, ventilated, and secure—even if one lug fails.
- Perforated silicone: Enhances airflow during intense workouts.
- Stainless steel mesh: Adjustable via screw dials, ideal for variable swelling.
- Leather hybrid bands: For casual or office settings, combining elegance with sport-ready backing.
All Sanda watches use standard 18mm, 20mm, or 22mm lug widths (check your model). Once confirmed, swapping bands takes seconds using a spring bar tool. Simply depress the spring bar at each end and slide the old band off, then align the new band’s spring bar with the lug holes and press in until it clicks.
Mini Case Study: Fixing an Ill-Fitting Watch for Marathon Training
Jamal, a long-distance runner in Colorado, purchased a Sanda Runner Pro for his training regimen. Within days, he noticed chafing on his inner wrist and inconsistent GPS tracking. He assumed the issue was software-related until a coach pointed out his watch spun freely with every stride.
After measuring his wrist at rest and post-run (which expanded slightly due to blood flow), Jamal realized the factory band was too large. Using the push-pin method, he removed four links evenly across both sides. He then replaced the metal band with a perforated silicone strap for better ventilation. The result? No more slippage, accurate heart rate data, and zero irritation—even during 20-mile runs.
This real-world example underscores that fit affects both comfort and performance. A properly adjusted band stays stable, ensuring sensors maintain consistent skin contact.
Checklist: Perfect Sanda Band Fit in 6 Steps
- Measure your wrist circumference with a tape measure.
- Determine your band type (silicone or metal).
- Select appropriate tools (spring bar tool, pin pusher, etc.).
- Adjust holes or remove links incrementally.
- Test the fit during movement—shake your hand, simulate exercise motions.
- Consider alternate bands for specific activities (workout vs. commute).
Frequently Asked Questions
Can I resize my Sanda band without tools?
For silicone bands with multiple holes, yes—simply reposition the clasp. However, metal bands require a tool to remove pins safely. Attempting removal with improvised tools like paperclips risks scratching the watch or injuring yourself.
How tight should my sports watch band be?
Tight enough to prevent sliding during motion, but loose enough to allow circulation. You should be able to fit one fingertip between the band and your skin. If the watch leaves a red mark or causes numbness, it’s too tight.
Are replacement bands waterproof?
Most silicone, nylon, and stainless steel bands are water-resistant. Avoid leather or fabric straps for swimming or heavy sweating. Always verify manufacturer specifications before submerging your watch with a non-original band.
Final Thoughts: Comfort Is Part of Performance
A sports watch is only as effective as its fit. No matter how advanced the sensors or how detailed the app analytics, an ill-fitting band undermines the entire experience. Taking ten minutes to properly adjust or customize your Sanda watch band pays dividends in comfort, accuracy, and longevity. Whether you’re trimming a metal bracelet or switching to a breathable alternative, the goal remains the same: a seamless extension of your body in motion.


 浙公网安备
33010002000092号
浙公网安备
33010002000092号 浙B2-20120091-4
Comments
No comments yet. Why don't you start the discussion?