
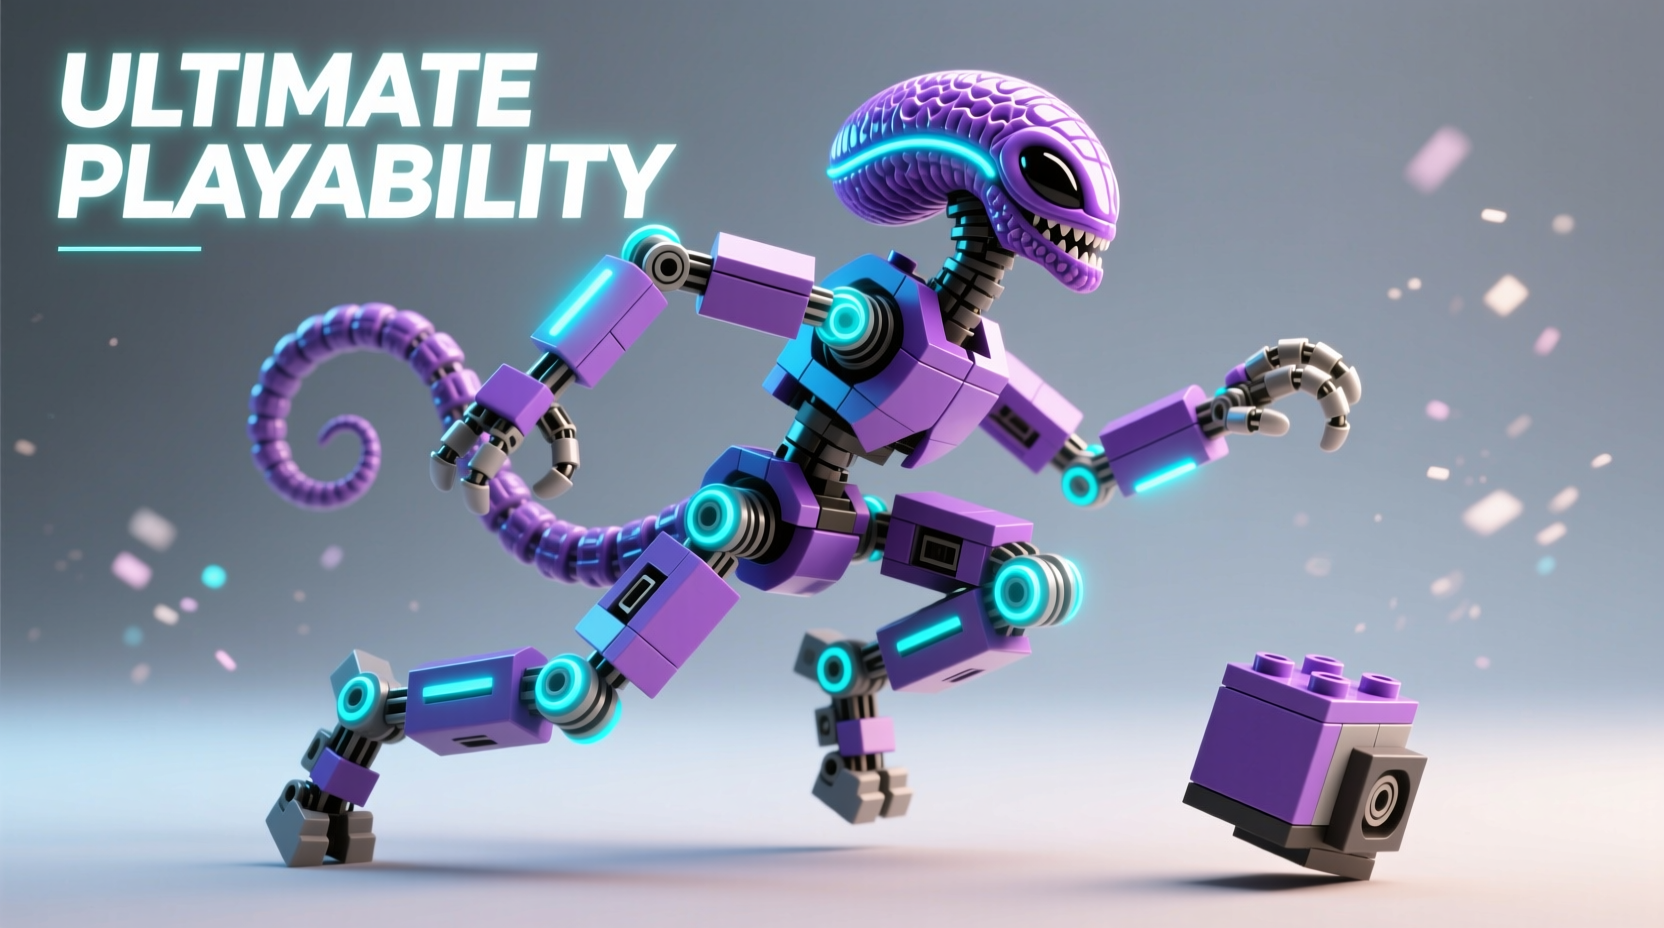
Alien monster building block sets have surged in popularity among hobbyists, collectors, and creative builders alike. These kits offer more than just assembly—they invite customization, dynamic posing, and imaginative storytelling. But many users stop at the instruction manual, missing out on the full potential of their models. With a few strategic adjustments and thoughtful modifications, you can transform a standard build into a uniquely posed, highly playable creature that stands out on display or comes alive during play sessions.
Understanding Your Set’s Design Limits and Possibilities
Before modifying or posing your alien monster, it's essential to understand its structural design. Most building block monsters are built with articulation points—joints at the neck, shoulders, hips, and tail—that allow limited movement. However, factory poses often prioritize stability over expression, resulting in stiff, upright stances.
By identifying which parts are fixed versus movable, you gain insight into where flexibility can be improved. For example, ball-jointed limbs allow for wider motion than hinge joints, while segmented tails can be bent into aggressive curves or coiled positions. Recognizing these features helps determine how far you can push your model before risking instability or breakage.
“Customization isn’t about changing everything—it’s about enhancing what’s already there to reflect your vision.” — Dana Ruiz, Toy Design Specialist and Modular Kit Consultant
Step-by-Step Guide to Dynamic Posing
Poseability elevates your alien from static model to expressive character. Follow this sequence to achieve natural, dramatic stances without compromising durability.
- Disassemble non-critical sections – Remove armor plates, weapons, or decorative elements that restrict joint access.
- Loosen tight connections – Slightly widen pin holes using a clean needle tool if joints bind. Do not enlarge excessively; maintain grip integrity.
- Reposition core limbs – Start with legs and base structure. Bend knees forward for crouching, outward for wide stances, or backward for charging motions.
- Adjust upper body angles – Tilt the torso forward to suggest aggression, lean back for intimidation, or twist slightly for asymmetry.
- Set head and tail posture – Angle the head downward for predatory focus or upward for roaring expressions. Curve the tail to balance weight distribution visually.
- Secure weak points – Use internal support rods (like thin plastic dowels) inside hollow limbs if needed for long-term display.
This process allows even basic sets to adopt lifelike postures reminiscent of creatures in motion—crawling, lunging, or rearing up in defense.
Customization Techniques for Unique Personality
True individuality comes from customization. While official sets follow specific color schemes and shapes, subtle changes can redefine your monster’s species, origin, or behavior.
- Color swaps: Replace standard blocks with pieces in contrasting or neon colors to highlight claws, eyes, or spinal ridges.
- Add-on accessories: Attach translucent spikes, glow-in-the-dark fangs, or magnetic wings for enhanced drama.
- Mix compatible systems: Integrate pieces from other brands (if dimensionally aligned) to create hybrid anatomy—crab-like pincers, insectoid legs, or serpentine necks.
- Weathering effects: Use washable markers or removable stickers to simulate scars, slime trails, or bio-luminescent patterns.
These modifications don't require permanent alterations, preserving resale value while expanding creative freedom.
| Modification Type | Tools Needed | Play Impact | Display Suitability |
|---|---|---|---|
| Joint Adjustment | None / Needle Tool | High – enables action scenes | Medium – may need support |
| Color Swaps | Extra Blocks | Medium – visual storytelling | High – striking appearance |
| Accessory Add-ons | Glue (optional), Magnets | High – interactive features | High – adds depth |
| Hybrid Builds | Cross-brand Parts | Very High – new functions | High – unique look |
Real Example: From Basic Build to Battle-Ready Beast
Lena, a 14-year-old enthusiast, purchased a standard \"Nebula Devourer\" alien monster set. After following the instructions, she found the default pose too rigid for her stop-motion animation project. She disassembled the legs and replaced the straight hip joints with angled connectors from an older mech kit, allowing the monster to crouch low like it was stalking prey. She painted the eyes with reflective silver dots and added flickering LED micro-lights inside the chest cavity using a coin battery pack.
For battle scenes, she magnetized the hands so interchangeable weapons could be swapped quickly. The final result wasn’t just more playable—it became the centerpiece of her school’s robotics fair exhibit. Her teacher noted, “It looked alive because every detail served movement and narrative.”
Do’s and Don’ts of Alien Monster Customization
To ensure longevity and functionality, adhere to best practices when modifying your set.
| Do’s | Don’ts |
|---|---|
| Test poses incrementally | Force joints beyond natural range |
| Label modified sections for easy reassembly | Use permanent adhesives unless necessary |
| Incorporate flexible connectors for high-motion areas | Overload limbs with heavy attachments |
| Keep spare parts for replacements | Modify rare or limited-edition pieces irreversibly |
Frequently Asked Questions
Can I make my alien monster stand on one leg without falling?
Yes, but balance is key. Use a low center of gravity by bending the supporting leg and counterbalancing with arms or tail. For permanent displays, attach a clear acrylic rod as an invisible support strut anchored to a base.
Are third-party building blocks safe to use in my set?
Most high-quality compatible brands are engineered to match original tolerances. Always test fit before full integration. Avoid brittle or overly soft plastics that may degrade faster or stress original components.
How do I keep custom pieces from getting lost?
Designate a small compartmentalized case for alternate parts. Label drawers by function—weapons, heads, limbs—and include photos of each configuration for reference.
Conclusion: Bring Your Creature to Life
Your alien monster building block set is more than a collection of interlocking pieces—it’s a canvas for imagination. By mastering simple posing techniques, embracing reversible customization, and respecting structural limits, you unlock levels of engagement far beyond the instruction booklet. Whether used for storytelling, display, or interactive play, a well-posed and personalized monster reflects your creativity and attention to detail.


 浙公网安备
33010002000092号
浙公网安备
33010002000092号 浙B2-20120091-4
Comments
No comments yet. Why don't you start the discussion?