
Adding your logo to photos is no longer reserved for graphic design experts. Whether you're a small business owner, real estate agent, photographer, or content creator, watermarking images with your brand mark boosts recognition, protects your work, and adds a polished touch. The key isn't just slapping a logo on an image—it's doing it strategically, consistently, and professionally. With the right approach, you can turn every photo into a subtle yet powerful marketing tool.
Why Branding Your Photos Matters
In a world saturated with digital content, standing out requires more than great visuals—it demands consistent branding. When your logo appears on every image, even subtly, it reinforces your identity across platforms. Social media posts, website galleries, email campaigns, and client deliverables all become opportunities to remind your audience who you are.
Professional photographers use watermarks to prevent unauthorized use of their work. Entrepreneurs use them to build trust in visual content shared online. Real estate agents add logos to property photos to ensure brand visibility long after the listing goes live. The benefits go beyond protection—they enhance credibility and create cohesion in your digital presence.
“Branding isn’t about repetition—it’s about recognition. A well-placed logo turns casual viewers into familiar followers.” — Dana Reyes, Visual Identity Consultant
The Right Tools for the Job
You don’t need expensive software to add a logo like a pro. Modern tools make the process fast, repeatable, and scalable—even for beginners. Here’s a breakdown of top options based on skill level and needs:
| Tool | Skill Level | Best For | Key Feature |
|---|---|---|---|
| Canva | Beginner | Social media, quick edits | Drag-and-drop interface, templates |
| Adobe Photoshop | Intermediate–Advanced | Precision editing, bulk processing | Layer masks, actions, transparency control |
| GIMP | Intermediate | Free alternative to Photoshop | Open-source, supports layer effects |
| Photopea | Beginner–Intermediate | Online Photoshop-like editor | Runs in browser, PSD-compatible |
| Lightroom (Desktop) | Intermediate | Photographers managing large batches | Watermark presets, export automation |
Step-by-Step: Adding Your Logo Like a Pro
Follow this workflow to ensure your branded photos look clean, professional, and consistent every time.
- Prepare your logo: Export your logo in high resolution with a transparent background (PNG format). Keep a version sized appropriately—usually 500–1000 pixels wide.
- Choose your tool: Pick one from the table above based on your comfort level and volume of photos.
- Open your photo: Load the base image into your editor.
- Add the logo as a new layer: Drag or import your PNG logo onto the image. Position it strategically—corners work best (bottom right is most common).
- Resize and rotate: Scale the logo so it’s visible but not overpowering—ideally between 5% and 10% of the image width.
- Adjust opacity: Lower the opacity to 60–80% for subtlety. You want it seen, not screamed.
- Apply blending effects (optional): Use drop shadows or slight outer glows if the background varies greatly in tone. This ensures visibility without harsh contrast.
- Save correctly: Export as JPEG for web sharing or PNG if transparency matters. Preserve the original file separately.
Bonus: Batch Processing for Efficiency
If you regularly post multiple images—such as product shots or event photography—automate the process. In Adobe Lightroom, create a watermark preset once, then apply it during export. Canva users can duplicate branded designs and replace background images quickly. Automation saves hours and maintains visual consistency.
Avoid These Common Mistakes
- Over-branding: Placing logos too large or in multiple spots distracts from the image.
- Poor placement: Avoid covering key subjects—don’t put your logo over a person’s face or the focal point of a scene.
- Inconsistent sizing: Logos that vary in size across photos appear unprofessional.
- Using low-quality logos: Pixelated or stretched logos reflect poorly on your brand.
- Ignoring context: A dark logo may vanish on black backgrounds; always test visibility.
“Your logo should whisper your name, not shout it.” — Marcus Lin, Digital Brand Strategist
Real Example: From Amateur to Professional Look
Jess, a freelance interior photographer, used to send raw images to clients with no branding. After losing credit when a magazine republished her work without attribution, she decided to act. She created a minimalist text-based logo in white with 70% opacity and placed it in the bottom right corner of every photo using a Lightroom preset. Within three months, two design firms reached out specifically because they recognized her style from previously seen images. Her subtle watermark didn’t distract—it connected.
The change cost her less than an hour to set up and now runs automatically on every export. More importantly, her work became identifiable, trusted, and shareable—with her name attached.
Checklist: Pro-Level Photo Branding in 7 Steps
→ Save as PNG with transparent background
→ Ensure high resolution (300 DPI for print, 72+ DPI for web)
✅ Choose the Right Editing Tool
→ Match tool to your skill level and workload
✅ Set Consistent Placement
→ Pick one corner (e.g., bottom right)
→ Maintain same distance from edges across all images
✅ Optimize Size & Opacity
→ Logo width = 5–10% of image width
→ Opacity between 60–80%
✅ Test Across Backgrounds
→ Check visibility on light, dark, and busy areas
→ Adjust with shadow/glow if needed
✅ Automate When Possible
→ Create templates or presets for recurring use
✅ Backup Originals
→ Never overwrite unbranded files
→ Store source images separately
Frequently Asked Questions
Should I watermark every photo I post online?
Not necessarily. For public social media posts where engagement matters, overly aggressive watermarks can reduce appeal. However, for portfolios, client previews, press kits, or downloadable content, a subtle logo protects your rights and promotes your brand. Reserve heavy watermarking for pre-release or sensitive material.
Can I add a logo to photos using my phone?
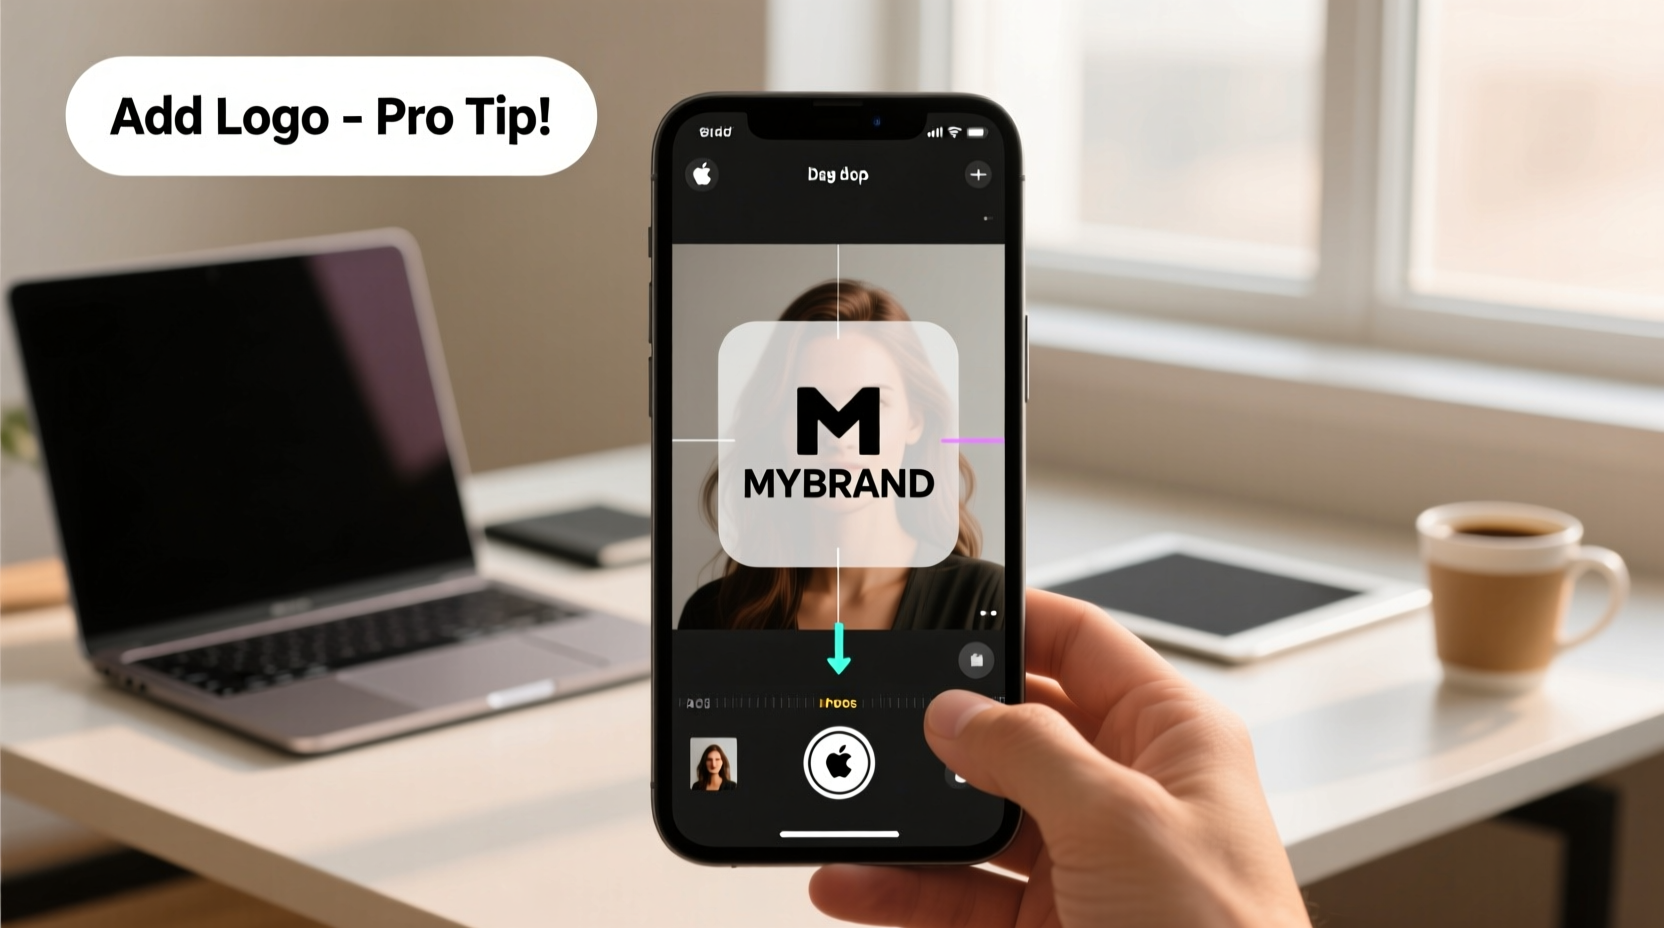
Yes. Apps like Canva, Snapseed, and Adobe Express allow you to overlay logos directly on mobile. Save your logo to your device first, then import it as a sticker or custom image. While less precise than desktop tools, these apps are sufficient for basic branding needs.
What if my logo disappears on certain backgrounds?
To maintain visibility, consider adding a semi-transparent backdrop behind your logo (like a soft rectangle or gradient bar) or use dual versions—one light and one dark. Alternatively, apply a thin stroke (outline) around your logo in the opposite color of the background. This technique keeps it readable without being intrusive.
Final Thoughts: Make Every Image Work for Your Brand
Customizing photos with your logo isn’t just about ownership—it’s about opportunity. Each image becomes a silent ambassador for your business, appearing in feeds, websites, presentations, and memories. By applying consistent, professional branding, you elevate your entire visual presence.
The techniques outlined here require minimal time but deliver maximum impact. Start today: pull up one of your recent photos, import your logo, and position it thoughtfully. Once you’ve nailed the look, save it as a template and scale the process. Over time, your branded imagery will build familiarity, trust, and authority—all without saying a word.


 浙公网安备
33010002000092号
浙公网安备
33010002000092号 浙B2-20120091-4
Comments
No comments yet. Why don't you start the discussion?