
Upgrading your Apple Watch with a chain band transforms both its look and feel—adding elegance, durability, and a personalized touch. Whether you’re switching from a sport band for a night out or replacing a worn-out strap, installing a new chain band correctly ensures comfort, security, and longevity. However, improper installation can lead to discomfort, slippage, or even damage to your device. This comprehensive guide walks you through every step of the process—from choosing the right band to securing it safely and maintaining it over time.
Selecting the Right Chain Band for Your iWatch
Before installation, ensure compatibility. Apple Watch chain bands come in various styles: Milanese Loop, Link Bracelet, and third-party metal link designs. Each has unique attachment mechanisms and sizing requirements.
The Milanese Loop uses a magnetic closure and is ideal for smaller wrists, while the Link Bracelet features adjustable links and a deployant clasp for a tailored fit. Third-party options may vary in quality and mechanism but often offer more affordable alternatives.
“Choosing the correct band isn’t just about aesthetics—it’s about ergonomics and long-term wearability.” — Jordan Lee, Wearable Tech Specialist
Step-by-Step Installation Guide
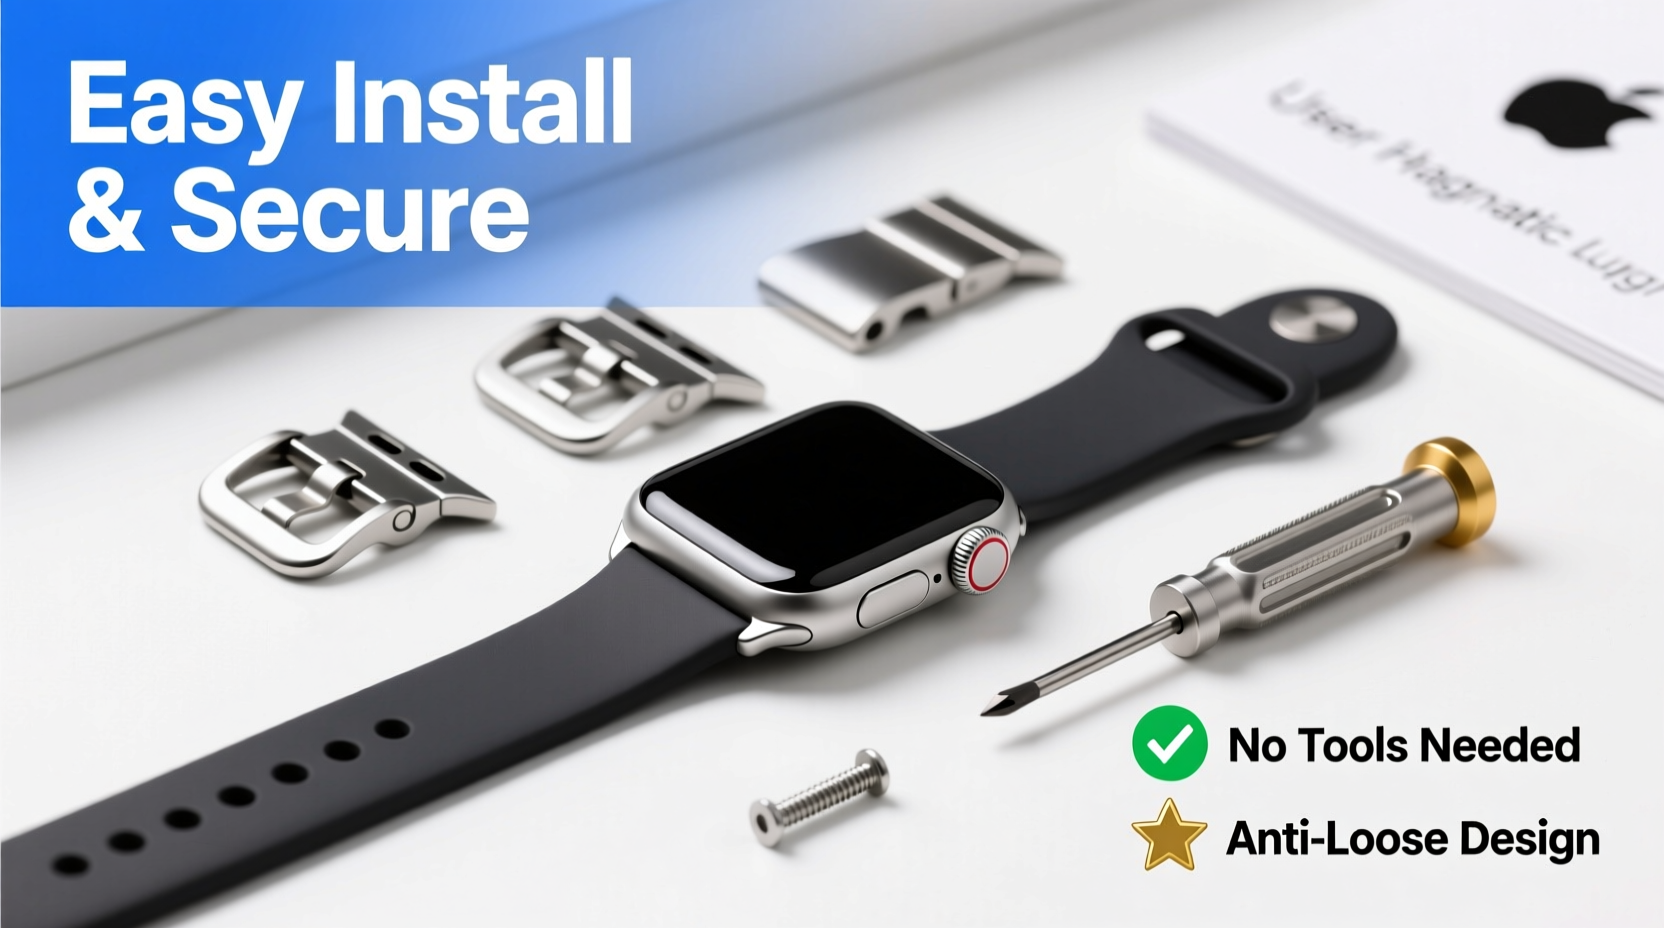
Installing a chain band requires precision but doesn’t need tools for most models. Follow this sequence carefully to avoid damaging your watch or band.
- Power down your Apple Watch – While not required, turning off your device reduces risk during handling.
- Position your watch face-down on a soft, lint-free surface like a microfiber cloth.
- Locate the release button on the existing band near the watch body. Press it firmly while sliding the band outward.
- Remove both bands completely, ensuring no tension remains on the connectors.
- Align the new chain band’s connector with the slot on the watch. The raised ridge on the band should match the groove on the watch housing.
- Slide the band in smoothly until you hear a soft click. Do not force it.
- Repeat on the opposite side with the other half of the chain band.
- Gently tug both ends to confirm secure attachment.
For Link Bracelets Requiring Adjustment
If your chain band includes removable links (common with stainless steel models), follow these additional steps:
- Measure your wrist using a flexible tape measure or string and ruler.
- Refer to the manufacturer’s sizing chart to determine how many links to remove.
- Use a small pin removal tool or paperclip to push out pins connecting excess links.
- Reassemble the bracelet, ensuring all pins are fully seated and flush.
Securing the Band for Daily Safety and Comfort
A properly installed band must stay securely fastened under movement. The type of closure determines how you achieve this.
| Band Type | Closure Mechanism | Security Check |
|---|---|---|
| Milanese Loop | Magnetic clasp | Ensure magnet holds firm; no sliding when tugged gently |
| Link Bracelet | Folding deployant clasp | Clasp locks audibly; secondary safety latch engages |
| Third-party Chain | Hooks, clasps, or magnets | Test under motion—shake wrist to simulate activity |
After fastening, perform a quick shake test. If the band shifts or feels loose, re-adjust the fit. For bracelets with multiple adjustment holes, use the innermost one that still allows airflow between the band and skin.
Real-World Example: A Commuter’s Experience
Sarah, a graphic designer in San Francisco, upgraded her Series 9 to a stainless steel link band for a client meeting. She skipped the adjustment step, wearing it as-is. During her BART commute, the band snagged on her coat sleeve, causing the clasp to open. Though the watch didn’t fall, the scare prompted her to resize it at an Apple Store. Now, she adjusts all new bands before first use—even if they “seem” to fit.
“Don’t assume factory sizing fits perfectly. Wrist swelling, clothing, and movement all affect security.” — Sarah Tran, UX Designer & Daily iWatch User
Maintenance and Longevity Tips
A well-maintained chain band resists tarnishing, keeps its luster, and functions reliably for years. Here’s how to care for it:
- Clean weekly with a soft cloth dampened with water. Dry immediately.
- Avoid exposure to chlorine, saltwater, and lotions, which accelerate corrosion.
- Inspect pins and clasps monthly for looseness or wear.
- Store separately from other jewelry to prevent scratches.
For deeper cleaning, use a non-abrasive jewelry wipe designed for stainless steel or titanium. Never use ultrasonic cleaners unless specified by the manufacturer.
Checklist: Installing and Securing Your iWatch Chain Band
- ✅ Confirm compatibility with your iWatch model and size
- ✅ Power down the device (optional but recommended)
- ✅ Remove old band using release buttons
- ✅ Align new band connector with housing slot
- ✅ Slide in until it clicks securely
- ✅ Test stability with gentle pull
- ✅ Adjust link count if necessary
- ✅ Fasten and perform shake test
- ✅ Clean and inspect regularly post-installation
Frequently Asked Questions
Can I install a chain band myself without tools?
Yes, most Apple-branded chain bands like the Milanese Loop and pre-sized Link Bracelets require no tools. Only link adjustment typically needs a pin removal tool, which can be substituted with a paperclip in a pinch.
Why does my chain band feel loose after installation?
This usually means the band wasn’t fully clicked into place or needs resizing. Double-check alignment and ensure the connector is seated completely. If it's a link bracelet, you may need to remove one or two links.
Are third-party chain bands safe for my iWatch?
Many are, but quality varies. Look for bands with secure locking mechanisms and reinforced connectors. Avoid overly cheap models with flimsy clasps or misaligned fittings, as they increase the risk of detachment.
Final Thoughts: Confidence in Every Clasp
Your Apple Watch is more than a timepiece—it’s a companion through workouts, meetings, and adventures. A chain band elevates its presence, but only if installed and secured with care. By following precise attachment steps, adjusting for fit, and maintaining the hardware, you protect both your investment and your peace of mind. Whether you choose Apple’s premium finish or a sleek aftermarket option, attention to detail makes all the difference.


 浙公网安备
33010002000092号
浙公网安备
33010002000092号 浙B2-20120091-4
Comments
No comments yet. Why don't you start the discussion?