
Cheap blenders are a budget-friendly solution for making smoothies, soups, sauces, and more. But their lower price often comes with trade-offs: thinner plastic, less durable motors, and components more prone to wear. While you might not expect a $30 blender to last a decade, the reality is that many fail prematurely—not because of inherent flaws, but due to poor maintenance. The good news? With consistent and correct cleaning habits, you can significantly extend the lifespan of an affordable blender, getting years of reliable use instead of months.
Most people assume blenders clean themselves during operation. After all, they spin fast and handle liquids—surely that’s enough? Not quite. Residue builds up in hidden areas like blade shafts, gaskets, and motor bases. Over time, this leads to corrosion, mold growth, and mechanical strain. A few minutes of thoughtful cleaning after each use can prevent these issues and keep your blender running smoothly.
Why Cleaning Matters More in Budget Blenders
High-end blenders are built with stainless steel blades, sealed bearings, and robust motor housings designed to resist moisture and wear. Cheap models, on the other hand, often use plastic jars, rubber gaskets that degrade quickly, and motors that aren’t fully sealed against liquid ingress. These materials are more vulnerable to damage from food acids, heat, and improper cleaning.
For example, citrus juices and tomato-based soups are acidic and can corrode metal blades or degrade rubber seals over time. If left uncleaned, these residues create a breeding ground for bacteria and mold. Worse, dried-on food particles increase friction during blending, forcing the motor to work harder. This added strain shortens motor life and increases the risk of overheating.
“Many users don’t realize that 70% of early blender failures are due to preventable buildup and moisture exposure. Regular cleaning isn’t just about hygiene—it’s mechanical preservation.” — Carlos Mendez, Appliance Engineer at Midwest Home Labs
The Daily Cleaning Routine That Makes a Difference
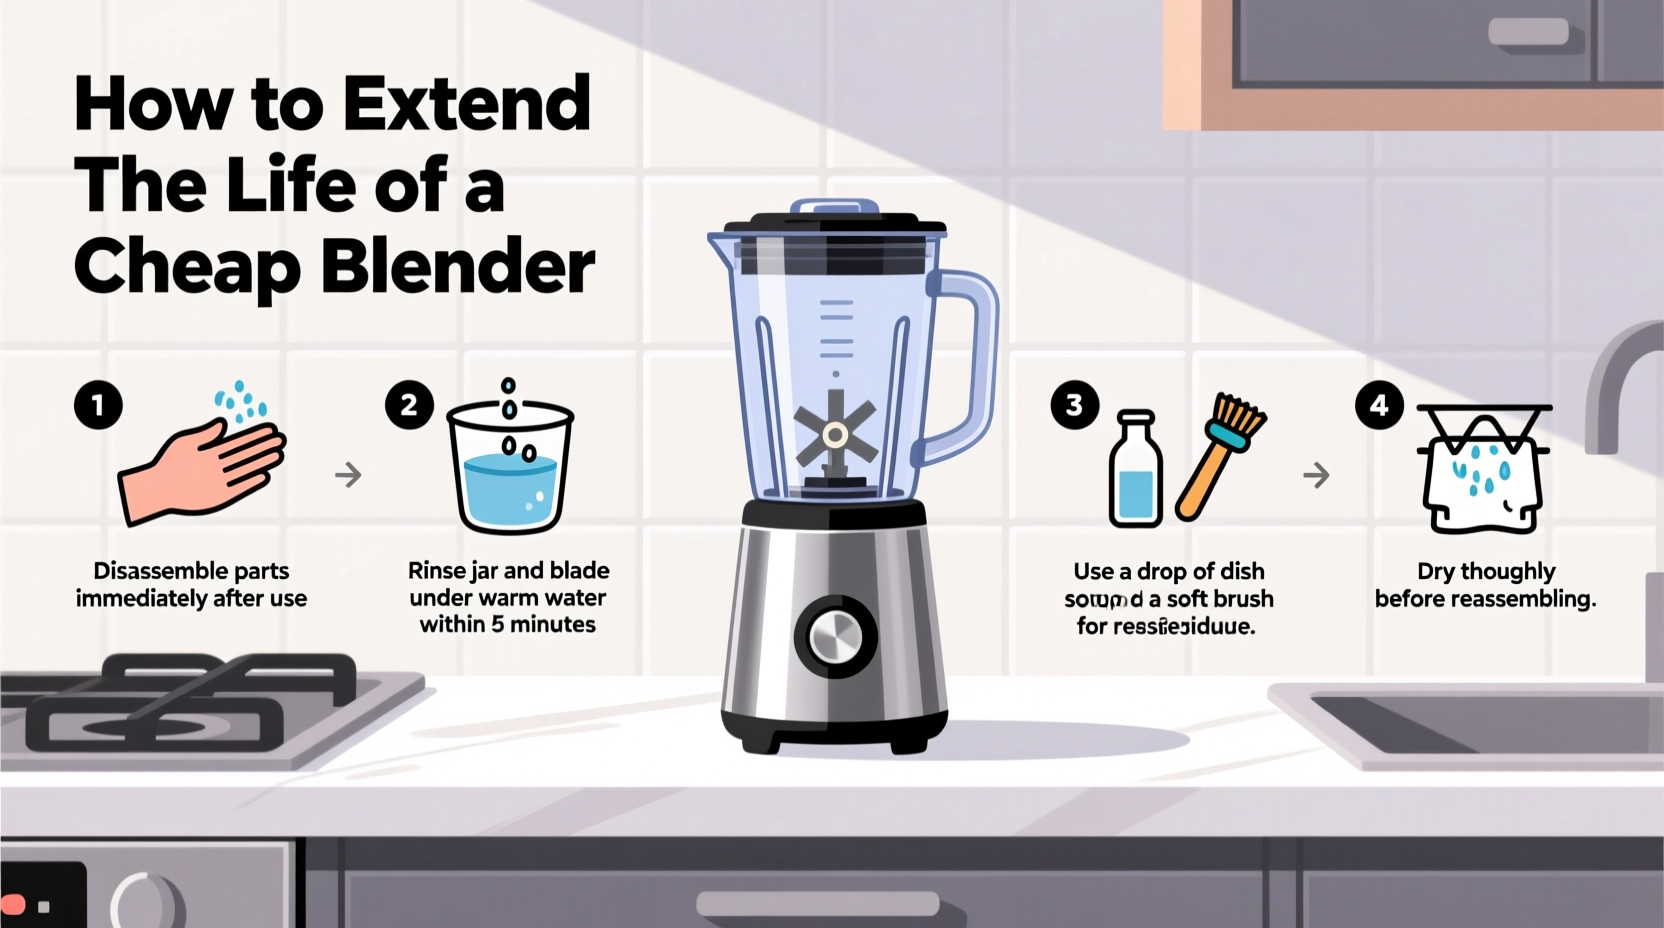
You don’t need to disassemble your blender after every use, but a quick post-blend rinse and wipe can prevent long-term damage. Follow this simple daily routine:
- Immediately after use, fill the jar halfway with warm water and add a drop of dish soap.
- Pulse for 15–20 seconds to clean the interior and blades.
- Empty and rinse thoroughly with clean water.
- Dry the jar and lid completely with a soft towel—especially around the base and sealing ring.
- Wipe the motor base with a damp cloth; never submerge it.
This method, known as the “soapy pulse,” removes most residue without requiring full disassembly. It’s especially effective for smoothie makers who use their blenders daily. The key is consistency—doing this every time prevents buildup that becomes difficult to remove later.
Avoiding Common Cleaning Mistakes
Even well-intentioned users often make mistakes that accelerate wear. Here are frequent errors and how to avoid them:
| Mistake | Why It’s Harmful | Better Alternative |
|---|---|---|
| Putting the entire unit in the sink | Water seeps into the motor base, causing rust or electrical failure | Only wash removable parts; wipe base with a damp cloth |
| Using abrasive scrubbers | Scratches plastic jar, creating grooves where bacteria grow | Use soft sponge or bottle brush |
| Leaving the jar upside down on the base to dry | Moisture drips into the coupling mechanism, leading to corrosion | Dry jar separately on a rack or towel |
| Ignoring the rubber gasket | Trapped food causes mold and weakens seal integrity | Remove and clean gasket weekly |
| Using boiling water frequently | Thermal shock can crack plastic jars over time | Use warm, not scalding, water |
Deep Cleaning: A Weekly Maintenance Schedule
While daily rinsing handles surface grime, a weekly deep clean addresses hidden buildup. Set aside 10–15 minutes once a week to perform the following steps:
- Disassemble the blade assembly. Unscrew the blade unit from the jar base (if removable). Be cautious—blades are sharp.
- Inspect the rubber gasket. Remove it and check for cracks, cloudiness, or trapped debris. Soak in warm soapy water for 5 minutes.
- Soak the blade unit. Place it in a bowl of warm, soapy water. Use a toothbrush to scrub between the blades and around the screw.
- Clean the inside of the jar base. Use a cotton swab or small brush to reach under the gasket groove where residue accumulates.
- Rinse and reassemble. Ensure all parts are completely dry before putting them back together.
- Test for leaks. Fill the jar with water, place it on the base, and run briefly to confirm no leakage occurs.
Real Example: How Maria Doubled Her Blender’s Lifespan
Maria, a busy mother of two in Phoenix, bought a $25 blender for morning smoothies. Within four months, it started sputtering and leaking. She assumed it was a lost cause—until her sister suggested she inspect the seal. When Maria removed the blade unit, she found a thick layer of dried banana and yogurt trapped under the rubber gasket. The seal had warped, allowing liquid into the motor housing.
She cleaned it thoroughly, replaced the gasket (a $3 part online), and committed to a strict cleaning routine: daily soapy pulses and weekly deep cleans. Two years later, the blender still works reliably. “I thought cheap meant disposable,” she said. “But treating it right made all the difference.”
Extending Life Beyond Cleaning: Usage Habits That Help
Cleaning is crucial, but how you use the blender also affects longevity. Consider these practices:
- Avoid overloading. Exceeding capacity forces the motor to strain. Stick to recommended fill lines.
- Start slow. Begin blending on low speed, then gradually increase. Sudden high torque stresses the motor and coupling.
- Don’t crush ice continuously. Pulse instead of running nonstop. Ice dulls blades faster, especially on cheaper models.
- Let it rest. After blending thick mixtures for more than 30 seconds, turn it off for 1–2 minutes to prevent overheating.
- Store properly. Keep the blender in a dry cupboard, not under the sink where humidity damages electrical components.
“Usage patterns compound over time. A blender used gently and cleaned promptly will outlast a neglected high-end model.” — Lena Park, Consumer Appliance Analyst at HomeTech Review
Checklist: Monthly Blender Health Check
To stay ahead of problems, perform this monthly inspection:
- ✅ Check for cracks or cloudiness in the jar
- ✅ Inspect the rubber gasket for brittleness or deformation
- ✅ Test blade tightness—loose blades cause vibration and motor stress
- ✅ Wipe down the motor base and ensure vents are dust-free
- ✅ Listen for unusual noises during operation (grinding, clicking)
- ✅ Verify the lid locks securely and doesn’t leak
If any issues arise, address them immediately. Replacing a $2 gasket or tightening a screw is far cheaper than buying a new blender.
Frequently Asked Questions
Can I put my blender jar in the dishwasher?
Some models are labeled dishwasher-safe, but it’s generally not recommended for cheap blenders. High heat and harsh detergents can warp plastic and degrade rubber seals over time. Hand washing with warm, soapy water is safer and more controlled.
How do I know if the motor is failing?
Warning signs include burning smells, inconsistent speeds, smoke, or the blender shutting off mid-use. If you notice these, stop using it immediately. Let it cool, inspect for blockages, and consider replacing it—continued use could be a fire hazard.
Is it worth repairing a cheap blender?
Sometimes. If the issue is a worn gasket, loose blade, or cracked lid, replacement parts are inexpensive and easy to install. However, if the motor or gear coupling is damaged, repair costs may exceed the value of a new unit. Focus on prevention to avoid reaching that point.
Conclusion: Small Efforts, Long-Term Gains
A cheap blender doesn’t have to be disposable. With minimal effort—just a minute or two after each use—you can prevent the most common causes of early failure. Consistent cleaning protects both the mechanics and hygiene of your appliance. Combined with mindful usage and regular inspections, these habits transform a short-lived gadget into a dependable kitchen tool.


 浙公网安备
33010002000092号
浙公网安备
33010002000092号 浙B2-20120091-4
Comments
No comments yet. Why don't you start the discussion?