
String lights enhance ambiance, highlight architectural features, and create festive moods—but their usefulness often ends where the manufacturer’s maximum run length does. Most pre-wired light strings are limited to 200–300 watts or a set number of connected sets (often three to five). Exceeding these limits risks overheating, dimming, or even fire. Yet with proper planning, the right tools, and adherence to electrical principles, you can safely expand your lighting setup far beyond stock constraints—without sacrificing brightness or safety.
The key lies in understanding voltage drop, load distribution, and circuit management. By treating your lighting project like an engineered system rather than a plug-and-play decoration, you gain control over performance and longevity. This guide walks through the science-backed methods professionals use to scale lighting runs efficiently and safely.
Why Manufacturer Limits Exist—and How to Work Around Them
Manufacturers cap the number of connectable light strands primarily due to two factors: wire gauge limitations and cumulative current draw. Standard mini string lights typically use 22-gauge copper wire, which has resistance that increases with length. As more lights are daisy-chained, voltage at the end of the chain drops significantly—a phenomenon known as voltage drop. When voltage falls below optimal levels, bulbs glow dimly or flicker, especially toward the end of long runs.
Additionally, exceeding wattage ratings on a single circuit risks tripping breakers or overheating sockets. UL certification assumes compliance within labeled limits; going beyond voids warranties and creates liability.
“Voltage drop isn’t just about brightness—it’s a symptom of increased resistance, which generates heat. That heat is what makes overloaded strings dangerous.” — Mark Delaney, Electrical Systems Engineer, IEEE Member
The solution isn’t removing limits—it’s redesigning how power reaches each segment. Instead of one long daisy chain, think in terms of parallel branches fed from a central source. This approach maintains full voltage across all segments and keeps individual loads within safe thresholds.
Step-by-Step: Building a Safe, Extended Lighting System
Extending beyond factory specs requires shifting from series connections to a hybrid topology combining short daisy chains with independent feeder lines. Follow this sequence to design and install a scalable, low-risk system:
- Calculate total load requirements: Multiply the wattage per string by the number of strings you plan to use. For example, ten 48-watt LED strands = 480 watts total.
- Determine circuit capacity: A standard 15-amp household circuit supports up to 1,800 watts (15A × 120V). However, for continuous loads (over 3 hours), limit usage to 80% (1,440 watts).
- Divide into sub-runs: Group strings into clusters no longer than the manufacturer’s recommended max (e.g., three 50-light sets per branch).
- Use heavy-gauge feeder cable: Run 16- or 14-gauge SOOW-rated outdoor extension cords from the power source to distribution points.
- Create parallel branches: Connect each sub-run directly to the main feeder via a weatherproof junction box or multi-outlet splitter hub.
- Power via GFCI-protected outlets: All outdoor or damp-location circuits must include ground-fault protection.
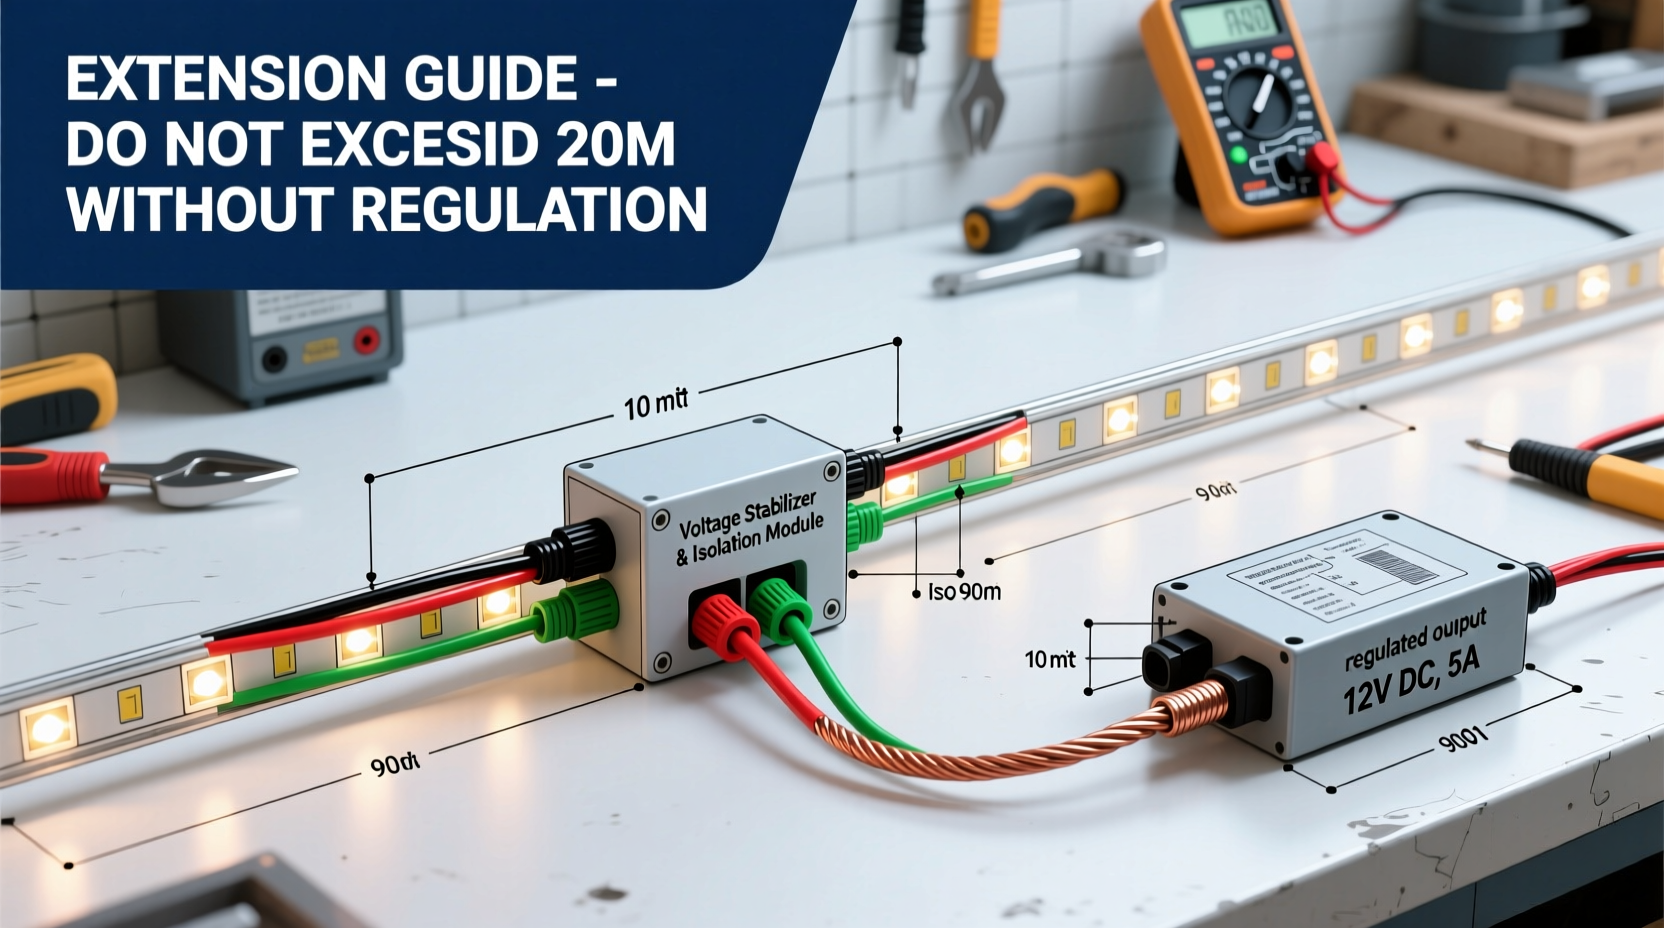
Preventing Voltage Drop: The Role of Wire Gauge and Distance
Voltage drop occurs when electrical resistance in wires converts energy into heat, reducing available voltage downstream. In low-voltage DC systems (like solar-powered LEDs), it's critical. But even AC mains-powered strings suffer if improperly extended.
A general rule: voltage drop exceeds 5% when run lengths surpass 100 feet on 18-gauge wire. At 22-gauge (common in cheap strings), that threshold drops to under 50 feet. Once voltage falls below 114V on a 120V circuit, performance degrades noticeably.
To maintain consistent brightness:
- Keep individual daisy-chained segments under 25 feet.
- Use thicker feeder cables (14-gauge) for runs over 25 feet.
- Feed multiple short branches from a central point instead of one long chain.
- Place transformers or power supplies closer to load centers in large installations.
For permanent setups, consider installing dedicated outdoor receptacles near major lighting zones. This reduces reliance on long extension cords and improves efficiency.
Do’s and Don’ts: Safe vs. Risky Extension Practices
| Practice | Safe Approach (Do) | Risky Mistake (Don’t) |
|---|---|---|
| Connecting multiple strings | Limit daisy chains to manufacturer-specified max; use parallel feeds for additional strings | Daisy-chain 10+ strings beyond rated capacity |
| Outdoor wiring | Use UV-resistant, jacketed SOOW or SJTW cordage rated for wet locations | Use indoor-only extension cords outdoors |
| Power source | Plug into GFCI-protected outlet or use GFCI adapter | Use ungrounded or non-GFCI outlets near moisture |
| Overload prevention | Split load across multiple circuits using a distribution panel | Plug everything into one wall outlet via power strips |
| Connection points | Seal splices in waterproof junction boxes with gel-filled wire nuts | Leave exposed splices taped with electrical tape only |
Mini Case Study: Expanding Holiday Lights on a Historic Home
A homeowner in New England wanted to outline their 19th-century colonial home with warm white LED string lights. The roofline alone required over 1,200 linear feet—far beyond any single product’s rating. Their initial attempt used six daisy-chained sets totaling 300 lights, but the last third glowed faintly orange due to severe voltage drop.
Hiring an electrician wasn’t feasible, so they redesigned the layout using parallel branching. They installed four GFCI-protected outlets around the house perimeter. From each, they ran 14-gauge feeder cables to strategic anchor points. Each feeder powered three independent sub-runs of 100 lights (max allowed per brand), keeping daisy chains short.
The result? Full brightness throughout, no breaker trips, and a display that operated reliably for six weeks. Total power draw was 576 watts—well under circuit limits when distributed. The system also allowed sections to be turned off independently for maintenance.
Essential Tools and Materials Checklist
- LED string lights rated for outdoor use (lower wattage = easier scaling)
- 14- or 16-gauge outdoor-rated extension cords (SOOW or SJTW)
- Weatherproof junction boxes with knockouts
- Gel-filled wire connectors (e.g., WireNut WTB series)
- GFCI outlet or portable GFCI adapter
- Cable ties, staples, or hook-and-loop fasteners
- Voltmeter (to test voltage at end of runs)
- Label maker or flag tags
- Distribution block or outdoor-rated power strip (optional)
Note: Always verify compatibility between connector types. Some proprietary end-to-end connectors don’t allow easy tapping into the line. If needed, cut and rewire using pigtail adapters inside junction boxes.
Frequently Asked Questions
Can I use regular extension cords to extend my light strings?
You can—but only if the cord is rated for outdoor use, properly grounded (three-prong), and thick enough to handle the load without excessive voltage drop. Never use lightweight indoor cords for permanent or high-draw applications. A 16-gauge cord is acceptable up to 50 feet; for longer runs, step up to 14-gauge.
Why do my lights get dimmer the farther they are from the outlet?
This is voltage drop caused by resistance in thin wires. Each added segment increases total resistance, reducing voltage delivered to later bulbs. To fix it, shorten daisy chains and feed distant sections directly from the source using heavier-gauge feeder cables.
Is it safe to cut and splice light strings?
Yes, if done correctly. Cutting allows you to eliminate weak daisy chains and build a parallel system. Always disconnect power, use waterproof connectors, and enclose splices in sealed junction boxes. Never leave bare wire exposed, even if taped.
Expert Tip: Use LED Lights to Maximize Headroom
Switching to LED string lights dramatically increases how many you can safely run. Traditional incandescent mini-lights consume 40–50 watts per 100 bulbs. Modern LEDs use only 4–8 watts for the same count—up to 90% less power.
This means:
- You can run more strings on the same circuit.
- Less heat buildup in plugs and wires.
- Reduced voltage drop due to lower current (amperage).
- Longer lifespan (typically 25,000–50,000 hours).
If upgrading isn't possible, at least ensure mixed installations don’t combine incandescent and LED strings on the same daisy chain—they have different electrical characteristics and can cause flickering or damage.
Final Safety Reminders
No lighting expansion should compromise safety. Adhere strictly to these rules:
- Never exceed 80% of a circuit’s rated capacity for continuous operation.
- Inspect all cords annually for cracking, fraying, or damaged insulation.
- Never bury cords or run them under rugs, decks, or mulch where heat can build.
- Disconnect lights during storms or high winds.
- Use only UL-listed components designed for outdoor electrical use.
“The safest installation is one where no single point carries more than its rated load. Parallel distribution isn’t just efficient—it’s foundational to fire-safe electrical design.” — Sarah Lin, Senior Inspector, National Fire Protection Association (NFPA)
Conclusion: Extend Smart, Not Just Long
Extending your light strands beyond factory limits isn’t about defying rules—it’s about applying smarter electrical practices. By replacing long daisy chains with branched, parallel-fed circuits, using appropriate wire gauges, and respecting load capacities, you achieve uniform brightness and long-term reliability without compromising safety.
Whether illuminating a backyard patio, wrapping trees, or outlining a commercial façade, the principles remain the same: calculate first, distribute wisely, protect against faults, and inspect regularly. With these strategies, your lighting can go further—literally and safely.


 浙公网安备
33010002000092号
浙公网安备
33010002000092号 浙B2-20120091-4
Comments
No comments yet. Why don't you start the discussion?