
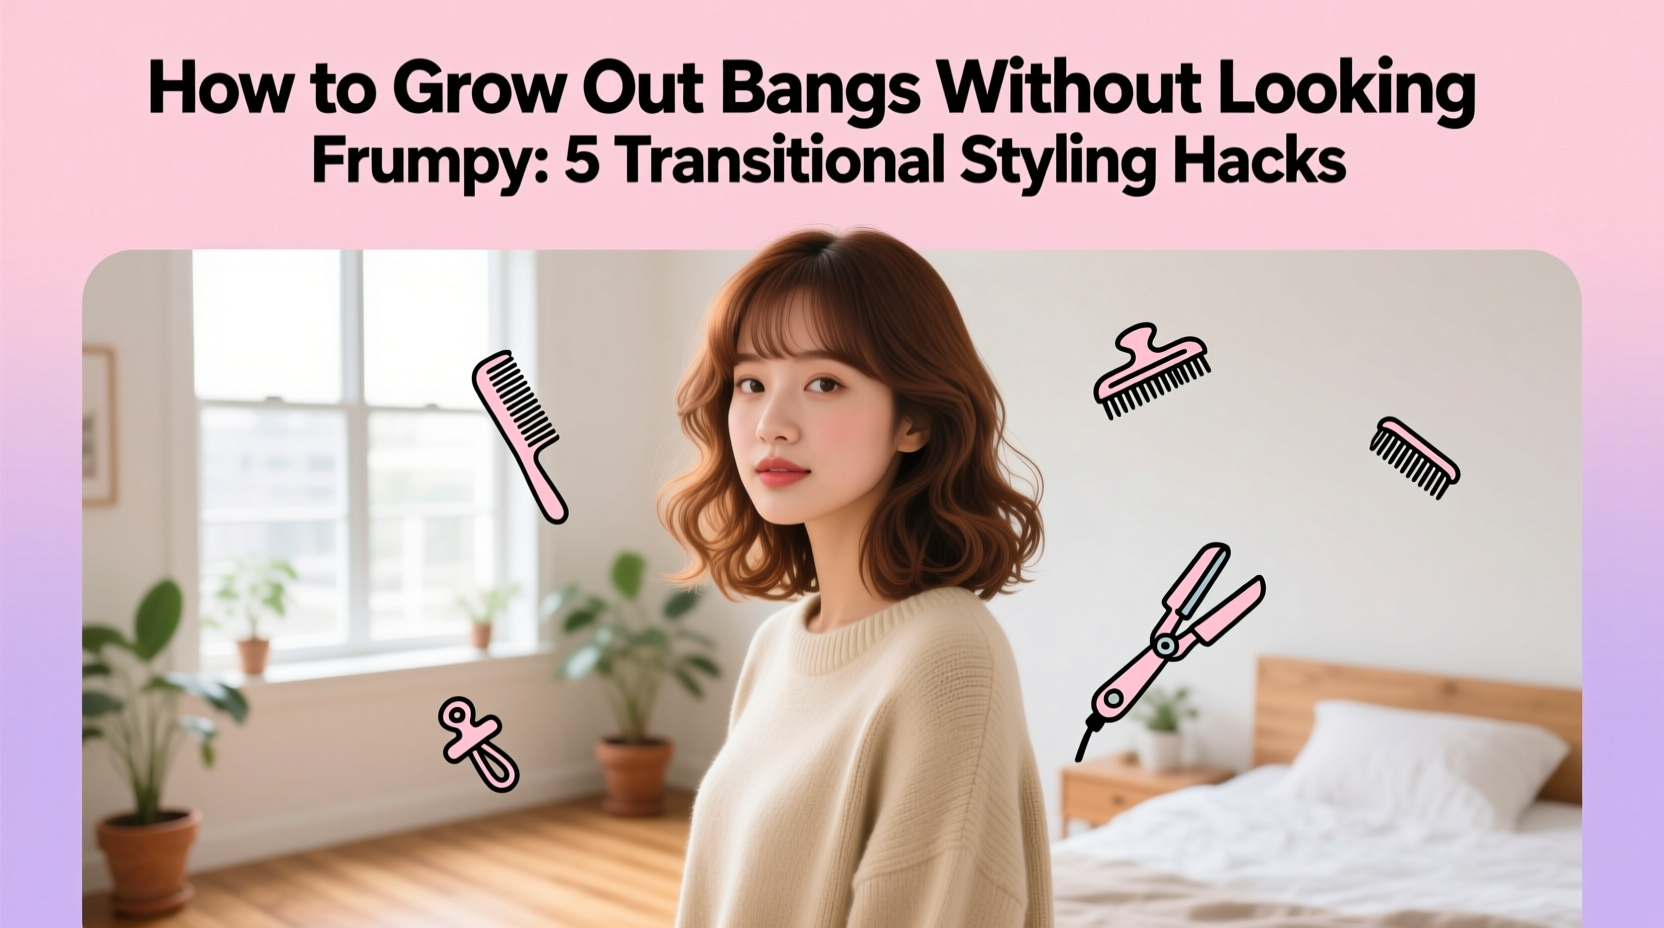
Letting your bangs grow out is one of those inevitable hair journeys—exciting in theory, but often awkward in practice. That middle phase where they’re too long to style forward but too short to blend seamlessly into the rest of your hair? It’s a universal struggle. Many women abandon the process early, opting for a quick trim just to regain control. But with the right techniques and mindset, growing out bangs doesn’t have to mean weeks of feeling frumpy or hiding behind hats.
The key lies not in enduring the transition, but in mastering it. With clever styling tricks, strategic cuts, and a few product choices, you can maintain a polished look from day one of growth to full integration. This guide breaks down exactly how to do it—without sacrificing confidence or style.
Understanding the Growth Timeline
Bangs typically grow at an average rate of half an inch per month. The “awkward stage” usually begins when they reach 2 to 4 inches in length—long enough to fall into your eyes but not long enough to be styled back naturally. For most people, this phase lasts between 6 to 10 weeks, depending on hair texture, face shape, and original cut.
Rather than resist this period, plan for it. Think of growing out bangs as a three-phase journey:
- Phase 1: Early Growth (Weeks 1–3) – Bangs start to lose their shape and may appear shaggy. Focus on subtle styling and light trims.
- Phase 2: Mid-Transition (Weeks 4–8) – The most challenging stretch. Bangs are unruly and won’t stay put. Creative parting and accessories become essential.
- Phase 3: Integration (Week 9+) – Length allows for blending with the rest of the hair. Layering and side-sweeping make the final merge seamless.
Knowing where you are in this timeline helps you apply the right strategy at the right time.
Smart Styling Hacks to Avoid the Frump Factor
The difference between looking undone and effortlessly chic during the grow-out phase often comes down to small adjustments. These styling techniques help you work with your growing bangs instead of against them.
1. Master the Side Sweep
A deep side part instantly elongates bangs and directs them away from the forehead. Use a tail comb to create a sharp part two inches off-center. Blow-dry the roots at the part upward for volume, then sweep the bangs diagonally across your forehead.
For fine hair, add texture with a light-hold mousse before drying. Coarser textures benefit from a tiny amount of smoothing serum to prevent flyaways.
2. Use Temporary Texturizing Tricks
When bangs lack structure, dry shampoo or texturizing powder can be a game-changer. Spritz or sprinkle lightly at the roots, then tousle with your fingers. This adds grip and lift, making them easier to pin or tuck.
3. Pin Them Back Strategically
Invisible bobby pins and mini claw clips are your allies. Instead of pulling all the bangs back—which can look severe—pin only the outer edges to the sides, leaving a soft fringe near the temples.
Try the “half-up twist”: Take a small section from each side of the bang area, twist loosely backward, and secure with a pin. This keeps hair out of your eyes while maintaining softness around the face.
4. Embrace the Headband
A well-chosen headband does more than hide—it styles. Opt for fabric headbands (like silk or velvet) for a polished look, or thicker knits in winter for cozy sophistication. Place the band just behind your hairline to gently push bangs back without flattening them.
5. Leverage Heat Tools for Shape
Use a flat iron to flip the ends of your bangs outward or inward, depending on your face shape. A slight bend can disguise uneven lengths. For curly bangs, diffuse them with a round brush to encourage curl definition and reduce puffiness.
Strategic Trimming: When and How to Cut
Contrary to popular belief, you don’t need to avoid scissors entirely while growing out bangs. In fact, poorly timed trims—or skipping them altogether—can make the process longer and messier.
The goal isn’t to shorten them, but to shape them. A skilled stylist can thin out heavy sections, soften harsh lines, and layer the front pieces to blend faster with the rest of your hair.
Do’s and Don’ts of Transitional Trims
| Do | Don’t |
|---|---|
| Trim every 4–6 weeks to maintain shape | Chop off half an inch hoping to “reset” the length |
| Ask for point-cutting to soften edges | Cut straight across—this creates a blunt line that draws attention |
| Request feathered layers at the temples | Let an inexperienced stylist handle it—precision matters |
| Bring reference photos of desired flow | Trim at home unless you’re highly experienced |
“Growing out bangs isn’t about waiting—it’s about guiding. A good stylist can make six weeks feel like two by strategically layering and texturizing.” — Lena Torres, Celebrity Hairstylist & Texture Specialist
Product Guide: What to Use (and Skip)
The right products support healthy growth and improve manageability. The wrong ones can weigh hair down, increase greasiness, or cause buildup that makes bangs look limp.
- Dry Shampoo: Best used 1–2 times per week to refresh roots and absorb oil. Spray at the crown and massage in.
- Texturizing Spray: Adds grit for hold without stiffness. Ideal for creating volume and securing side-swept styles.
- Light-Hold Hairspray: Locks in place without crunch. Mist from 10 inches away after styling.
- Serum or Oil (sparingly): Apply only to the mid-lengths and ends of bangs to prevent greasy roots.
Avoid heavy pomades, thick creams, and silicone-heavy serums—they drag bangs downward and make them look flat by midday.
Real-Life Example: Sarah’s Six-Week Transformation
Sarah, a 34-year-old graphic designer, had worn blunt micro-bangs for over a year. When she decided to grow them out, she dreaded the transition. By week three, her bangs were flopping into her eyes, and she resorted to wearing a baseball cap to client meetings.
She booked a consultation with her stylist, who suggested a multi-step plan:
- Point-cut the ends to remove bulk and soften the line.
- Create a deep left-side part to shift weight off-center.
- Use a 1-inch flat iron to curl the tips outward, framing her cheekbones.
- Introduce a matte texturizing paste for grip when pinning.
Within days, Sarah was styling her bangs confidently. By week six, they blended naturally into her shoulder-length lob. She now swears by the side-swept method and says the process took less mental energy than she expected.
Step-by-Step Weekly Routine for Growing Out Bangs
Follow this actionable weekly plan to stay ahead of the awkward phase:
- Week 1: Schedule a shaping trim. Start using dry shampoo at roots every other day to maintain volume.
- Week 2: Experiment with side parts. Practice the twist-and-pin technique for workdays.
- Week 3: Introduce a headband for low-effort days. Assess if bangs need light layering.
- Week 4: Deep-condition hair (avoiding bang roots) to keep ends healthy. Re-trim if edges feel heavy.
- Week 5: Begin blending bangs into the rest of your hair using a round brush when blow-drying.
- Week 6: Stop treating bangs separately. Style as part of your full hairstyle.
This routine prevents stagnation and keeps your look evolving—not deteriorating.
Frequently Asked Questions
Can I grow out bangs if I have curly hair?
Absolutely. Curly bangs often grow out more gracefully because curls naturally blend shorter lengths into longer ones. However, they may puff up or shrink due to curl pattern. Diffuse with a round brush to elongate, and use a curl-defining cream to minimize frizz. Ask your stylist to cut curly bangs slightly longer than desired, as they will shrink when dry.
How do I stop my bangs from getting oily faster?
Bangs tend to get greasy quickly due to frequent touching and proximity to the forehead’s natural oils. To extend freshness: avoid touching them throughout the day, wash with a clarifying shampoo once a week, and use dry shampoo proactively—not just when they’re already oily. Also, consider tying hair back loosely during workouts to reduce sweat transfer.
Is it okay to trim my own bangs while growing them out?
Only if you’re experienced and working with minimal adjustments. Most DIY trims end up too short or uneven. If you must trim at home, only snip the very tips when hair is dry and combed forward. Cut at an angle or use point-cutting (vertical snips) to avoid a blunt edge. When in doubt, wait for a professional.
Checklist: Your Grow-Out Success Plan
- ☑ Book a shaping trim with your stylist
- ☑ Invest in texturizing spray and dry shampoo
- ☑ Practice the side-sweep and pin-back techniques
- ☑ Try at least two accessory styles (headband, clip)
- ☑ Commit to no major cuts for 6 weeks
- ☑ Schedule a mid-growth check-in trim at 4 weeks
- ☑ Take weekly selfies to track progress
Final Thoughts: Own the Transition
Growing out bangs isn’t a test of patience—it’s an opportunity to refine your personal style. The in-between phase doesn’t have to be something you survive; it can be a chance to experiment with new looks, discover flattering partings, and build versatile styling skills that last far beyond this one change.
Every great hairstyle has a backstory, and yours might begin with a few stubborn inches refusing to behave. But with the right tools, timing, and attitude, you’ll look put-together every step of the way. The mirror doesn’t have to reflect frustration. It can show evolution.


 浙公网安备
33010002000092号
浙公网安备
33010002000092号 浙B2-20120091-4
Comments
No comments yet. Why don't you start the discussion?